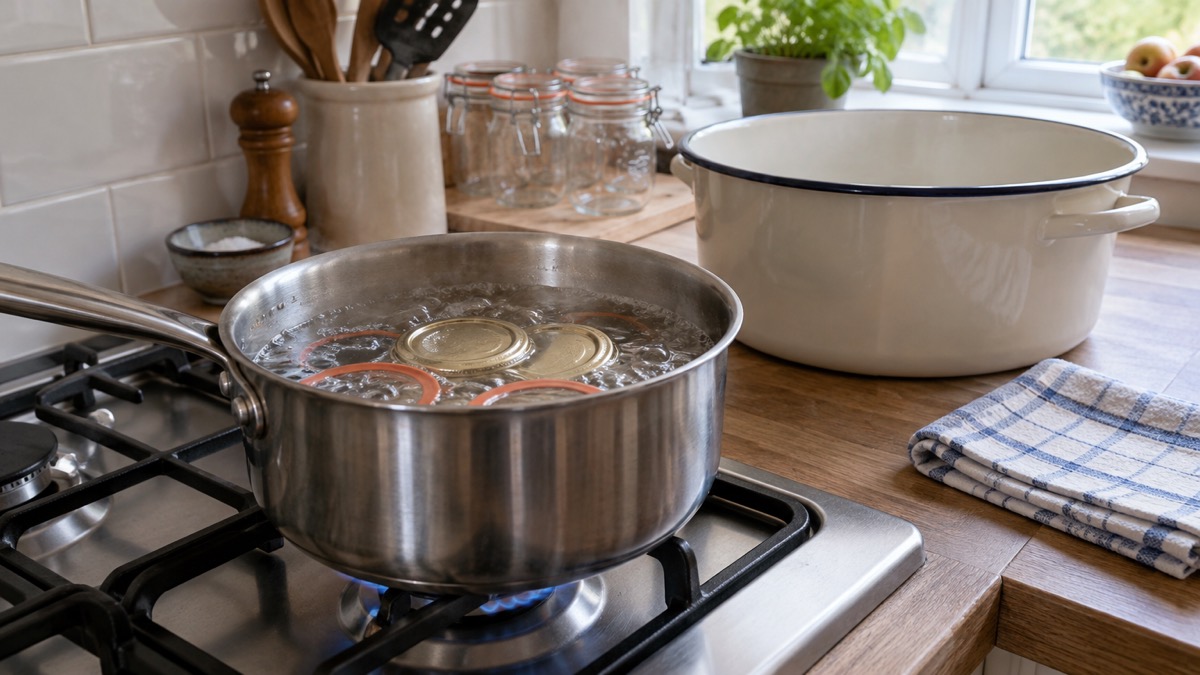
If you are about to make jam, pickle or bottled fruit, the jars need to be clean, dry and, where the recipe calls for it, sterilised before the food goes in. The Food Standards Agency's consumer guidance on food preservation at home is clear that sterilising is not optional decoration: where sterilisation is needed, it is an essential step in making food safe, and you should always follow the sterilisation instructions provided with your containers or preservation equipment1.
The routine is simple. Wash your hands thoroughly before, during and after preparing food, clean and sanitise your work surfaces and equipment, check every jar, lid and container for damage and discard anything damaged, then sterilise the jars by your chosen method and fill them while they are still hot1. Use reputable instructions and follow them exactly, including temperatures and processing times1.
What follows covers the oven method, the dishwasher and boiling water, how to treat lids and rubber rings, why hot filling matters, and how to tell when a jar of preserve is not safe to keep. It is written for an ordinary UK kitchen, and it applies the same way in England, Scotland, Wales and Northern Ireland, because the food safety guidance is UK-wide.
The oven method: wash, then heat the jars dry
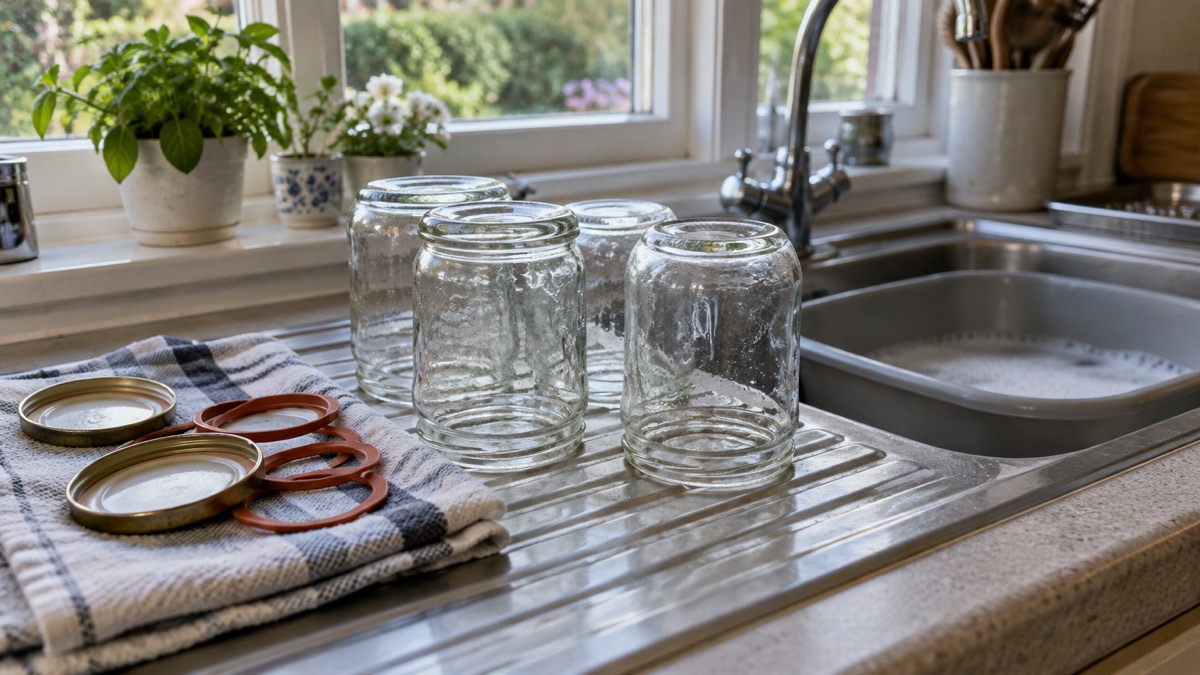
The oven is the method most home preservers reach for because it does two jobs at once: it dries the jar and it heats it. The Food Standards Agency's guidance sets out the sequence. Wash your hands thoroughly before, during and after preparing food, and clean and sanitise your work surfaces and equipment before you start1. Wash the jars in hot soapy water, rinse them, and stand them upside down to drain.
Then heat them. The guidance does not give a single oven temperature and time for every jar, and you should not invent one: it says to use reputable instructions and follow them exactly, including temperatures and processing times1. That means the temperature and time come from your recipe, your preserving book or the instructions supplied with your jars or preserving equipment, not from a rule of thumb. Where sterilisation is needed, always follow the sterilisation instructions provided with your containers or preservation equipment1.
A few practical points follow from the same guidance. Check each jar, lid and container for damage before it goes anywhere near the oven, and discard damaged ones1. Heat jars dry, because a wet jar going into a hot oven is being asked to do two things at once. And take the jars out when the instructions say, then fill them while they are still hot.
Dishwasher or boiling water: when each one works
The dishwasher is convenient, but it comes with a condition. Official clean-up guidance issued after flooding says that if you have a dishwasher, and it has been cleared by a qualified technician, you can use it to clean and sanitise your kitchen items2. That condition exists because a dishwasher that has been through a flood or a water quality problem may not be clean itself. In normal use, a hot dishwasher cycle is a sensible way to wash and heat jars, but check that the jars come out dry, and remember that plastic lids may not tolerate the heat.
Boiling water is the other route, and it is the one official guidance names explicitly for utensils. After a flood, people are told to sterilise all affected cooking utensils by boiling or by using suitable sterilisers3. The same principle applies to jars: a jar fully submerged in boiling water is being sterilised by heat. The limit is practical. You need a pan deep enough to cover the jars, and you need to handle hot glass safely. For jars that will not fit, the oven or a chemical steriliser is the alternative.
| Method | What it does | Watch out for |
|---|---|---|
| Oven | Washes, dries and heats the jar in one go | Use the temperature and time in your own preserving instructions |
| Dishwasher | Cleans and sanitises in a hot cycle | Only where the machine has been cleared by a qualified technician after flooding2 |
| Boiling water | Sterilises by heat, as used for cooking utensils3 | Needs a pan deep enough to cover the jars; hot glass handling |
| Sterilising tablets or fluid | Chemical sterilising, following the maker's instructions | Does not dry the jar; rinse as instructed |
Whichever you choose, the same rule applies at the end: fill the jars while they are still hot.
Lids, seals and rubber rings need different care
The jar is only half the container. The Food Standards Agency says to check jars, lids and containers for damage and discard damaged ones1. A lid with a perished rubber seal, a bent metal lid or a clip that no longer holds will not give you the airtight closure that preserving depends on, however well you sterilised the glass.
Treat the parts differently:
- Metal lids and screw bands: wash and dry them, and check the sealing compound inside the lid for cracks or damage. Discard any that are damaged1.
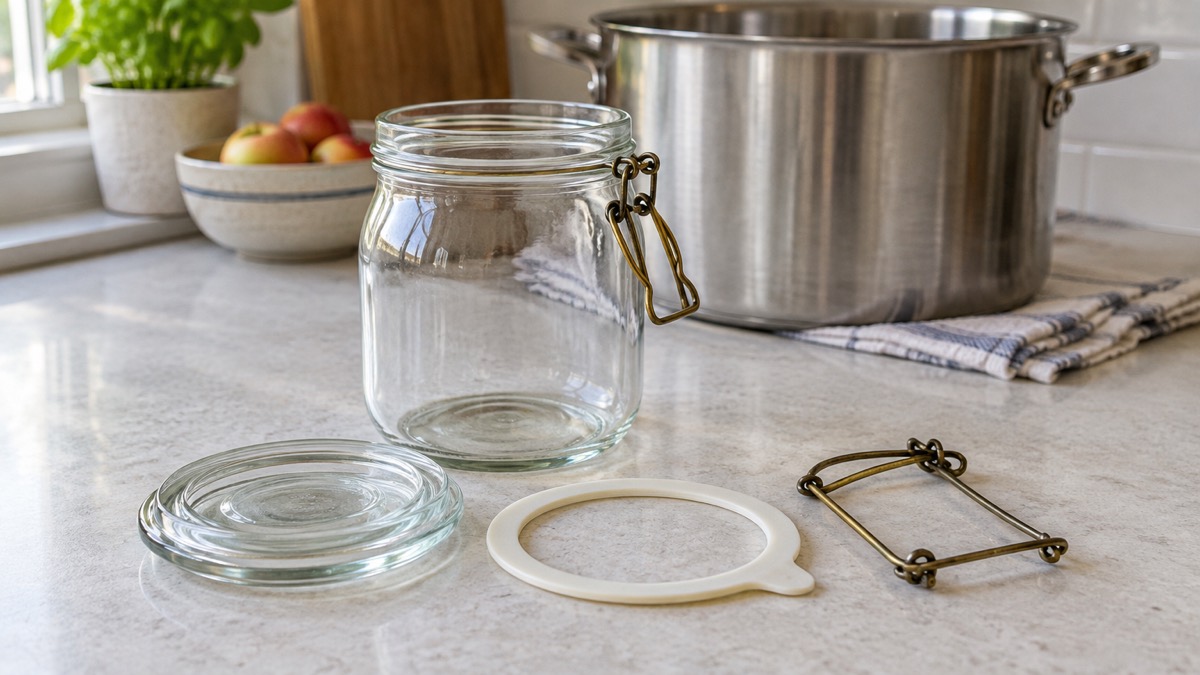
- Rubber rings for clip-top jars: check for perishing, cracks and stretching. A ring that has hardened or split will not seal, so replace it rather than reuse it.
- Clips and hinges: check that the clip still holds tension and that the wire is not bent.
- Plastic lids: these may not take the same heat as glass, so follow the maker's instructions for the container rather than assuming they can go in the oven.
The general preservation advice is to use suitable containers and to make sure equipment and containers are clean before use1. That covers the lid as much as the jar. If you are reusing commercial jars, the lid that came with them has already been through one sealing cycle, so inspect it closely and prefer a new lid where you can.
Fill jars while they are still hot
The reason to sterilise and then fill promptly is that a jar left standing open collects contamination from the air and from whatever touches it. The heat of the jar and the food also helps the lid seal as it cools, which is what keeps the preserve airtight.
Work in this order:
- Wash your hands thoroughly before, during and after preparing food1.
- Clean and sanitise work surfaces and equipment1.
- Check jars, lids and containers for damage and discard damaged ones1.
- Sterilise the jars by your chosen method, following the instructions exactly1.
- Fill the jars while they are still hot.
- Label and date the preserved food, and use it within the recommended shelf life1.
Two further rules from the same guidance matter here. Use fresh ingredients, and regularly check stored foods for spoilage1. Labelling and dating is not bureaucracy: it is how you know which jar to open first and when a jar has passed the shelf life the recipe recommends.
Signs a jar is unsafe to keep
You cannot tell a badly preserved jar by looking at it. The Food Standards Agency warns that preserved foods that have not been prepared correctly may not look, smell or taste unusual, and says plainly: do not rely on appearance, smell or taste to decide whether food is safe to eat1.
Instead, use the checklist the guidance gives. Do not eat preserved food if containers are bulging, if containers are leaking, damaged or heavily rusted, if food shows signs of mould or spoilage, or if you are unsure it was preserved safely1. Any one of those is enough to reject the jar.
"Preserved foods that have not been prepared correctly may not look, smell or taste unusual. Do not rely on appearance, smell or taste to decide whether food is safe to eat."
If you are in any doubt, throw the jar out. Food poisoning is unpleasant and can be serious for vulnerable people. NHS inform advises keeping contact with vulnerable people such as the very young or elderly to a minimum while ill, washing hands frequently with soap and warm water, disinfecting surfaces with a bleach-based household cleaner, and not preparing food for others if possible4. If you are worried about a jar you have already opened, our guide to how to tell if preserved food has gone off sets out the signs in more detail, and how to reduce the risk of botulism from food explains why low-acid, low-sugar preserves need particular care.
Reusing old jam jars, and other common questions
Old jam jars are fine to reuse, provided they are undamaged and properly cleaned and sterilised. Check the glass for cracks and chips, discard anything damaged1, and inspect the lid as closely as the jar. A used lid may not seal a second time.
On low-sugar preserves, the guidance explains why sugar matters: using sugar draws water out of food to create a low moisture environment that prevents the growth of harmful and spoilage microorganisms1. Reducing the sugar changes that environment, so a low-sugar recipe is not automatically as safe as a standard one. Use reputable instructions and follow them exactly1.
Sterilising tablets and fluids are recommended for cleaning bowls, buckets and other containers, following the manufacturer's instructions5. Chlorine is commonly used in various brands of sterilisers for baby feeding bottles6. If you use a chemical steriliser on jars, follow the maker's directions on strength and contact time, and rinse as instructed.
For the wider picture, our guide to preserving at home safely covers jams, pickles and bottling, and Mylar bags or glass jars for dry food compares storage options. If you are pouring hot liquid into glass, read can you pour boiling water into a glass jar first.
Where to get food safety advice
The Food Standards Agency's consumer advice on food preservation at home is the starting point for anything in this article, and it covers sterilising, suitable containers, labelling and checking stored food1. For food poisoning symptoms and when to get help, NHS inform's food poisoning page sets out the advice4.
Your local council's environmental health team can advise on food safety concerns. If you have been flooded, follow your council's clean-up guidance before using utensils again: crockery, cutlery and cooking utensils should be thoroughly washed with hot soapy water and disinfected with a food-safe disinfectant, ideally in a dishwasher, before use7. Food in water-resistant packaging such as metal cans, sealed pouches and tetra packs can be kept if it is not damaged, but the outside of the packaging needs to be cleaned and sanitised first8. Our guide to food after a flood covers what to keep and what to throw away.
If you are preserving because you are building a household store, start with what to keep in an emergency store cupboard and starting a store cupboard supply step by step. For the safety of the wider kitchen, see handling raw meat, poultry and eggs safely and food poisoning: symptoms, who is at risk and when to get help.
Sources (8)
- Consumer advice for food preservation at home, GOV.UK, 2026-10-26
- Flooding and Health: Safely Cleaning your Home - Risk Advice & Articles - Wiltshire & Swindon Prepared, Wiltshire & Swindon Prepared (article taken from UKHSA)
- Be Prepared, Lancaster City Council
- Food poisoning, NHS inform, 2026-08-17
- Weather and health, Public Health Wales, 2026-07-16
- Chlorine, Drinking Water Quality Regulator for Scotland, 2026-10-28
- Cleaning up after a flood: health advice, North Warwickshire Borough Council, 2024
- Flooding food safety advice, Food Standards Scotland, 2026-10-25
 Long-Term Storage Kit Checklist
 Store Cupboard Checklist
 30-Day Household Checklist
 Baby Formula in a Power Cut
 Refreezing Defrosted Meat
 Leftovers in the Fridge
 Reducing Botulism Risk
 Spotting Spoiled Preserved Food
 Boiling Water in Glass Jars
 Mylar Bag Food Shelf Life
 Mylar Bag Sizes
 Are Mylar Bags Food Safe
 Oxygen Absorber Activation
 Silica Gel With Stored Food
 Freeze-Dried Meal Shelf Life