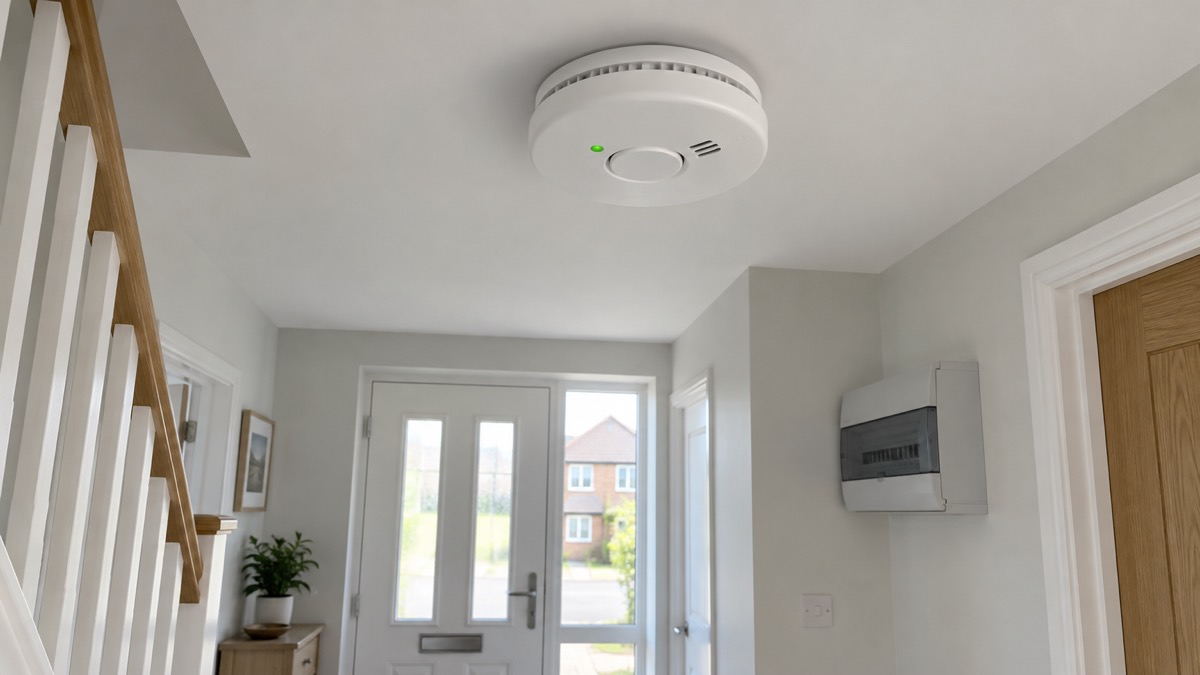
The FireAngel SM-SN-1 is a mains powered smoke alarm with a sealed lithium battery back-up that the maker says lasts 10 years. It is wired into the home's lighting circuit by a qualified electrician, so there is nothing to change and nothing to recharge: the battery covers power cuts, and the alarm tells you when it is reaching the end of its life. It is certified to EN 14604: 2005+AC:2008 and rated Grade D1 under BS 5839-6:2019, the grade the maker says is required in new or materially altered homes of up to three storeys1.
If you are searching because one is already on your ceiling, the three things worth knowing are these. A chirp once every 4 hours on a linked system means another alarm has a low battery, not the one you are listening to2. A low battery chirp can be silenced for 8 hours at a time, up to 10 times, but the maker says to replace the alarm within 30 days2. And the Smart RF Module that lets it link wirelessly to other alarms is not included: it must be bought separately2.
If you are deciding whether to fit one, the short answer is that it suits a hallway, landing, living room, dining room or bedroom in a home that already has mains wiring for alarms, and it is designed to detect both fast flaming and slow smouldering fires1. What follows covers what it does, how it is installed and linked, what its lights and beeps mean, and how to look after it.
What the SM-SN-1 is and where it suits
The SM-SN-1 is a mains powered Thermoptek multi-sensor smoke alarm1. Thermoptek is the maker's name for its sensing technology, which combines optical sensing with a thermal enhancement: it watches for smoke and also monitors how quickly temperature rises, increasing its sensitivity as heat builds2. The maker says this gives fast detection of both fast flaming fires and slow smouldering fires, the two patterns a household is most likely to face1.
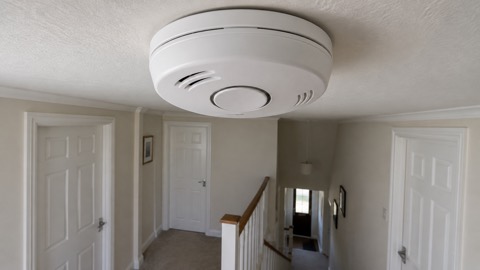
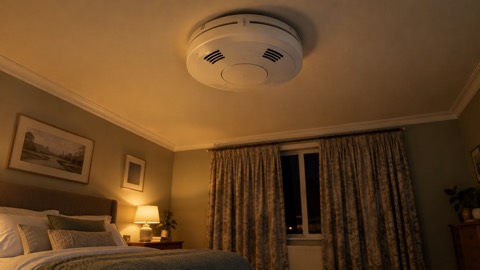
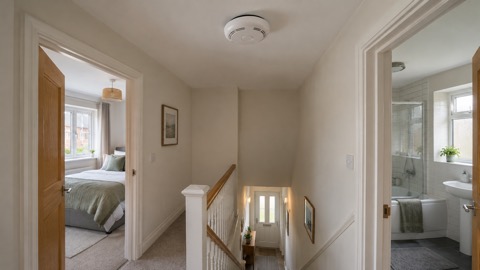
It is a Grade D1 alarm with a 10 year life, and the maker lists it for use in the hallway, landing, living room, dining room and bedroom1. Those are the circulation and sleeping spaces where smoke needs to be caught early, ideally before it reaches a bedroom door. It is not a heat alarm and it is not a carbon monoxide alarm: the maker's manual warns against fitting heat alarms in escape routes in place of smoke alarms, and carbon monoxide needs its own detector2. If you are working out what goes where, the guides to smoke alarms and to where to fit smoke alarms set out the general rules.
The maker's manual gives spacing guidance that matters more than the room list: fit smoke alarms in circulation areas no greater than 7.5 m from the farthest wall, no greater than 7.5 m from a door to any room where a fire might start, and no greater than 7.5 m from the next smoke alarm2. In a typical UK house that usually means one on each landing and one in the hallway, with more in a long or L-shaped layout.
FireAngel is a UK brand, established since 1998 and based in Coventry, and its alarms carry the BSI Kitemark as independently certified products5. The company's range is described as compliant for England, Wales and Scotland5. Northamptonshire Fire and Rescue Service, for example, fits FireAngel smoke alarms with a 10 year sealed for life lithium battery during home fire safety checks where they are needed, which tells you the type is trusted by fire services as well as sold to households6.
Specifications
The figures below come from the maker's datasheet unless marked otherwise. Where the manual gives a different figure, both are shown.
| Specification | Detail |
|---|---|
| Type | Mains powered Thermoptek multi-sensor smoke alarm1 |
| Supply voltage | 230V AC, 50Hz1 |
| Battery back-up | 10 year sealed for life lithium Panasonic battery, non replaceable1 |
| Sensor | Multi-sensor optical with thermal enhancement1 |
| Sound level | 85dB(A) at 3m, minimum1 |
| Dimensions | 141.5mm diameter x 43mm depth1 |
| Weight | 257g1 |
| Installation positions | Ceiling or wall1 |
| Certification | EN 14604: 2005+AC:20081 |
| System grade | Grade D1 as per BS 5839-6:20191 |
| Operating temperature | +4 C to +38 C (datasheet); the manual gives -10 °C to 45 °C1 |
| Storage temperature | -20 C to +60 C1 |
| Operating humidity | Up to 90% RH non-condensing1 |
| Casing material | ABS, UL94 VO fire retardant1 |
| Energy use | Typically less than 10% of the average 230V AC smoke alarm1 |
| Warranty | 5 years1 |
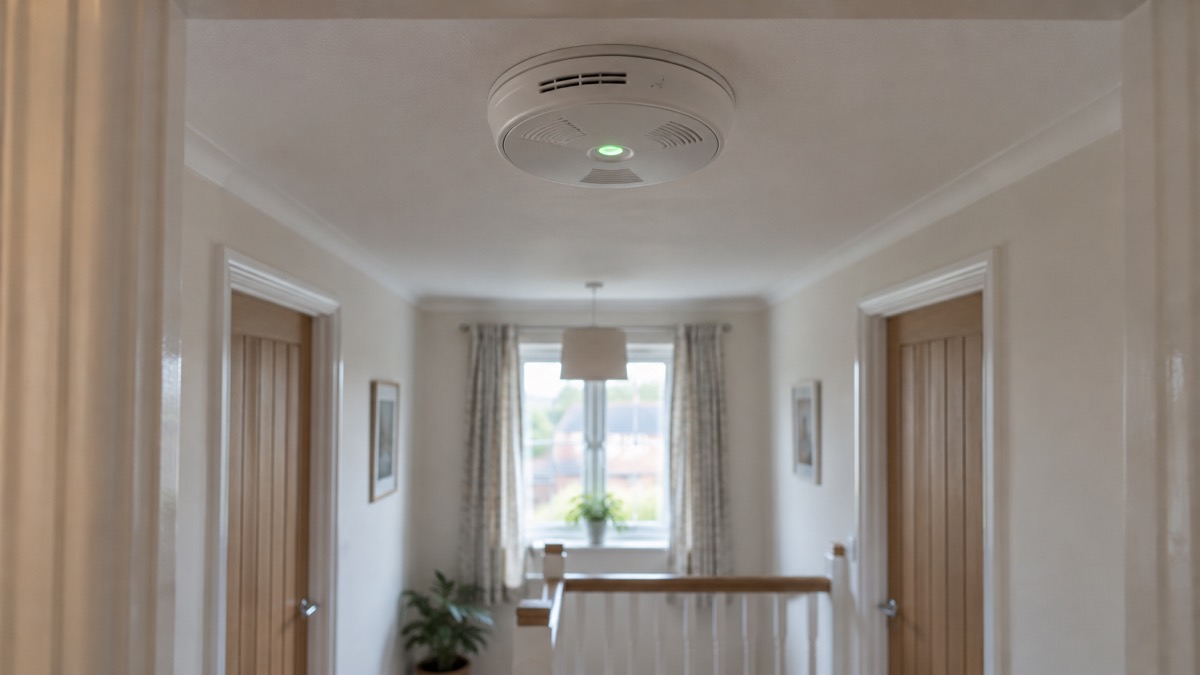
Two of these rows deserve a second look. The temperature range is the one place the maker's two documents disagree: the datasheet says +4 C to +38 C, the manual says -10 °C to 45 °C1. Since the datasheet is the newer document and the narrower range, treat it as the guide and keep the alarm out of unheated outbuildings, garages and lofts that drop towards freezing. The energy figure is the maker's own comparison with a typical mains alarm, and it matters mainly because the alarm is on all the time1.
The manual also sets out where Grade D1 systems are required: new or materially altered dwellings up to three storeys with no floor exceeding 200 m2, existing dwellings with poor or inadequate fire protection, and individual flats of two or more rooms in one or two storey houses in multiple occupation with no floor exceeding 200 m22. If your home falls outside those categories, a Grade D1 alarm is still a sensible choice, but check what your local fire and rescue service advises for your type of property. The guide to alarm standards explains what the grades mean.
Fitting it: a qualified electrician, every time
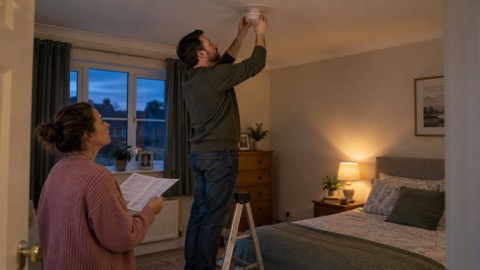
The SM-SN-1 is not a DIY fitting. The maker's manual states that wiring should be installed by a qualified electrician in accordance with BS7671, on a 24 hour voltage circuit that cannot be turned off by a switch2. FireAngel's own installation guidance for its mains powered alarms says the same: they are designed to be installed quickly and simply by a qualified electrician, in accordance with BS76714. That is not a manufacturer being cautious for its own sake. Mains wiring that is got wrong is a shock and fire risk, and the same principle runs through official advice elsewhere: London Fire Brigade says electrical work such as fitting an outdoor socket should be done by a qualified and competent installer7, and Electrical Safety First says ovens and grills should be fitted by a qualified electrician8.
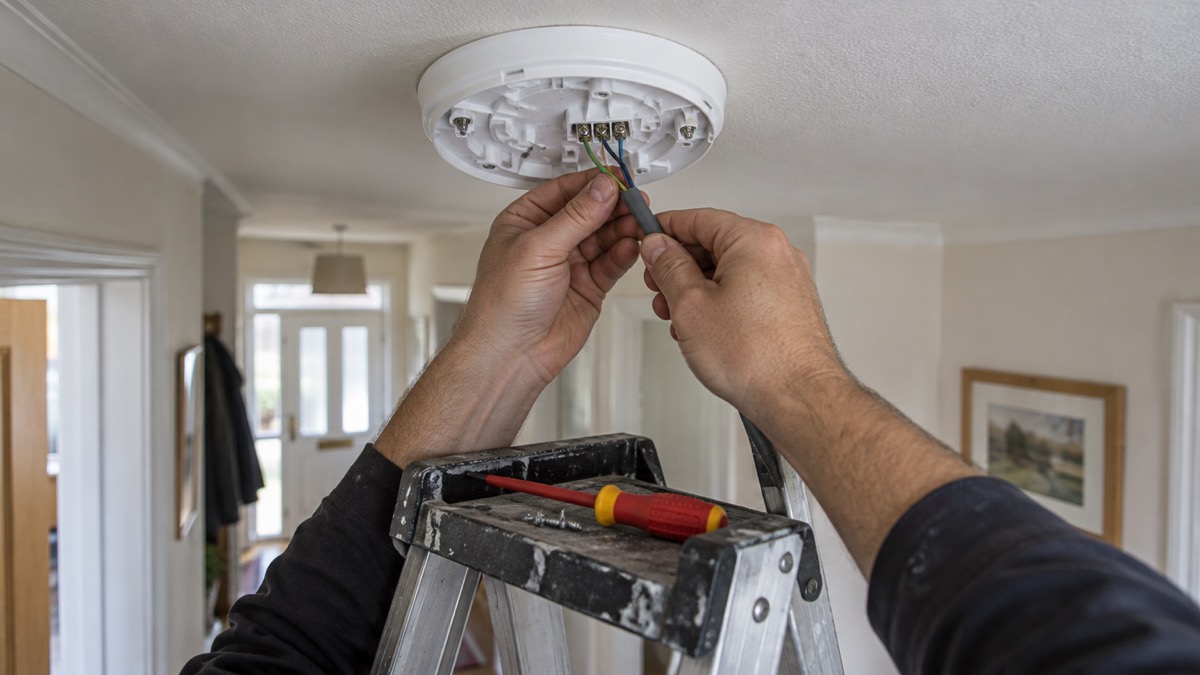
A few practical points for the household, once the electrician is booked. The alarm can be connected to the non-switching side of domestic lighting circuits that contain dimmer switches or fluorescent lights, provided those fittings are CE marked and conform with 2014/30/EU, BS EN60669-1 or 2, BS EN60081, BS EN60968 or equivalent2. In other words, a dimmer in the room does not rule the alarm out, but the electrician needs to know it is there. The interconnect wire, where alarms are wired together, must be at least 0.75 mm2 cable and must be treated as Live2.
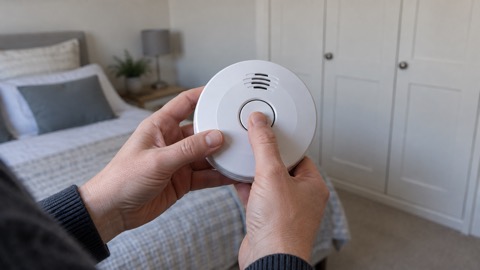
After fitting, check the basics yourself: the green LED should be on to show mains power, and the red LED should flash once approximately every 45 seconds in standby9. Then press the test button. The maker says a test should produce two cycles of three loud beeps, with the red LED flashing rapidly, and then stop automatically9. The manual advises testing weekly, and monthly at the very least, and testing again after moving large items of furniture9. The guide to how often to test alarms covers the routine.
Linking alarms: 50 wirelessly, 30 on a wired network
The SM-SN-1 can be part of a linked system in two ways, and the limits differ. On a hardwired network the maker's manual sets a maximum of 30 interconnected alarms, a maximum of 250 m of connecting wire per circuit, and a minimum interconnect cable of 0.75 mm2 treated as Live2. Wirelessly, it is designed to interlink with up to 50 products in the Smart RF range using a Smart RF Module, and the datasheet gives the same maximum of 50 Smart RF devices1.
| Linking method | Maximum | What you need |
|---|---|---|
| Hardwired interconnect | 30 alarms per network, 250 m of wire per circuit2 | Wired by a qualified electrician |
| Smart RF wireless | 50 Smart RF devices1 | A Smart RF Module, sold separately2 |
The Smart RF Module is the catch. The SM-SN-1 is described as Smart RF Ready, but the maker's manual states plainly that the Smart RF Module is not present in the pack and must be purchased separately2. Without one, the alarm works as a standalone unit. The maker's 2026 manual for another product in the range notes that the Smart RF product range is under development and directs readers to its technical site for the latest products, so check what is currently available before you plan a wireless network around it10. The maker's Spec+ range uses a different wireless method, Bluetooth Low Energy, to interconnect up to 50 alarms, which is a separate system from Smart RF11.
Where a home mixes both, the manual gives one firm rule: ensure there is only one wireless connection into each hardwired network2. That prevents two wireless bridges fighting over the same wired circuit. The datasheet also lists mixed system compatibility, with Smart RF and hardwired alarms on a single network, and mains and battery powered alarms on a single network1.
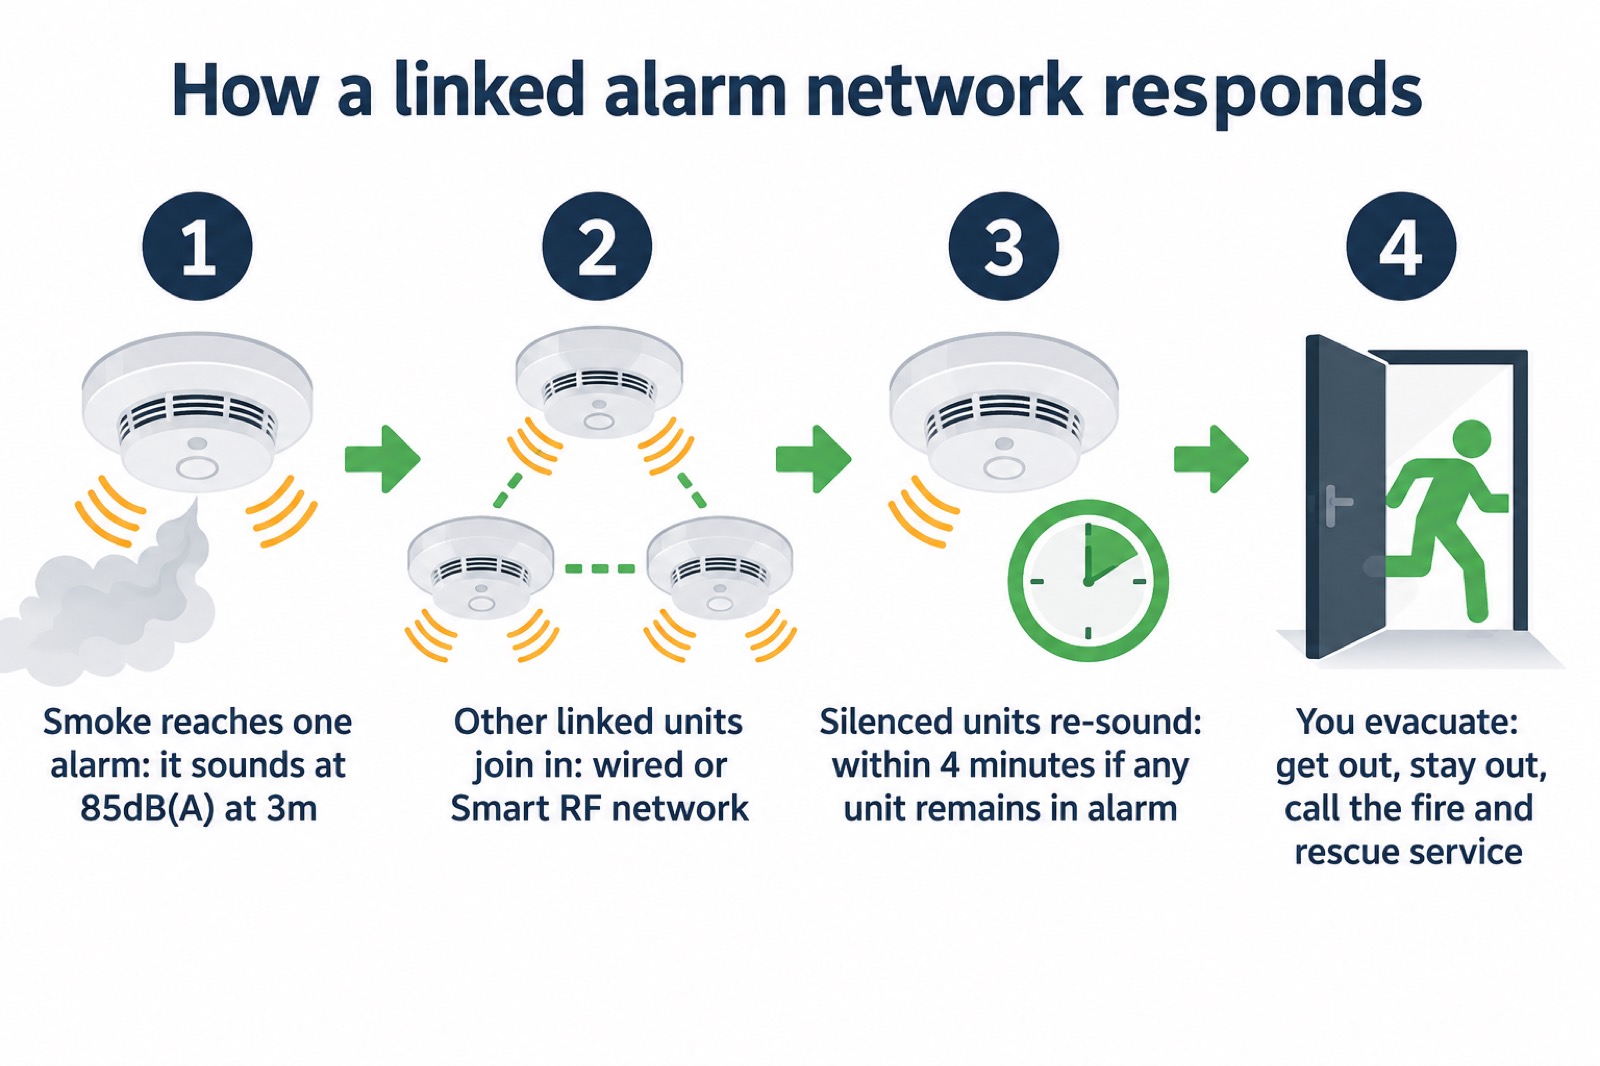
Linking matters because of what happens when one alarm sounds. The manual says that if one or more units remain in alarm, all other interlinked units will emit their audible warning again within 4 minutes2. That gives you a second chance to hear an alarm that started in another part of the house. The general mechanics are covered in interlinked alarms, and the choice between wired and wireless is set out in wireless or wired interlinked alarms.
What the beeps and lights mean
Most of the questions a household has about this alarm are answered by its lights. In standby the red LED flashes once approximately every 45 seconds9. If the amber LED is flashing at the same time as the chirp, that indicates a low battery condition and the alarm should be replaced within 30 days; an amber LED flashing at a different time to the chirp indicates a fault; and an amber LED double flashing with chirping indicates the wireless module has a low battery or is faulty9.
- Green LED on: mains power is present2.
- Red LED flashing once every 45 seconds: normal standby2.
- Two cycles of three loud beeps on test: the alarm is working2.
- Red LED flashing about once every 10 seconds: Smart Silence is active and sensitivity is reduced2.
- Amber LED flashing at the same time as a chirp: low battery; replace the alarm within 30 days2.
- Amber LED flashing at a different time from the chirp: a fault2.
- Amber LED double flashing with a chirp: the wireless module has a low battery or is faulty2.
- Chirp once every 4 hours: another alarm in the network has a low battery2.
The low battery message is the one to act on. The maker's manual says that if the amber LED is flashing at the same time as the chirp, the alarm should be replaced within 30 days, because it may have insufficient power to warn you of a real fire after that2. The battery is sealed, so replacement means replacing the alarm, not the battery. The guide to when to replace an alarm explains the general principle.
Smart Silence is the function that stops the alarm sounding while you are cooking. Pressing the central button reduces sensitivity for 10 minutes, after which the alarm returns to full sensitivity automatically2. If the level of heat or smoke reaching the alarm is very high, the silence is overridden and the alarm continues to sound2. That override is the safety feature: it means Smart Silence cannot be used to ignore a real fire. For the wider picture on cooking and alarms, see kitchen fires and how to stop false alarms.
Looking after it: cleaning, decorating and disposal
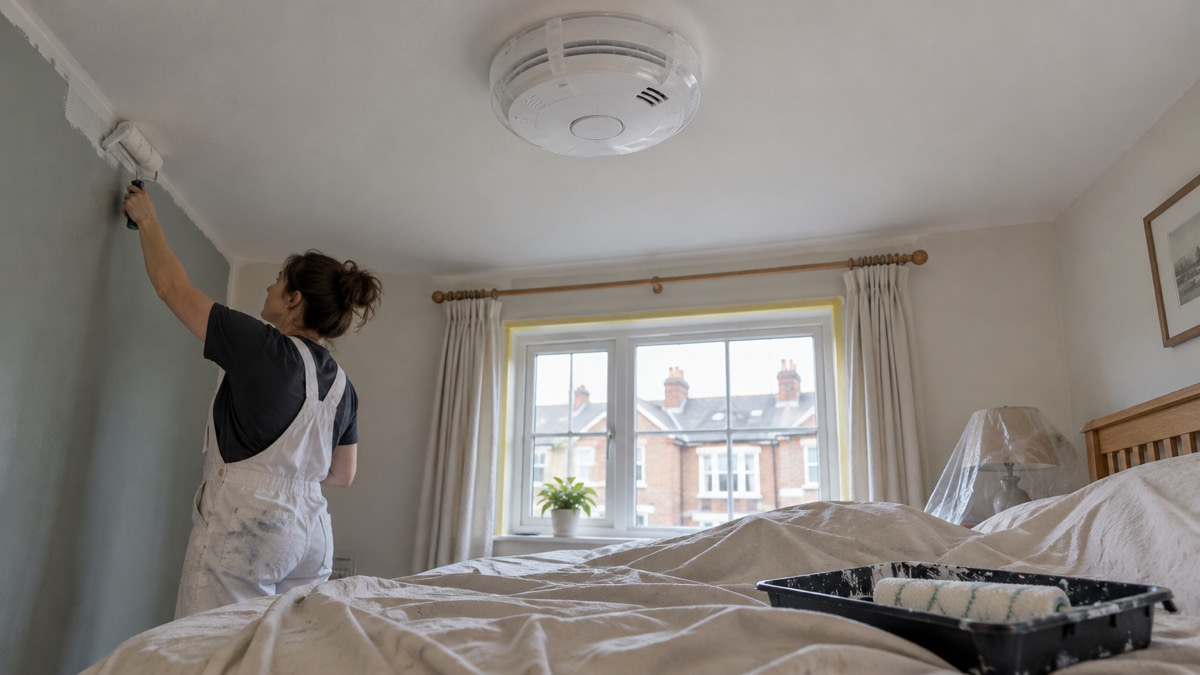
The SM-SN-1 needs very little, but the little it needs matters. The maker's manual says the alarm should be cleaned every 3 months, with the mains electricity supply turned off first, using a vacuum cleaner with a soft brush attachment9. Dust on the sensing chamber is one of the common causes of nuisance alarms, so this is worth diarising.
The manual lists things never to do: expose the alarm to moisture, dripping, splashing, steam or condensation; paint the alarm; or test it with a naked flame2. The alarm is supplied with a dust cap to prevent dust or paint entering it during installation or building projects3. Fit the cap while you are sanding, plastering or painting nearby, then take it off so the alarm can sense smoke, and test the alarm once the work is done. Never paint over the alarm itself.
When the alarm reaches the end of its life, disposal is through the waste electronic and electrical equipment (WEEE) recycling scheme rather than household waste9. The manual says not to burn it or dispose of it in fire, and that if the alarm is dropped or damaged it should be removed from the building9. If it is part of a network, unlearn it first: push and release the learn button, then push and hold it, release when the red LED goes out, and the LED flashing 5 times confirms the unlearning9. The alarm is automatically disabled once removed from its base plate9.
Warranty, support and where to get help
The SM-SN-1 carries a 5 year warranty1. The maker's manual sets the conditions: it applies to the original retail purchaser, is not transferable, and requires the alarm to be returned with postage prepaid and proof of purchase date, with any replacement warranty running from the date of the original purchase2. Keep the receipt with your household paperwork.
For help, FireAngel's technical support line is 0330 094 5830, open 9am to 5pm Monday to Friday, or you can email specification@fireangeltech.com2. The company says its customer support specialists are based in the UK and can help with product advice, installation queries and troubleshooting by phone, email or live chat13. If your alarm was fitted by Greater Manchester Fire and Rescue Service and is still covered by its guarantee, that service directs owners to FireAngel on freephone 0800 141 256114. The maker's own guidance on installing a mains powered alarm and its smoke alarm guide are useful starting points, and the FireAngel brand page lists the rest of its range.
If the alarm sounds and there is smoke or fire, do not troubleshoot: get out. The maker's manual sets out the sequence: get out, stay out, get the fire brigade out; test doors with the back of your hand before opening them; keep a set meeting place; if trapped, stay close to the floor and cover your mouth with a cloth; and do not waste time collecting possessions9. A practised plan makes that faster, so work through how to make a fire escape plan before you need it, and read what to do if a fire starts in your house for the wider response.
Sources (15)
- SM-SN-1 Data Sheet, FireAngel, 2024-09
- SM-SN-1 Generic Smoke and Heat User Manual, FireAngel, 2021-06
- SM-SN-1 Specification Smoke Alarm, FireAngel, 2026-08-21
- Installing Your FireAngel Mains Powered Heat Alarm, FireAngel, 2024-10-17
- Smoke Alarm Guide, FireAngel, 2026-07-15
- Smoke and Carbon Monoxide Alarms, Northamptonshire Fire and Rescue Service, 2026
- Plug-in Solar Panels Safety Advice, London Fire Brigade, 2026-10-25
- Ovens and Grills, Electrical Safety First, 2026-10-25
- HM-SN-1-Generic-Smoke-Heat-User-Manual_D1_WEB.pdf, FireAngel Safety Technology Limited
- FireAngel W2 SVP 630L Manual, FireAngel, 2026-03
- Spec+ Multi-Sensor Smoke and Heat Alarm, FireAngel, 2026-09-28
- Spec+ Multi-Sensor Heat and Carbon Monoxide Alarm, FireAngel, 2026-09-28
- Carbon Monoxide Safety, FireAngel, 2026-07-31
- Problem With Your Smoke or Heat Alarm, Greater Manchester Fire and Rescue Service, 2026-10-29
- FA7312 EUX4, FireAngel, 2026-10-28
 FireAngel FP2620W2-R Alarm
 FireAngel ST-632 Smoke Alarm
 FireAngel ST-750 Smoke Alarm
 FireAngel SW1 Smoke Alarm
 FireAngel SW10 Smoke Alarm
 FireAngel SB1 Smoke Alarm
 FireAngel FA6611 Smoke Alarm
 FireAngel FA6615 Smoke Alarm
 FireAngel FA8620BW Alarm
 Kidde 2030-DSR Smoke Alarm
 Kidde 2030-DCR CO Alarm
 Kidde 10Y29 Smoke Alarm