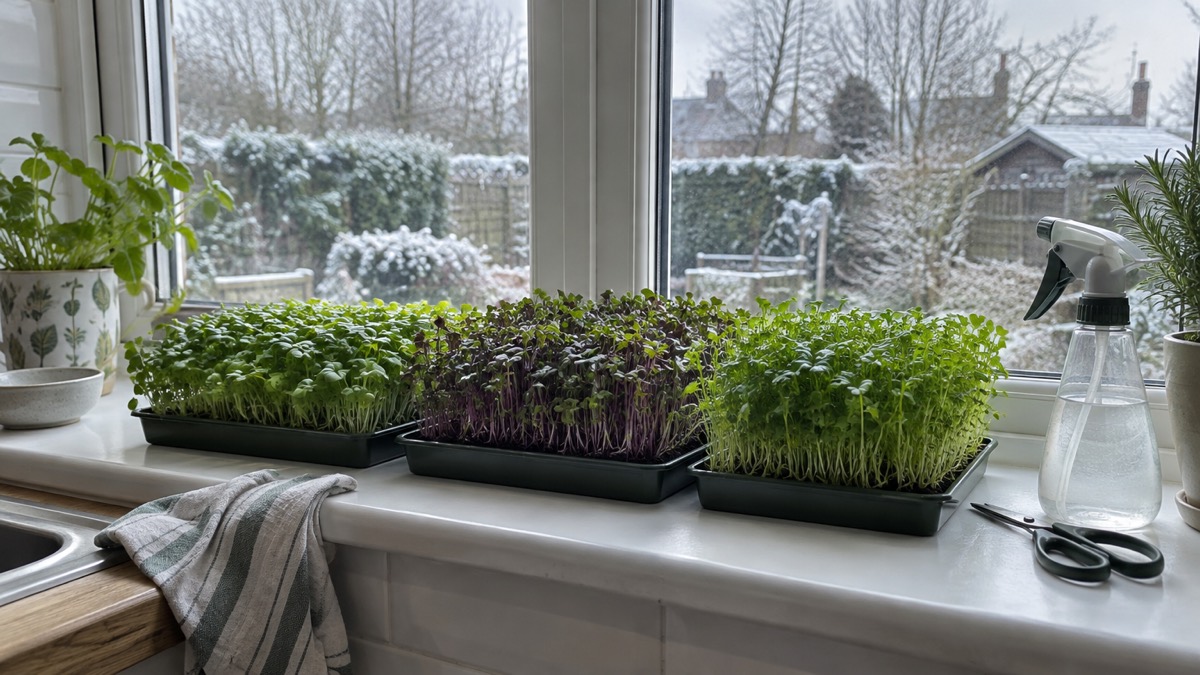
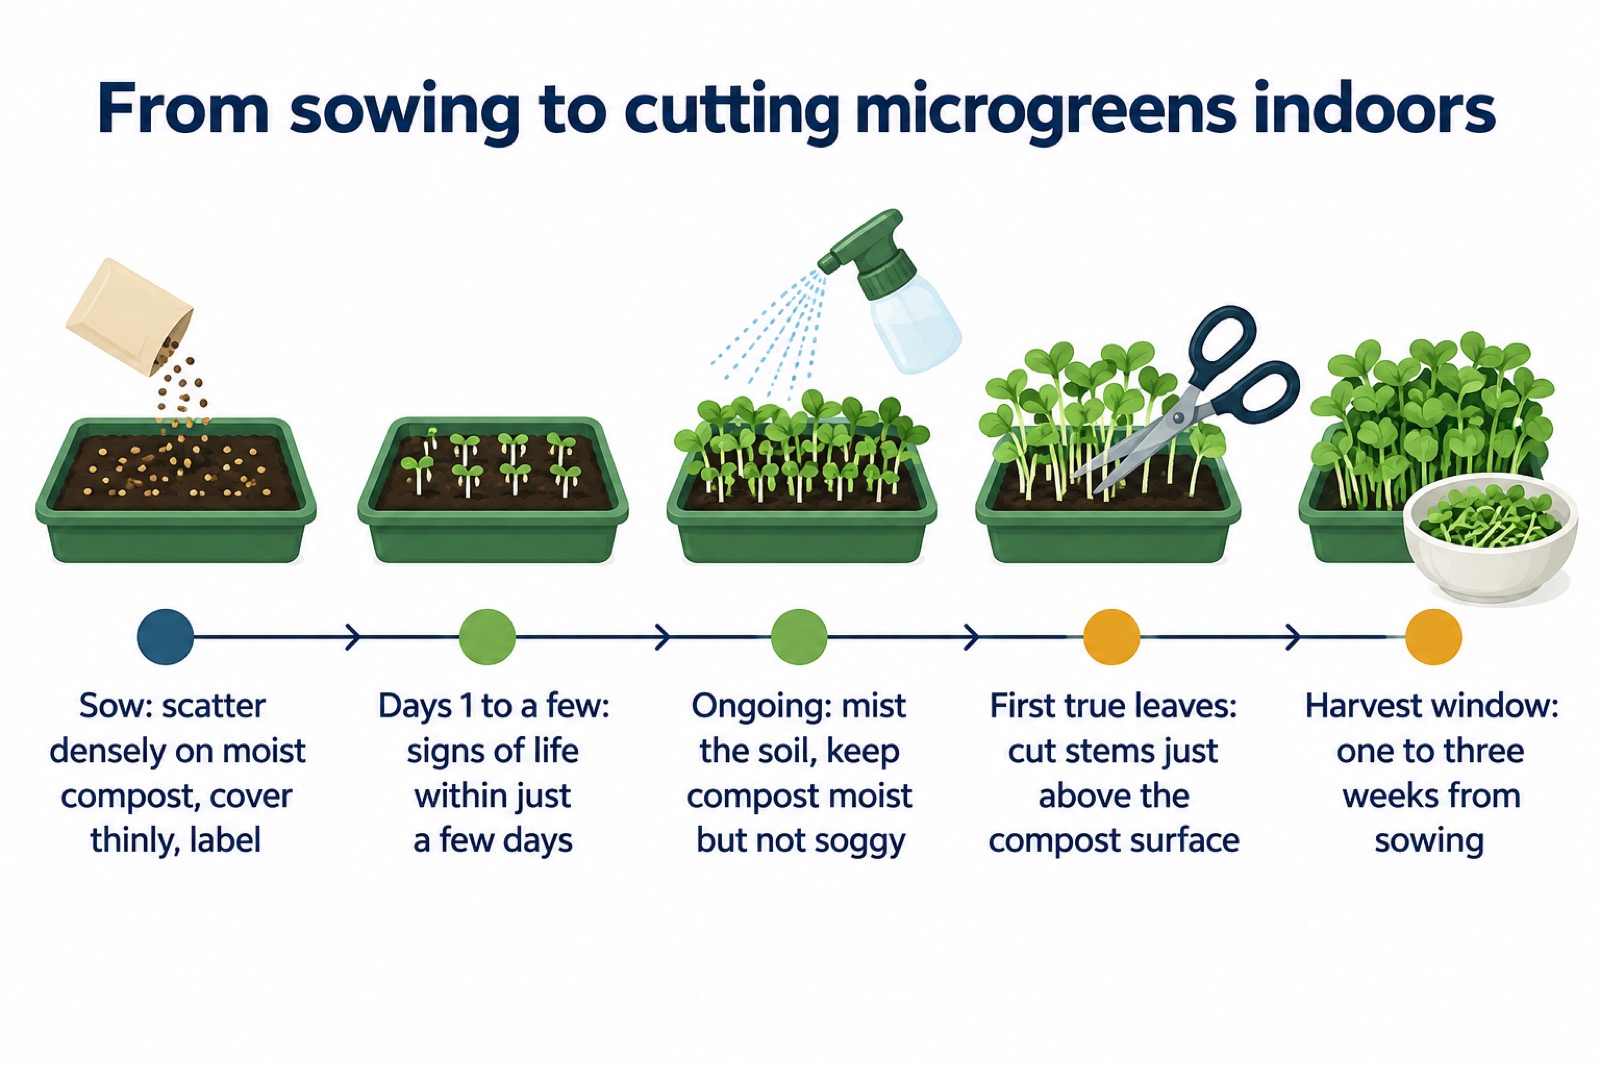
Microgreens are vegetables and herbs sown thickly in a shallow container of compost and cut while still tiny, once the first true leaves appear. You can grow them indoors on a windowsill that gets at least four hours of natural light a day, and because they never go outside they can be sown at any time of year1. The Royal Horticultural Society puts a microgreens project at one to three weeks from sowing to cutting, with signs of life within just a few days1.
The method is simple. Fill a container about 5cm deep with moist compost, firm it gently, scatter the seed more densely than you would for a normal crop, cover with a thin layer of compost and label it1. Keep the compost moist but not soggy, watering with a mist so the small seeds and stems are not dislodged, and put the container somewhere warm and bright1. When the first true leaves appear, cut the stems just above the compost surface with clean scissors, rinse and eat1.
This is a small, quick crop rather than a substitute for a vegetable plot. It gives a household fresh green garnish and salad leaves from a windowsill, including through winter, with very little kit and no garden. The sections below set out when it suits a household, what to do step by step, and how to keep the crop and the people eating it safe.
When microgreens suit a household
Microgreens earn their place when you want something edible growing quickly and do not have a garden, a greenhouse or much patience. Because they grow indoors, they can be sown at any time of year, which the Royal Horticultural Society calls perfect for winter projects1. The society's month-by-month food growing guides list microgreens among the crops to sow and plant indoors in January, alongside cress, mustard, parsley and basil, and again in December with cress and mustard3. Mustard seed suppliers note that microgreen growers can sow indoors throughout the year for a continuous harvest5.
They also suit a household that wants a first, low-risk growing project, or one to do with children. The RHS describes microgreens as a short project where pupils can see results in one to three weeks1. The same speed makes them useful for anyone who wants to learn how sowing, watering and cutting work before committing to a bigger crop.
They are less suited to anyone hoping to grow a meaningful share of their food. A tray of seedlings cut at the first-leaf stage yields garnish and sandwich filling, not a meal. If that is the aim, the wider guide to growing your own vegetables sets out what a plot or a set of containers can realistically produce, and the page on growing food in a small space covers the options when room is tight.
| Situation | Do microgreens suit it? | Why |
|---|---|---|
| No garden, one bright windowsill | Yes | Grown entirely indoors, any time of year1 |
| Winter, when little else is growing | Yes | Sown indoors in January and December3 |
| First growing project, or with children | Yes | Results in one to three weeks1 |
| Wanting a substantial share of household food | Not on their own | Cut as seedlings, so the yield per tray is small1 |
| A dark room with no direct light | Not without extra light | Needs at least four hours of natural light a day2 |
What to do, step by step
The method is short enough to learn in one sitting. The detail that decides success is in the sowing density, the depth of compost over the seed and the way you water.
- Choose a container. Seed trays or similar containers work, including clean fruit punnets or juice cartons. Garden Organic suggests one about 5cm deep1. Add drainage holes if there are none.
- Fill with compost. Use peat-free seed compost or sieved multi-purpose compost1. Moisten it and firm it down gently before sowing2.
- Sow densely. Microgreens can be sown more densely than other crops because they are harvested as seedlings and do not need much space1. Scatter the seed evenly2.
- Cover thinly. Add a thin layer of compost over the seeds, just enough to cover them, then label with the seed variety and date of sowing1.
- Water with a mist. Mist the soil regularly; anything else risks dislodging the small seeds and stems2.
- Place it warm and bright. Put the container on a warm, sunny windowsill or in a bright indoor space, and keep the compost moist but not soggy while the seeds germinate1.
- Harvest. Once the first true leaves appear, cut the stems just above the compost surface with clean scissors1.
Choosing seeds
The Royal Horticultural Society lists cress, radish, chard, turnip, mustard and beetroot as suitable seeds for microgreens1. Garden Organic notes that most brassicas, such as chard, cress and spinach, are tasty and easy to grow2. Mustard is a quick, peppery choice and can be sown indoors all year5. If you are new to it, start with cress or mustard, which germinate fast, then try radish or chard for a different flavour and leaf colour.
Equipment you need
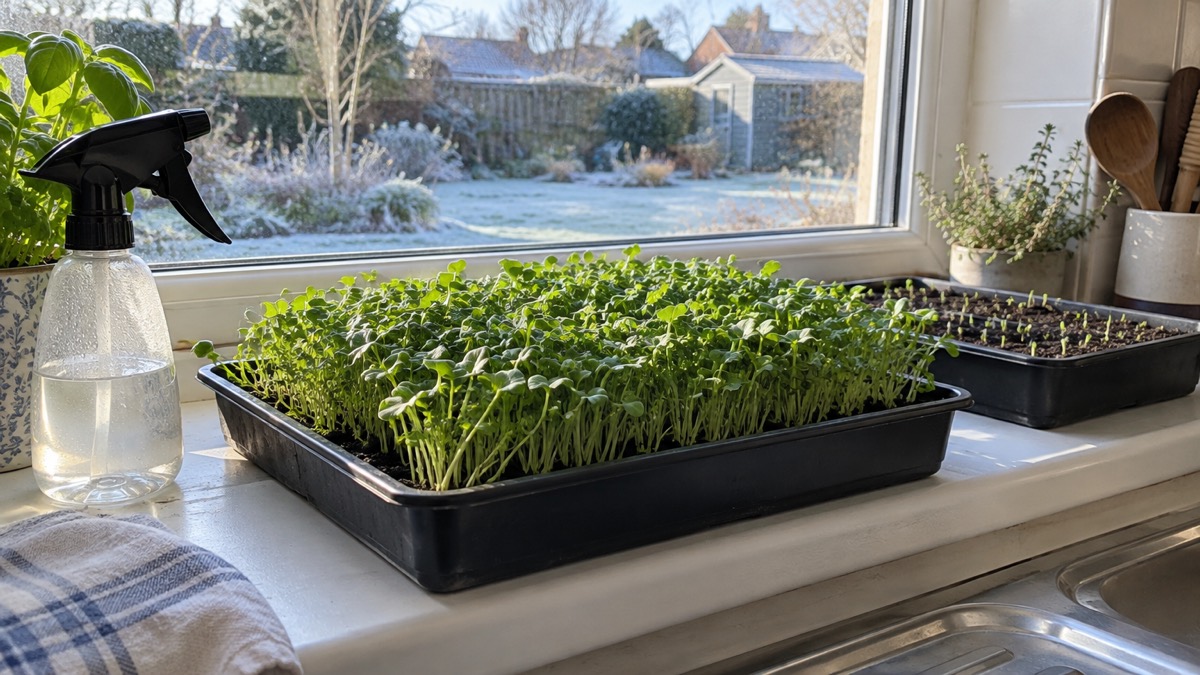
The kit list is short and mostly reusable. The RHS lists seed trays or similar containers, peat-free seed compost or sieved multi-purpose compost, plant labels and pencils, and a watering can with a fine rose1. A fine spray bottle is worth adding for the misting that Garden Organic recommends2. Our seed sowing equipment checklist covers the wider kit for starting plants indoors, and the guide to sowing seeds indoors and outdoors explains depth and germination for other crops.
If you want a tidier set-up, a windowsill propagator with a lid and water tray can help. One maker's windowsill greenhouse instructions say to fill each cell with seed and cutting compost, water well with a fine spray, place the seed in each cell and cover with a layer of compost, and for faster germination place the inserts into the water tray and cover with the lid6. As plants grow, the maker says to allow ventilation by propping open one side of the lid by approximately 1cm, and to place the unit in a bright position but not in direct sunlight6. That last point matters: strong direct sun through glass can dry a shallow tray quickly.
Light, warmth and watering: what goes wrong
Most failures with microgreens come down to light, water or temperature, and each has a simple fix.
Too little light. Garden Organic specifies a windowsill with at least four hours of natural light a day2. In a dim room, seedlings stretch and pale. Move the container to the brightest windowsill you have, or accept that the crop will be slower and weaker.
Too much or too little water. The RHS says to keep the compost moist but not soggy while the seeds germinate1. Water little and often, and check the compost under the surface rather than judging by the top alone.
Heat. A warm, sunny windowsill is what the RHS recommends1, but a windowsill in a heatwave can dry a shallow tray within a day. The government's hot weather advice notes that growing plants outside can provide shade, particularly in front of south-facing windows, while plants inside may help cool the air7. That is about house plants rather than seedlings, but the principle applies: in very hot weather, check the tray more often and move it back from the hottest glass.
Damping off and mould. Dense sowing and a lid or cover can trap moisture. If you use a propagator lid, follow the maker's ventilation advice and prop it open as the plants grow6. If you see mould on the compost surface, remove the cover, improve airflow and sow a fresh tray rather than trying to salvage it.
Harvesting and using the crop
Harvest timing is the one decision that changes the eating quality. The RHS says microgreens are harvested very young, once the first true leaves appear1. Cut too early and you have little more than sprouted seed; leave them too long and the stems toughen and the tray becomes crowded.
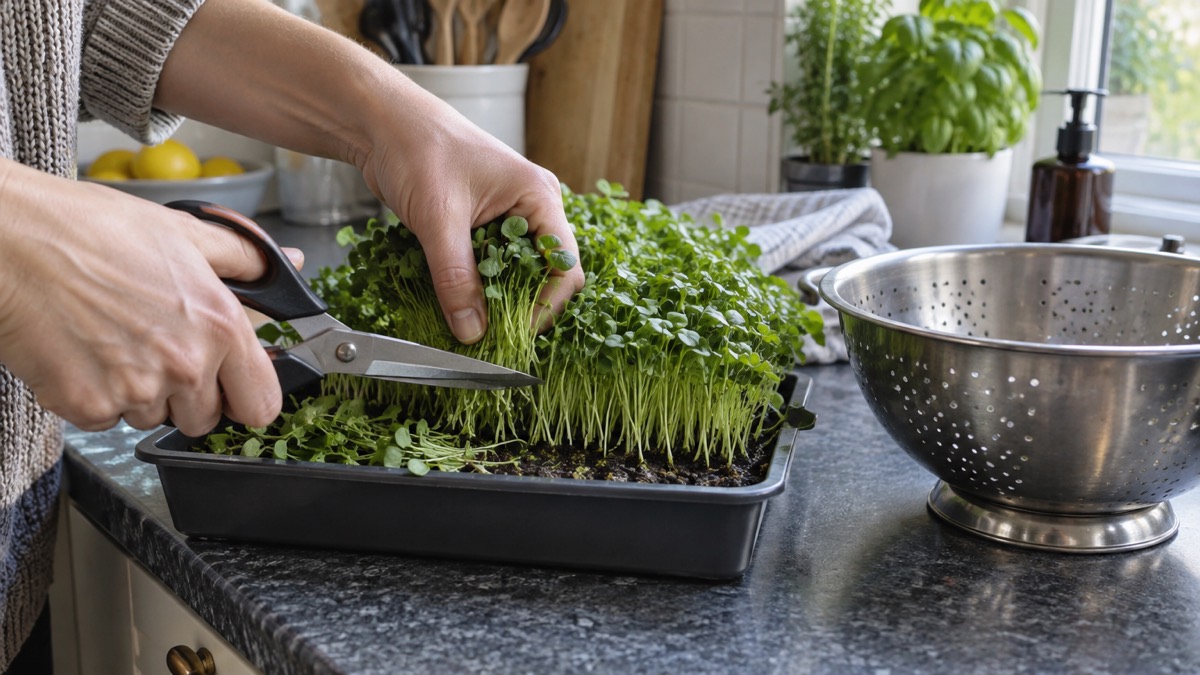
To harvest, use clean scissors to cut the stems just above the compost surface1. Rinse the microgreens and enjoy them as a garnish or in salads, sandwiches or wraps1. Cut only what you are going to eat, and leave the rest of the tray to grow on for a few more days. Because the plants are cut above the compost, the roots and growing medium stay behind, so the tray is not usually regrown for a second full crop; sow a fresh tray for a continuous supply.
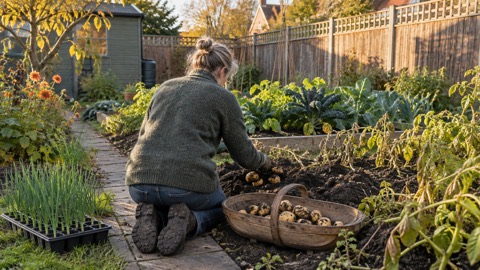
For a steady supply, sow a small tray every week or two rather than one large tray at once. This is the same principle of successive sowings that the Centre for Alternative Technology describes as one of the key elements of growing vegetables year-round, alongside protecting plants and storing harvested crops8. With microgreens the "storage" is simply eating them fresh, but the idea of sowing little and often holds.
Staying safe
Microgreens are eaten raw, so cleanliness matters more than with a crop you cook. Do not use containers that have held chemicals or non-food products, even if they look clean. If you are growing with children, supervise the cutting, since scissors are involved.
Keep the growing area away from pets and pests. A tray on a kitchen windowsill is vulnerable to cats, and a tray on a floor or shed shelf is vulnerable to mice. If you have poultry or other animals, keep the trays out of their reach and do not feed kitchen scraps or microgreens from the kitchen to livestock; the Poultry Club's guidance on greens for birds is that such greens must not come from your kitchen but should be purchased purely for feeding stock and stored separately9. That rule is about animal feed, but it is a useful reminder to keep human food and animal food separate.
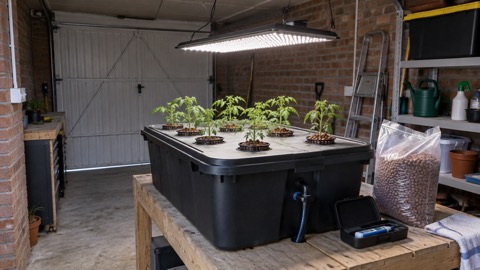
If you want to branch out into other indoor growing, the guide to indoor hydroponics covers systems that use water and nutrients rather than compost, and the page on growing under cover explains greenhouses and polytunnels for larger crops. Neither is needed for microgreens, but both are the natural next step if a windowsill tray leaves you wanting more.
Sources (9)
- Growing microgreens, Royal Horticultural Society, 2026
- Quick growing food, Garden Organic, 2026-10-29
- Month-by-month guide to food growing: spring term, Royal Horticultural Society, 2026
- Month-by-month guide to food growing: autumn term, Royal Horticultural Society, 2026
- Mustard, First Tunnels, 2026-01-14
- Windowsill Greenhouse, Garland Products, 2026-11-04
- Beat the heat: keep cool at home checklist, GOV.UK, 2026-07-21
- Growing year-round, Centre for Alternative Technology, 2025-07-02
- Housing, equipment and feed, The Poultry Club of Great Britain, 2026-11-04
 Hydroponic System Parts List
 Year-Round Sowing Calendar
 Preserving Equipment Checklist
 Blanching Vegetables
 Carrot Fly Protection
 Knowing When Chutney Is Ready
 Clubroot in Your Soil
 Drought-Resistant Vegetables
 Edible Flowers Safety
 Extending the Growing Season
 Freezing Fruit Without Sugar
 Garden Fleece Frost Protection
 Avoiding the Hungry Gap
 Keeping Varieties Pure for Seed
 Making Leafmould