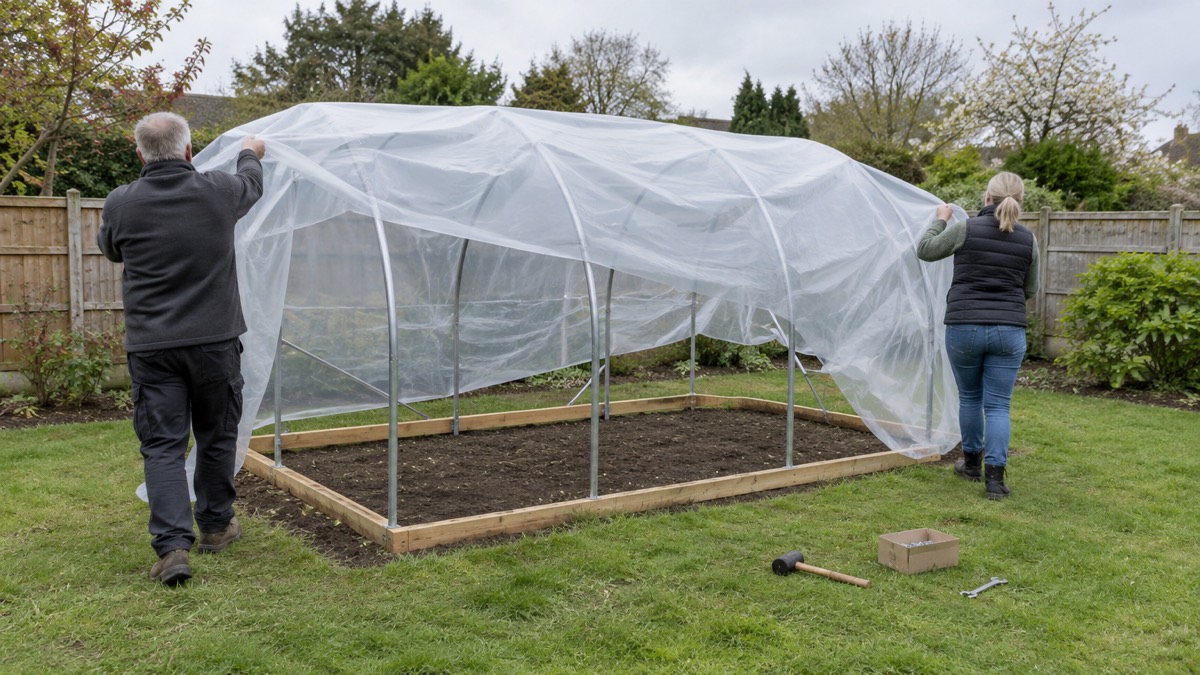
A polytunnel is a steel-framed tunnel covered in a single sheet of polythene, and what it gives you is sheltered, warmed growing space: warm air and warm soil held around your plants, protection from frost, wind and rain, and a growing season that starts earlier and ends later than anything outdoors1. The Centre for Alternative Technology, which grows grapes, figs, squashes and peppers that would be hard to raise outdoors, puts it simply: thanks to their polytunnels, they continue producing some crops all year round3.
For an ordinary household, a garden polytunnel is a realistic weekend project. Makers are clear that building one is a two person job, and many customers build a standard garden tunnel over a weekend4. The decisions that matter most come before you lift a spade: where the tunnel faces, how wide it is, and how the cover will be anchored. Get those right and the rest is methodical work with ordinary tools.
This page covers the whole journey: choosing a site and a size, building the frame, fitting and tensioning the cover, sealing the base against pests and weeds, watering and pollinating by hand, and what to grow in each season. If you are still deciding between a tunnel and a glasshouse, see our comparison page polytunnel or greenhouse; if you are new to growing food at all, start with growing your own vegetables.
Where to put it: side on to the prevailing wind
Orientation is the first decision, and both major UK makers give the same advice: construct the polytunnel side on to the prevailing wind, so that the wind travels up and over the curved roof rather than hitting a flat end full on1. A tunnel presents a large, smooth surface to the weather, and the curved profile only sheds wind cleanly when the wind meets it along the side. If you do not know your prevailing wind, watch the garden over a few weeks: the direction trees and tall plants lean, and the side of the house the weather usually arrives from, will tell you.
Shelter matters as much as orientation. The tunnel itself benefits from the same logic, so a site with some existing shelter, without shading the tunnel, is ideal. A polytunnel is normally placed straight onto a soil base with the only preparation being a simple site clearance5, so choosing a sheltered, unshaded spot at the outset is the main decision to get right.
Think also about what goes inside and how you will move around it. Wider tunnels or double door setups make moving trays, tools and plants easier, and dedicating one end of the tunnel to storage, potting or packing keeps the growing space clear1. Plan beds with succession planting in mind, so that as one crop finishes another is ready to go in. If you are weighing a tunnel against other ways of extending the season, our page on extending the growing season without a greenhouse covers the lighter options.
Before you commit to a site, check whether any planning rules apply to your garden structures; our page on planning permission explains when permission is needed.
Sloping ground: what a tunnel can absorb
Few gardens are perfectly flat, and the good news is that a polytunnel is forgiving. Approximately 6 inches out of level across the width can be accounted for by adjusting the foundation tubes of the tunnel4. The foundation tubes are the steel tubes driven into the ground that the hoops slot onto, and because they can sit at slightly different heights, a modest crossways slope disappears into the build.
A slope from end to end, down the length of the tunnel, does not have to be taken into account at all: the polytunnel can be built straight onto the slope with the framework placed at the vertical4. Each hoop stands plumb, and the tunnel simply steps down the garden. This makes polytunnels far more adaptable to sloping plots than most permanent garden buildings.
For reference on the tubes themselves: standard garden polytunnels from 6ft to 12ft wide use 500mm long foundation tubes, and they should be driven into the ground until only the swaged section, approximately 2 to 4in (50 to 100mm), is protruding above ground4. The swaged section is the narrowed end that the hoop slides over, so that is the part that must remain visible to receive the hoop.
Polytunnels are normally placed straight onto a soil base, with the only preparation being a simple site clearance4. There is no need for slabs, concrete or hard standing unless you particularly want them, and a soil base is what the standard anchoring methods are designed for.
Choosing a size: go one bigger than you think
Makers offer garden tunnels in stepped widths, and each width suits a different household. The consistent advice from Premier Polytunnels is that if possible you should go one size bigger than you initially think, as many growers quickly fill their space with crops and equipment1.
| Width | Who it suits | What fits inside |
|---|---|---|
| 6ft (1.83m) and 8ft (2.44m) | Small gardens and beginners | Vertical growing and staging to maximise yield, for example tomatoes and climbing French beans1 |
| 10ft (3.05m) | Medium-sized gardens | Wide beds and a central path with crops on either side1 |
| 12ft (3.66m) and 14ft (4.27m) | Large gardens | Multiple beds, a double-path system, growing in the ground, staging or raised beds, and zones for propagation, potting and trellising1 |
| 16ft (4.88m) and up to 30ft (9.15m) | Commercial range: growers, market gardens, schools, community gardens | Sturdy year-round environment; the 30ft width allows multiple rows and irrigation systems1 |
A standard kit maker groups these the same way: small polytunnels of 6ft to 10ft wide suit beginner gardeners, small gardens or allotments and seasonal growing or propagation; medium kits of 12ft to 14ft suit keen hobby growers and families growing food year-round; and large kits of 16ft to 30ft suit commercial growers, schools and community projects6. If you are unsure, the maker's own advice is to start with a size that fits your current needs but allows room to grow6.
To make the widths concrete, the 6ft wide tunnel from Premier Polytunnels stands 6ft 4in tall overall, with a 3ft 6in straight side, 5ft 4in of head room a foot in from the side, hoops spaced at 4ft, a distance over the hoop of 16ft 1in, and a single hinged front door up to 2ft 2in wide7. The 10ft wide tunnel stands 6ft 8in tall8. First Tunnels' 12ft wide tunnel offers a choice of 1in (25.4mm) or 1½in (35mm) hoop diameter and a door opening height of 6ft (1.83m)9. Length for length, a bigger width pays: First Tunnels notes that a 6ft x 20ft polytunnel gives two and a half times the growing space of a 6ft x 8ft structure10.
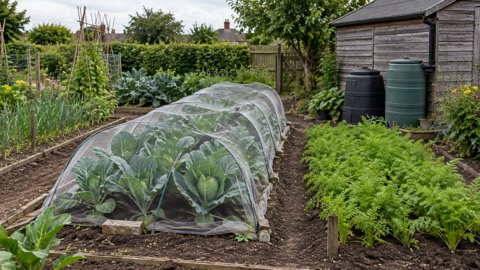
If a full tunnel is more than your space or budget allows, a polythene cloche, a mini polytunnel used to retain heat and protect plants from frost and rain, covers a single bed11. Our page on growing food in a small space has more on making a little room productive.
Building a standard garden tunnel: a two person weekend
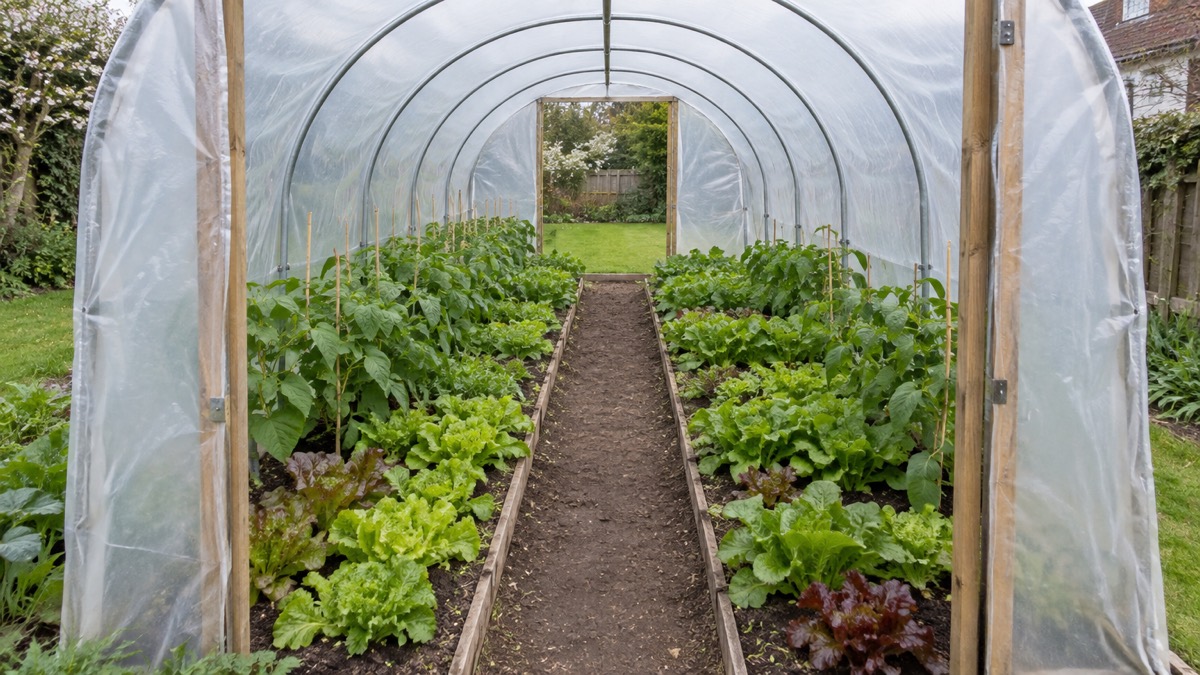
Building a garden tunnel really is a two person job, so invite a friend and get stuck in4. Many customers build a standard garden tunnel over a weekend, though the maker is careful to say there are many factors that determine how long it takes4. First Tunnels gives a similar picture for its 12ft x 25ft tunnel: it can be constructed in a day by knowledgeable constructors, but it would be prudent to pencil in two days for a first-time constructor10.
The frame itself is straightforward. Sections of Z35 high tensile galvanised steel hoops are placed at regular intervals and held together with steel stabilisers and a ridge4. A standard kit includes the steel framework with foundation tubes, hoops, corner stabilisers and a ridge bar, a timber door frame and single hinged front door, a timber end frame with a dummy door at the rear, a Thermal Anti Drip cover, and Anti Hot Spot Tape, which protects the polythene where it touches the steel7. Premier Polytunnels uses galvanised steel for the framework and pressure-treated timber for doors and base rails1.
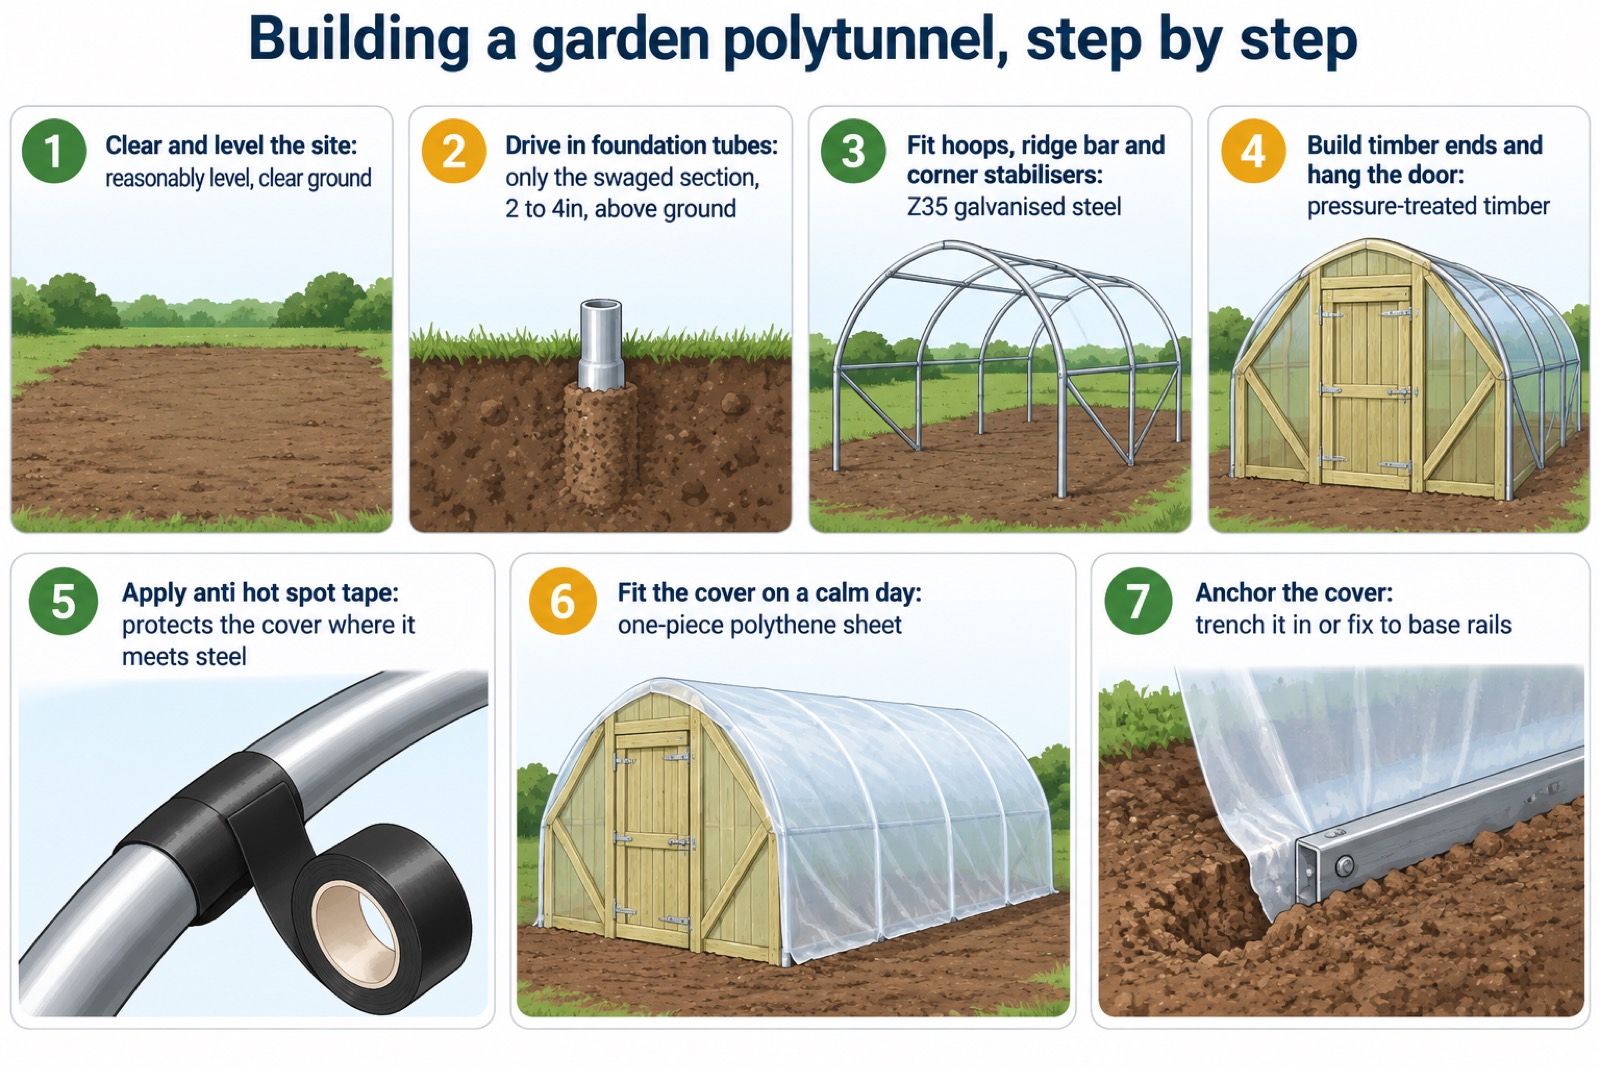
The build sequence for a trenched 6ft wide garden tunnel runs as follows6:
- Prepare the site: choose a reasonably level spot and make sure it is clear before starting.
- Install the foundation tubes, driven in until only the swaged section protrudes.
- Fit the hoops, ridge bar and corner stabilisers.
- Build the timber ends and hang the door.
- Apply anti hot spot tape along the hoops.
- Fit the cover.
Every order from Premier Polytunnels' 10ft range comes with a Parts Check List and a full Construction Guide, and a 7-day construction helpline if you want extra support during the build8. First Tunnels includes a free Fruit and Veg Polytunnel Yearly Planner with its 10ft kits to help you decide what to sow, plant and harvest8.
One reassurance for the less mechanically confident: Premier Polytunnels uses a simple clamping system, used almost universally throughout the structure, which allows fully adjustable fixing and means no worries about using the wrong bracket4. The frame largely bolts and clamps together rather than demanding precise fabrication.
Tools you need for the build
Nothing specialised is required. For a standard polytunnel, Premier Polytunnels lists: a tape measure, spade, large hammer and claw hammer, spirit level, two 13mm spanners, marker pen, battery drill, 9mm and 5mm drill bits, Phillips screwdriver, wood saw, string line, sharp knife, and a timber drift4. First Tunnels' list for its 12ft x 25ft kit is similar: spade, tape measure, pegs and string for marking out, lump hammer, drill and metal bits, spanners or socket set, Phillips and flat headed screwdrivers, scissors or Stanley knife, hammer, saw and step ladder10.
If your polytunnel includes aluminium rails, ventilation screens or sliding doors, you will also need a hacksaw or angle grinder, a rubber hammer and a flathead screwdriver4.
On self-drill screws, the maker's method is worth following exactly: start slowly, and once the screw has begun to bite, press firmly and increase speed. Drilling a small pilot hole in the steel first may help, and extra pressure may be required on harder steel such as the weld4.
Fitting the cover: wait for a calm day
The single most important rule of cover fitting is the weather. A warm day is preferable, because polythene is more supple when warm, but not essential; a calm day is without doubt necessary, as you are effectively opening a large sail4. A full tunnel cover is a single large sheet, and in any wind it becomes unmanageable and can be torn or dragged across the frame. Check the forecast and be patient.
"Real" polytunnels are not supplied with a shaped cover: a one-piece polythene sheet is pulled over the polytunnel frame4. Standard covers on the 6ft and 10ft kits are 600 gauge (150 micron) Thermal Anti Drip film7. Anti drip treatment matters inside a tunnel: it encourages condensation to run down the film rather than drip onto plants.
Most importantly, the polythene cover should be as taut as possible4. A taut cover sheds wind and rain cleanly, resists flapping in storms, and will not sag into pooling pockets of water. If the framework sinks slightly over time and the cover goes slack, take action to re-tension the sheet on a non-windy day and ensure the cover is taut again before a storm hits12.
The cover at the ends
Because the cover is one flat sheet rather than a tailored shape, it does not drape neatly over the curved ends. The polythene is only required to come around the ends to the door posts, and usually only hangs halfway down the ends when the cover is centralised over the frame4. The pleats allow the excess polythene to be neatly gathered and spread out while keeping the cover as taut as possible4. Do not try to pull the sheet down the full height of the end frames; the timber end frames close off the tunnel, and the cover's job at the ends is to reach the door posts and be pleated tidy.
Trench or base rails: how to anchor the cover
There are two standard ways to fix the cover, and both makers support both. For a standard polytunnel, a trench is dug around the outside of the framework and the one-piece cover is buried into the trench4. Trenching is the standard fixing method on kits from 6ft wide all the way up to 24ft wide, and the trenching method is suitable for all polytunnels up to and including 24ft wide constructed on a soil base12.
The alternative is base rails, available in timber or aluminium, which grip the cover along the sides instead of burying it12. The greater the length of the polytunnel, or when digging conditions are difficult, base rails are a simpler option4. Base rails are also adjustable to allow for cover tensioning, helping you achieve what the maker calls a drum tight finish, and they are a popular choice for large polytunnels or where the ground is rocky12.
| Method | How it works | Suits |
|---|---|---|
| Trenching | Cover buried in a trench dug around the frame | All tunnels up to 24ft wide on a soil base; the standard method4 |
| Base rails | Timber or aluminium rails grip the cover at the sides; adjustable for tension | Long tunnels, rocky or difficult digging ground, large polytunnels4 |
On garden tunnels there is also the option of Cover Tensioning Tubes, which allow the hoops to be raised to tension the cover when it is trenched into the ground4. These let you take up slack in a trenched cover without digging it up.
Anchor plates: the non-negotiable with base rails
If you use base rails, one requirement is absolute. Anchor Plates or Base Plates MUST be used when using the Timber Base Rail or Aluminium Base Rail method of fixing and securing the polythene cover4. The reason is structural: base rails change how the frame is held down, and anchor plates are necessary to secure the steel frame into the ground to prevent it lifting, even in the most severe weather conditions4.
"Anchor Plates or Base Plates MUST be used when using the Timber Base Rail or Aluminium Base Rail method of fixing and securing the polythene cover."
The two plates do different jobs. Anchor Plates are used for fixing polytunnels into a soil base and replace the need for concrete; Base Plates are used for fixing polytunnels to a hard standing base such as concrete or flags4. Match the plate to the surface your tunnel stands on.
Sealing the base against pests and weeds
A sealed base keeps out what you do not want and holds in what you do. Even when using base rails, burying any surplus polythene ensures the base of the polytunnel is sealed against pests and draughts4. The same surplus polythene has a second use outside: lay it along the ground and cover it in chippings, which prevents weeds from growing up to the sides of the tunnel and keeps strimmers away from the polythene4. Strimmer cord is a common cause of polytunnel cover damage, so a chipping strip is cheap insurance.
Inside, a ground cover sheet suppresses weeds while allowing water to disperse through without causing puddles; it is tear-resistant, easy to clean, and has grid lines to help you space pots and planters evenly12. The pest benefit is real and crop-specific: a polytunnel helps ward off most pests for beetroot and extends the sowing and harvesting periods13, and for cabbages a tunnel makes it easier to control pests and grow even in the depths of winter and the most northern reaches of the UK14. For broader pest management once things are growing, see our guide to vegetable pests and diseases.
Encouraging beneficial insects in works alongside sealing them out: combat aphids by encouraging ladybirds and hoverflies into the polytunnel13.
Watering and pollination: you do the rain and wind's job
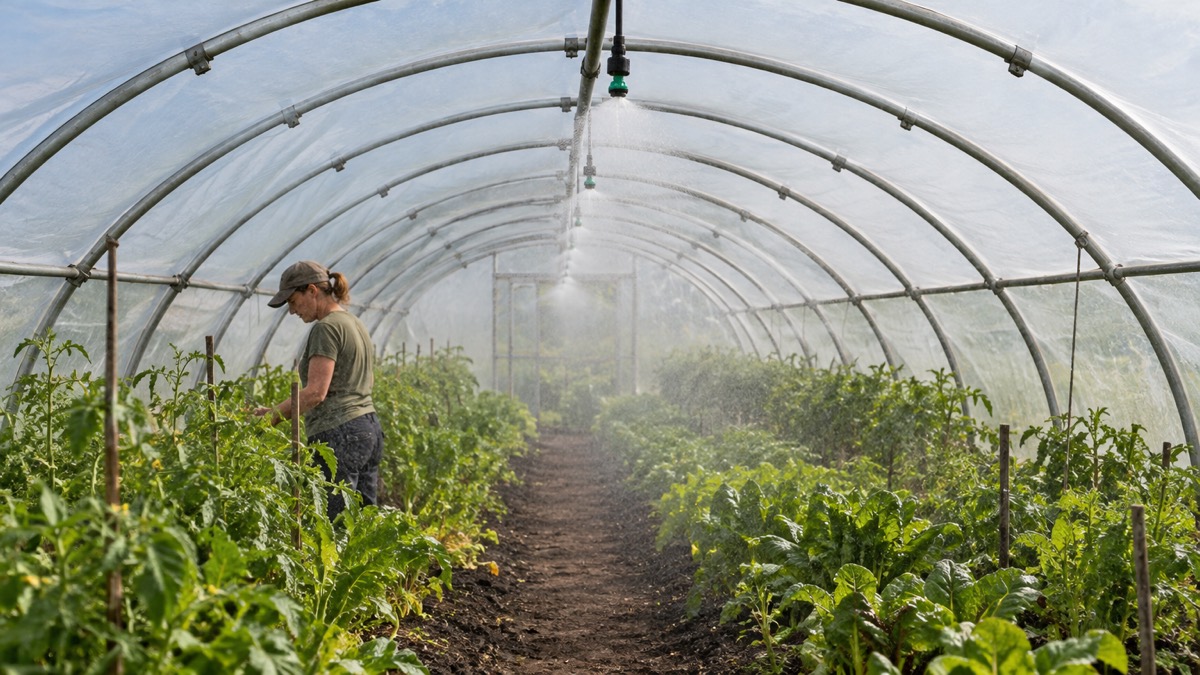
Under cover, two of nature's free services stop, and you take them over. First, water: in a polytunnel you must meet all the water needs of your plants, since they will not naturally receive rainfall5. A tunnel can be a surprisingly dry place in summer, and a watering routine or an irrigation system stops being optional.
The simplest step up from a can is an overhead irrigation kit. A polythene pipe fits to the roof of the polytunnel with sprinklers on drop tubes placed at approximately every hoop along the length15. On 14ft wide tunnels, two irrigation lines run along the length of the tunnel, ensuring full coverage right up to the edge, with the feeder pipe suspended on galvanised straining wires for added support15.
Second, pollination: wind will not be able to do the job inside a polytunnel, so aid pollination by tapping or gently shaking plants, and take care to maintain good airflow5. This matters most for wind-pollinated crops like sweetcorn, but gentle shaking helps many crops set fruit, and good airflow reduces fungal problems.
For water supply, polytunnel gutters collect rainwater running off the cover, which is especially useful for allotment growers without mains water; they are designed to be used with timber or aluminium side rails and are sold individually in black rigid PVC12. Rainwater harvesting off a tunnel is the same principle as off a shed roof: one householder in a flood resilience case study fixed guttering to a large shed to harvest rainwater into two water butts, with the excess piped onto the garden17. Our pages on rainwater harvesting and water butts cover the equipment in detail.
Crops that do well under cover through the year
The point of all this structure is what you can grow. Cloches, cold frames, greenhouses and polytunnels protect plants from frost, wind and rain damage by keeping warm air and soil around them2. Garden Organic adds a winter caveat: greenhouses and polytunnels give sheltered growing space, but you will need to add extra insulation to prevent deep frost penetration in the coldest weather, using deep pots, grow bags or a growing bed18.
A polytunnel changes what is possible, not just when it is possible. The Centre for Alternative Technology grows grapes, figs, squashes and peppers that would be hard to grow outdoors3. Radish is a simple starter: a polytunnel extends the growing season so you can harvest home-grown radishes all year round19. Cabbages can be grown in a polytunnel all year round, with varieties suited to every season14.
Through autumn and winter the tunnel keeps working. In September, the cover and protection from cooler nights and crisp mornings mean crops will carry on giving for some weeks yet20. In November, try sowing basil, dill and parsley under cover, and keep winter salad leaves cropping20. The maker's autumn advice is to have everything in the polytunnel in order by the end of October, ready for the cold months ahead20.
| Season | What the tunnel does | What to grow |
|---|---|---|
| Spring | Hotbeds and a plant nursery for tender crops3 | Radish, early salad, propagation for planting out19 |
| Summer | Main growing space for tender vegetables3 | Tomatoes, cucumbers, chillies, sweetcorn in larger tunnels, melons3 |
| Autumn | Protection from cooler nights and crisp mornings20 | Crops keep giving for weeks; tidy up by end of October20 |
| Winter | Extra insulation needed to prevent deep frost penetration18 | Winter salad leaves, basil, dill, parsley sown under cover, cabbages20 |
Two crops show the tunnel's reach and its limits. Melons can be planted into a greenhouse or polytunnel from late May onwards, with harvests in mid to late summer and perhaps into early autumn; an unheated polytunnel may provide the required temperature in the south, though further north a degree of heating will likely be required21. Sweetcorn needs space: it is best grown in blocks at least four plants wide and four plants deep because it is wind pollinated, spaced 45cm (18in) apart, so you will usually need a larger polytunnel to grow it successfully5. Sow sweetcorn indoors at 18-21C from mid-April to early May in modules or deep pots at a depth of 2.5cm; seeds should germinate within a couple of weeks22. Plan the layout so sweetcorn only shades other plants where that is desirable5.
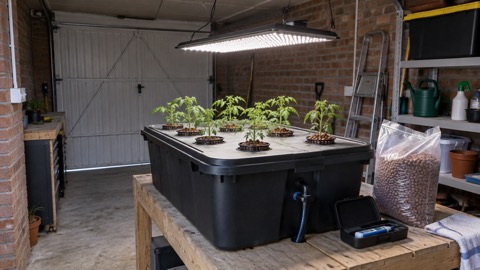
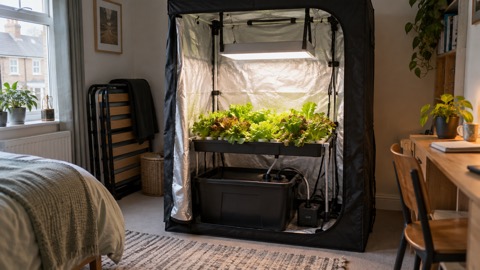
Beyond soil-grown crops, hydroponic growing also sits under cover: hydroponic crops are grown either in a glasshouse or polytunnel, and the growing season can be extended with extra heat and light23. Our indoor hydroponics page covers that method separately.
For planning the whole year, the book How to Grow Food in Your Polytunnel All Year Round by Andy McKee and Mark Gatter gives an overview of activity through the seasons, a chapter for newcomers, a season-by-season growing guide, planning for the hungry gap, and dealing with pests24. Our page on avoiding the hungry gap addresses that lean spell directly.
Moving or extending a tunnel later
Circumstances change, and a polytunnel can change with them. The maker suggests moving or extending a polytunnel when the polythene cover requires replacing anyway, in order to keep costs down; extending means a new, larger cover will be needed4. This is the practical argument for sizing generously at the outset: a cover has a finite life, and aligning a rebuild with its replacement avoids paying twice.
Help and extras that come with a tunnel
Makers include more than steel and polythene. First Tunnels provides a free Growing Pack with every Domestic or Commercial polytunnel25. The book is How to Grow Food in Your Polytunnel All Year Round by Andy McKee and Mark Gatter, provided free in the Growing Pack with all Domestic and Commercial polytunnels ordered from First Tunnels24. The pack includes top tomato seeds to get your polytunnel gardening off to a flying start, with an online guide to growing them in the Top of the Crops pages25. Mini Polytunnels are excluded from the free pack25. The crop wheel itself was developed working with real polytunnel gardeners25.
Accessories worth knowing about as your tunnel matures include crop bars, which fit 6ft to 14ft wide tunnels and support hanging baskets, canes, shade net, lighting and irrigation; on tunnels greater than 10ft wide they have additional support up to the hoops or ridge26. Side ventilation options include replacing the lower portion of the cover with 50% shade ventilation net9, and on the 6ft tunnel a ventilation screen requires an aluminium or timber side rail kit on that side first7. For ventilation without a full tunnel, a polythene cloche retains heat and protects plants from frost and rain over a single bed11.
If you are growing in a community setting, the same structures serve schools and community gardens well6, and our page on community resilience covers organising neighbours around a shared project.
Sources (26)
- Choosing your polytunnel size, Premier Polytunnels, 2026
- Growing year round, Centre for Alternative Technology, 2025
- Gardens and growing at CAT, Centre for Alternative Technology, 2025
- Construction FAQs, Premier Polytunnels, 2026
- Top of the crops: sweetcorn, First Tunnels, 2026
- What's included in a standard kit, Premier Polytunnels, 2026
- 6ft wide polytunnel, Premier Polytunnels, 2026
- 10ft wide polytunnel, Premier Polytunnels, 2026
- 12ft wide polytunnel, First Tunnels, 2026
- First Tunnels domestic polytunnels, First Tunnels, 2026
- Polythene cloche, Premier Polytunnels, 2026
- What accessories do I need, Premier Polytunnels, 2026
- Top of the crops: beetroot, First Tunnels, 2026
- Top of the crops: cabbage, First Tunnels, 2026
- Overhead irrigation kits for garden polytunnels, Premier Polytunnels, 2026
- Polytunnel gutter, Premier Polytunnels, 2026
- Property flood resilience case studies, Derbyshire County Council, 2024
- Vegetables all year round, Garden Organic, 2026
- Top of the crops: radish, First Tunnels, 2026
- Autumn growing guides, First Tunnels, 2026
- Top of the crops: melon, First Tunnels, 2026
- Sweetcorn growing advice, Harrod Horticultural, 2026
- Growing crops with hydroponics, Royal Horticultural Society, 2026
- How to grow food in your polytunnel all year round, First Tunnels, 2026
- First Tunnels growing pack, First Tunnels, 2026
- Crop bars for garden polytunnels, Premier Polytunnels, 2026
 Hydroponic System Parts List
 Year-Round Sowing Calendar
 Preserving Equipment Checklist
 Getting an Allotment
 Composting at Home
 Vegetable Pests and Diseases
 Fermenting Vegetables at Home
 Freezing Home-Grown Produce
 Growing Fruit at Home
 Indoor Hydroponics
 Sowing Seeds
 Storing the Harvest