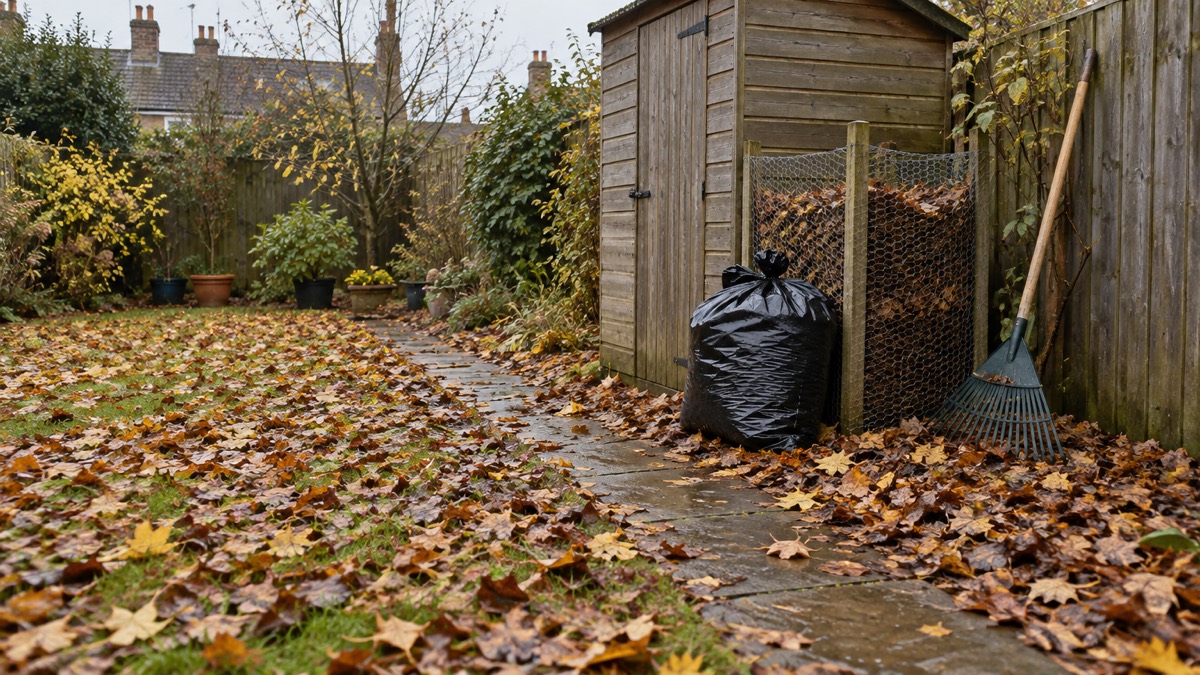
Leafmould is what fallen autumn leaves become if you gather them up, pack them into a bag or a wire frame while they are damp, and leave them for a year or two1. Garden Organic calls it "a fantastic natural soil conditioner"1. It costs nothing but the effort of collecting, and it turns a garden nuisance into something you would otherwise buy in bags.
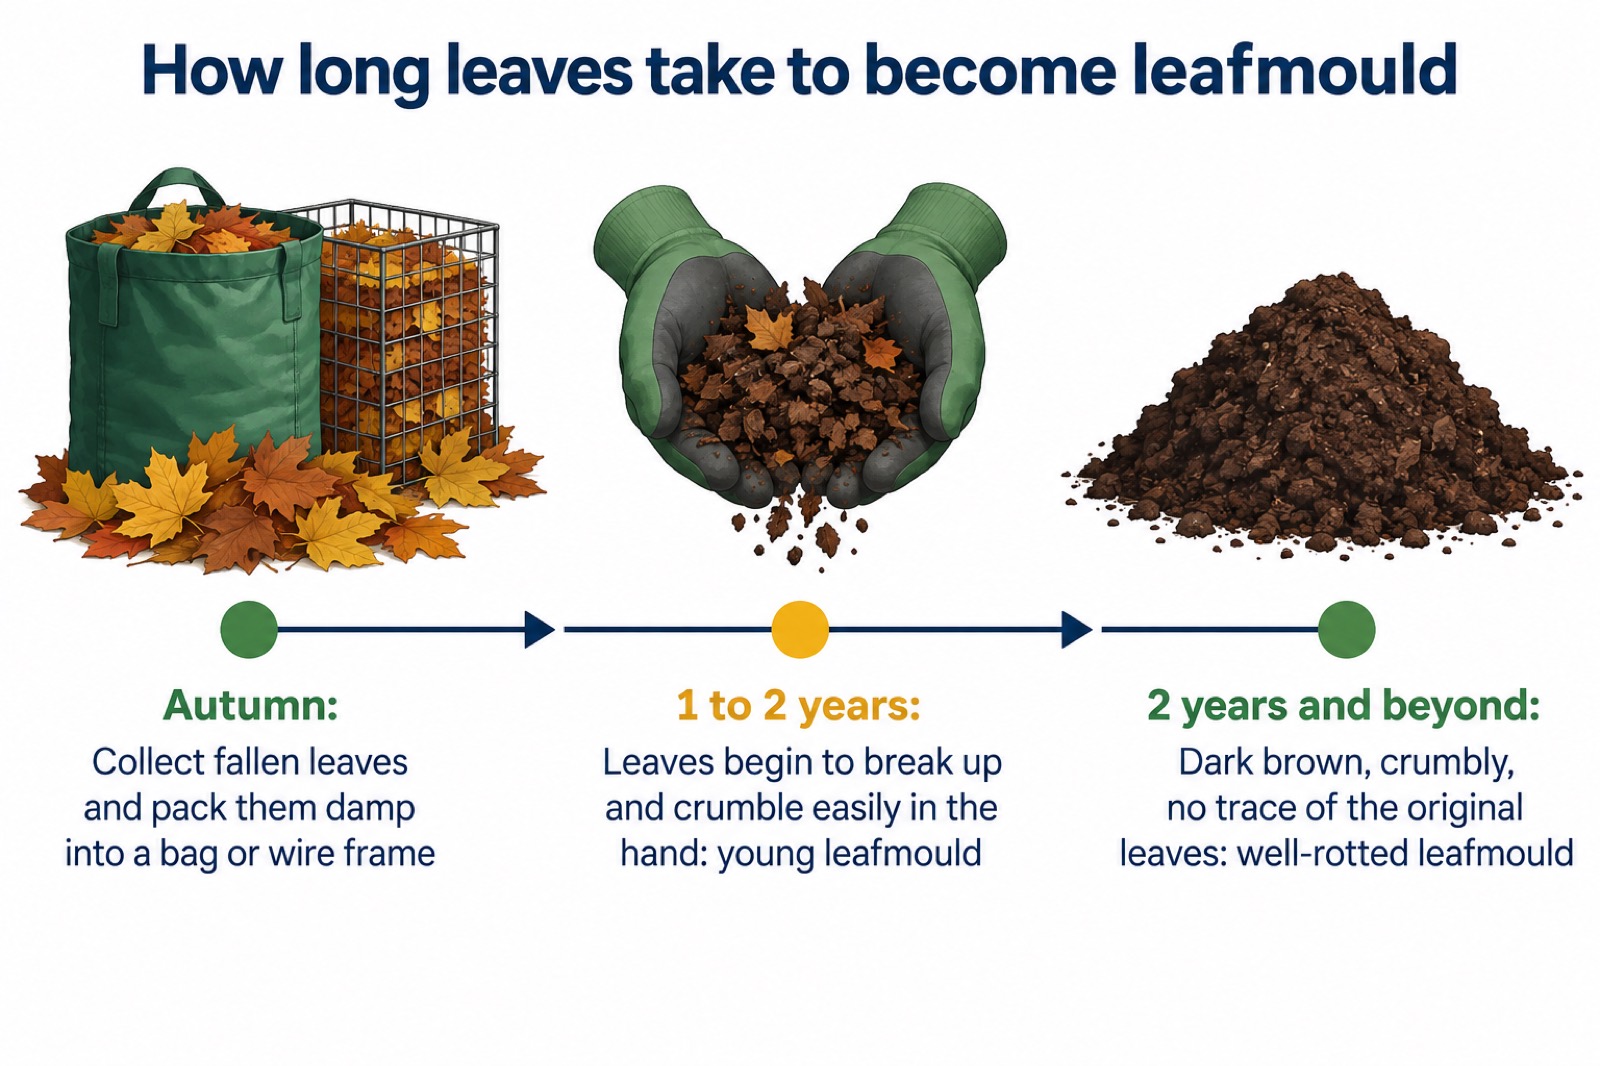
The method is simple. Collect fallen leaves in autumn, pack them damp into a reusable bin bag or a wire frame, and leave them for a year or two1. At one or two years old the leaves begin to break up and crumble easily in the hand; that is young leafmould, ready to use as a mulch or soil improver1. Leave it at least two years and it becomes a dark brown crumbly material with no real trace of the original leaves, which can be sieved and used for sowing seed or potting on1.
What follows covers when in the year to do it, how to collect and store the leaves, what each grade of leafmould is good for, and the safety points that matter while you are clearing leaves from paths, gutters and around the house.
When to collect leaves, and which ones to use
Autumn is the season for it. The RHS lists collecting leaves to make leaf compost among the November garden jobs, alongside digging the soil if weather conditions allow and cutting autumn raspberry canes to ground level2. You do not need to wait for a particular week: collect as they fall, and again after windy weather has brought down another batch.
You can use all fallen leaves in the autumn, even the ones with black spots1. There is no need to sort through them leaf by leaf, and no need to discard the discoloured ones. If you want to speed up the process, running the mower over the lawn with the blades set high will shred the leaves and collect them in a mix of grass trimmings1. Mixing grass cuttings with the leaves also increases the nitrate content of the finished leafmould1.
Pine needles are the one group worth keeping separate. They produce acidic leafmould, which is ideal for mulching ericaceous plants such as rhododendrons, azaleas, camellias, Pieris and blueberries1. If you garden on acid soil, or grow any of those in pots, a separate bag of pine needle leafmould is worth the small extra effort.
| Leaf type | What to do with it | What it gives you |
|---|---|---|
| All fallen autumn leaves, including those with black spots | Collect and pack damp into the usual container1 | General purpose leafmould for mulching and soil improvement1 |
| Leaves mixed with grass cuttings | Run the mower over them with blades set high to shred and collect1 | Leafmould with a higher nitrate content1 |
| Pine needles | Keep separate from the general heap1 | Acidic leafmould for rhododendrons, azaleas, camellias, Pieris and blueberries1 |
What to do, step by step
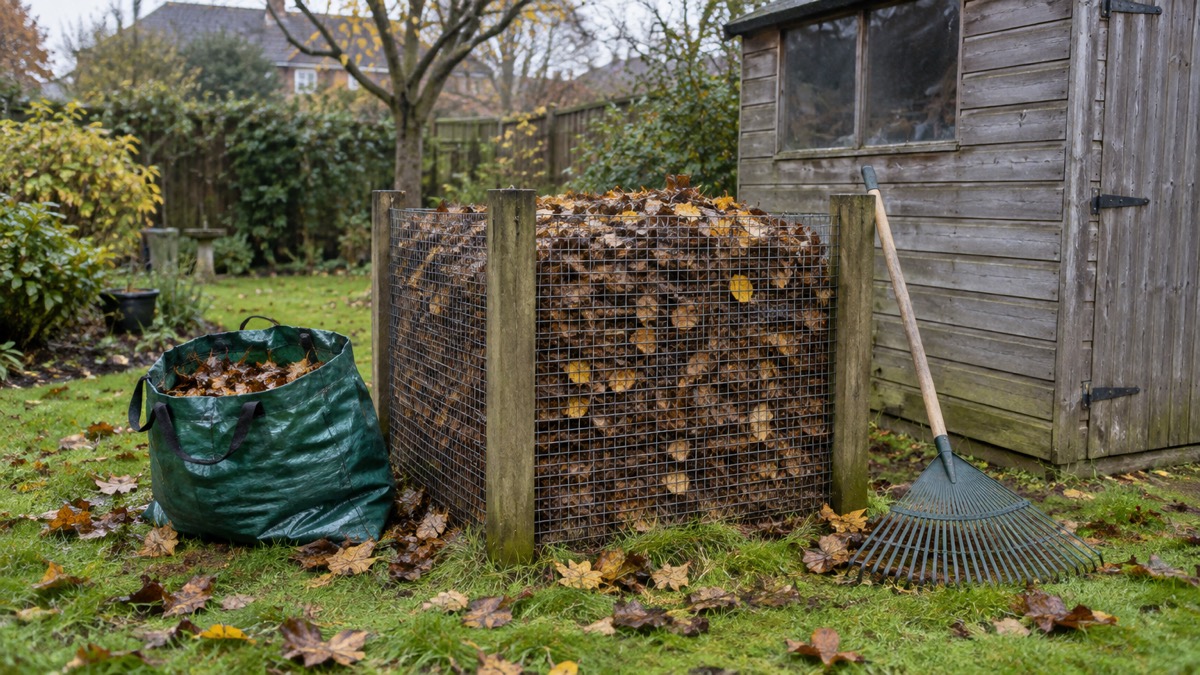
The method has few steps, and none of them needs special equipment. What matters is that the leaves go in damp, the container stays put, and you give it time.
- Collect the fallen leaves. Gather them from the lawn, borders and paths in autumn1.
- Pack them in while damp. A reusable bin bag or a wire frame both work1. If you would rather not use plastic, make a simple heap contained by stems of clematis or recently pulled up runner bean stalks, or a frame of chicken wire held up by posts1.
- Water if the leaves are dry. The RHS advises stuffing leaves into black plastic bags, watering them if dry, and leaving them in a cool, shady spot for a year or so before using them as a mulch4.
- Leave them for a year or two. This is the whole of the waiting period1.
- Check the grade before you use it. At one or two years the leaves begin to break up and crumble easily in the hand1. At two years or more the material is dark brown and crumbly, with no real trace of the original leaves1.
What each grade of leafmould is good for
Young leafmould and well-rotted leafmould are the same material at different stages, and they suit different jobs. Knowing which you have saves you wasting the finest grade on a job the rougher one would do.
Young leafmould, at one or two years old, is the general purpose grade. Use it to cover bare soil in winter, where it protects against winter rains that can wash out soil nutrients; to mulch around herbaceous shrubs, trees and vegetables in summer; to dig in as a soil improver for sowing and planting; and to top dress lawns in autumn1.
Well-rotted leafmould, at least two years old, is the fine grade. Sieved, it makes a seed sowing mix either on its own or mixed with equal parts sharp sand, giving a low nutrient, fine-structured medium for seed germination1. It can also be mixed with equal parts sharp sand, loam (soil) and garden compost to give potted plants a healthy start1.
If you are raising your own plants from seed, the fine grade is worth the wait. Our guide to sowing seeds indoors and outdoors covers timing, depth and germination, and a fine, low nutrient medium is part of getting that right. For more on making compost alongside your leafmould, see composting at home.
Leafmould also works as a mulch in its own right. The RHS describes mulch as a layer of material at least 5cm (2in) thick, applied to the soil surface in late autumn to late winter (Nov-Feb)5. The same guidance appears in the RHS autumn term guide2 and its guide to mulching6. A mulch around the base of plants reduces evaporation as well as suppressing weeds7. If you use a mulching mat or membrane instead, lay it around the base of the plant and peg it down with wire or pegs6.
Where leafmould fits in a household that looks after itself
Making leafmould is one of the least costly things a household can do for its soil, and it fits naturally with growing some of your own food. The RHS lists collecting leaves for leaf compost among its November jobs, in the same season as digging over beds and cutting back autumn raspberries2. In spring, its guidance is to prepare soil and add compost if conditions allow, meaning the soil is not too wet or frozen5. Leafmould spread in late autumn or winter is doing that soil preparation work in advance.
It also has a place in water saving. A mulch around plants reduces evaporation, which matters in a dry summer7. Gardeners' advice on saving water makes the same point from the lawn side: set the mower to cut higher and leave the clippings where they fall to act as mulch, and the lawn will bounce back8. Leafmould used as a mulch does the same job for borders.
If you are building up a garden that can feed the household through more of the year, leafmould is part of the groundwork rather than a crop in itself. Our section on self-reliance at home sets out the wider picture, from growing your own vegetables to growing fruit at home. Leafmould improves the soil those crops grow in, and it costs nothing but the collecting.
There is a wider benefit too. Planting temporarily stores rainwater in leafy canopies, which is one reason trees and planting help with flood reduction9. A garden with trees in it is already doing that work; making leafmould from their fallen leaves closes the loop.
Staying safe while you clear leaves
Clearing leaves is ordinary garden work, but a few safety points are worth knowing, and they come from fire and health services rather than from gardening lore.
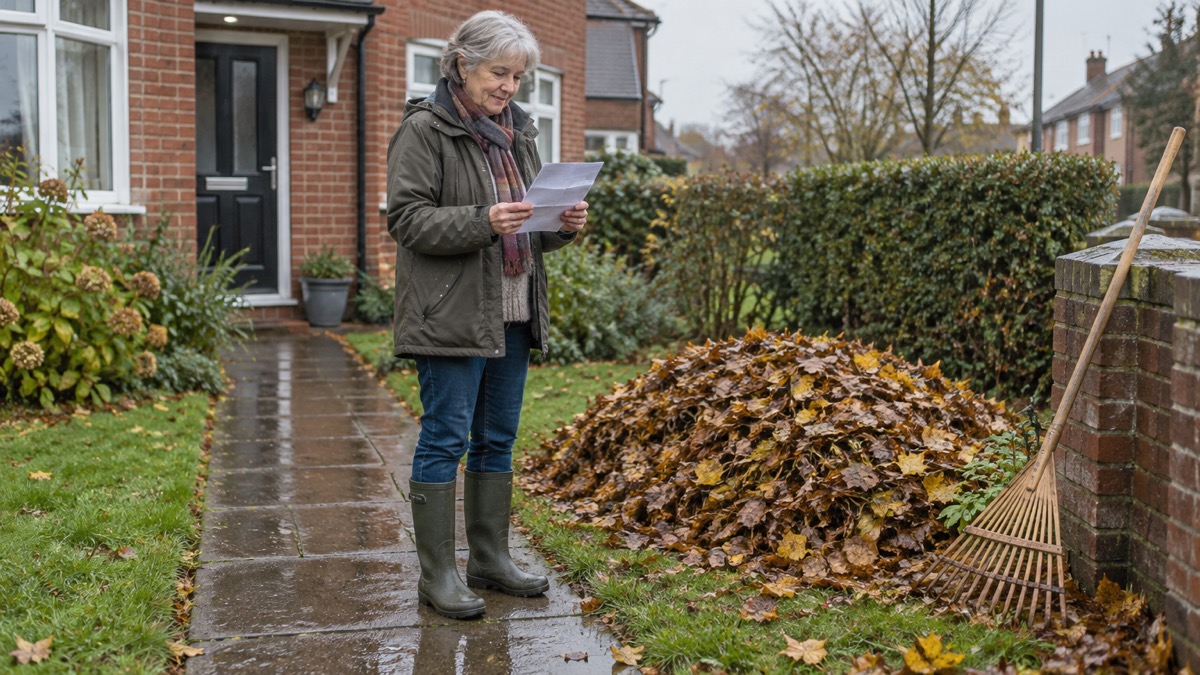
Dry leaves and debris are also a fire risk around the home. Fire service advice for households is that clearing excess dry leaves and debris from gardens, roofs and gutters, and storing flammable materials safely, can make a difference10. Rural fire prevention advice is to keep grass and weeds short, remove dead vegetation, and regularly trim trees and bushes near buildings and fences11. If you have a wood burning stove, Fire and Rescue Service guidance is to use well-seasoned, air-dried wood, preferably a minimum of 6-12 months old, and to use a wood moisture meter to test your wood before burning12. The recommended moisture level for firewood is 20% or lower13. Chimneys should be swept quarterly when in use for wood12.
"Use well-seasoned, air-dried (preferably a minimum of 6-12 months) wood."
Damp and mould in the home is a separate matter from leafmould, but the two can meet if you store wet material indoors. Independent guidance is to keep doors closed and windows open in rooms where you shower, cook or dry laundry, use extractor fans, keep furniture away from walls, and clean mould off walls to stop spores spreading15. Damp and mould can make existing conditions like asthma or arthritis worse15, and if you think you have damp or mould in your home, it is important to deal with it quickly16.
Sources (16)
- Leafmould, Garden Organic, 2026
- Month by month guide to food growing: autumn term, Royal Horticultural Society, 2026
- Stay Steady and Safe Home Safety Checklist, NHS Norfolk and Suffolk Integrated Care Board, 2026
- Fruit gardening calendar, Royal Horticultural Society, 2026
- Month by month guide to food growing: spring term, Royal Horticultural Society, 2026
- Mulch your garden, Royal Horticultural Society, 2026
- Conserving water, Royal Horticultural Society, 2026
- TV gardeners' top tips for saving water in the garden, South West Water, 2026
- Planting and flooding, London Fire Brigade, 2026
- Wildfires in the British Isles: it's time to get ready, Communities Prepared, 2026
- LFRS issues fire prevention advice to rural communities, Lancashire Prepared, 2026
- Chimney safety leaflet, Scottish Fire and Rescue Service, 2024
- Keep Safe Keep Well Winter Safety Campaign 2024-2025, NHS Western Isles, 2024
- Chimney fire safety, North Yorkshire Fire and Rescue Service, 2026
- How to stay warm for less, Centre for Sustainable Energy, 2024
- Cold weather and lung conditions, Asthma and Lung UK, 2024
 Hydroponic System Parts List
 Year-Round Sowing Calendar
 Preserving Equipment Checklist
 Blanching Vegetables
 Carrot Fly Protection
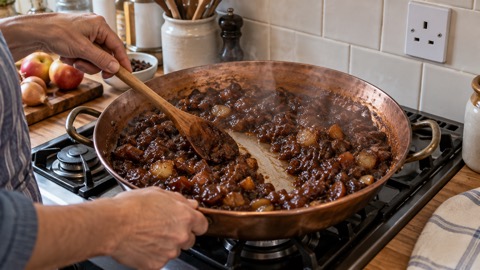 Knowing When Chutney Is Ready
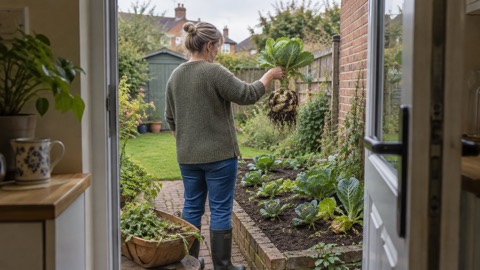 Clubroot in Your Soil
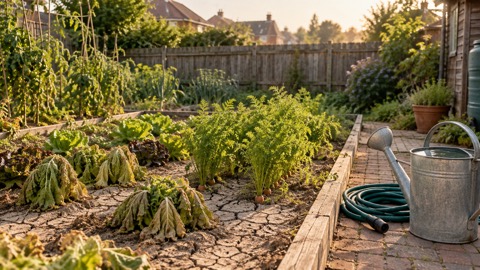 Drought-Resistant Vegetables
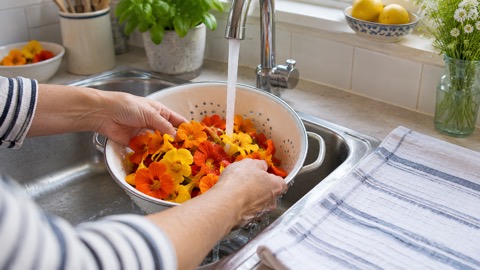 Edible Flowers Safety
 Extending the Growing Season
 Freezing Fruit Without Sugar
 Garden Fleece Frost Protection
 Avoiding the Hungry Gap
 Keeping Varieties Pure for Seed
 Growing Microgreens Indoors