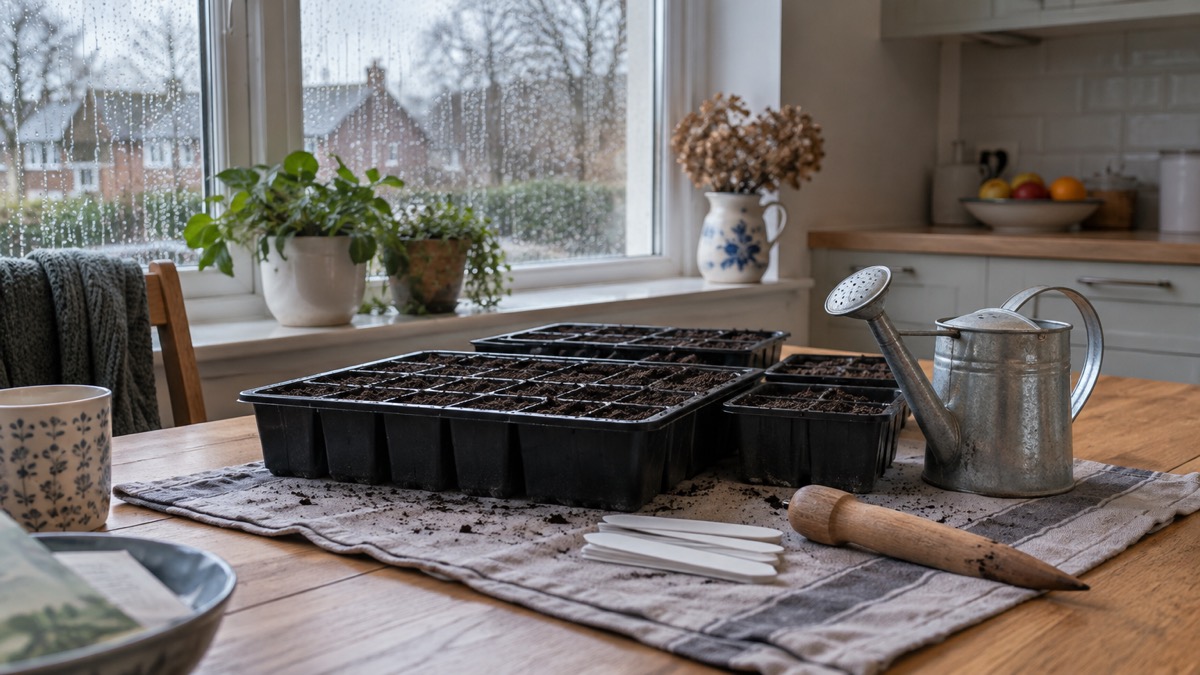
Sowing a packet of seed needs less equipment than the catalogues suggest. The Royal Horticultural Society's own list for sowing seed directly in the ground is short: a trowel, a hand rake, a dibber, a measuring stick, kneelers, gardening gloves, a watering can, labels and a waterproof pen or pencil, plus sticks or straws to mark rows, and the seed itself1. For sowing in pots and trays the list is shorter still: containers, peat-free seed compost or sieved multi-purpose compost, labels and pencils, and a watering can with a fine rose2.
What decides the kit is where the seed is going. Open ground needs the rake to make a fine, level tilth and the measuring stick or dibber to keep rows and spacings honest. Pots and trays need a container with drainage, a fine rose on the can, and a label written before you start. Everything else is comfort and safety: gloves, a kneeler, and something to lean on.
This page sets out the full checklist first, then explains what each item does, how to prepare and mark a row, how to sow and water, and how to label and keep what you sow. If you are still deciding what to grow and when, start with Growing Your Own Vegetables: Where to Start and Sowing Seeds Indoors and Outdoors: Timing, Depth and Germination.
The seed sowing equipment checklist
Work through this list before you open a packet. Each item earns its place, and most households will already own a version of several of them.
Preparing and marking the row
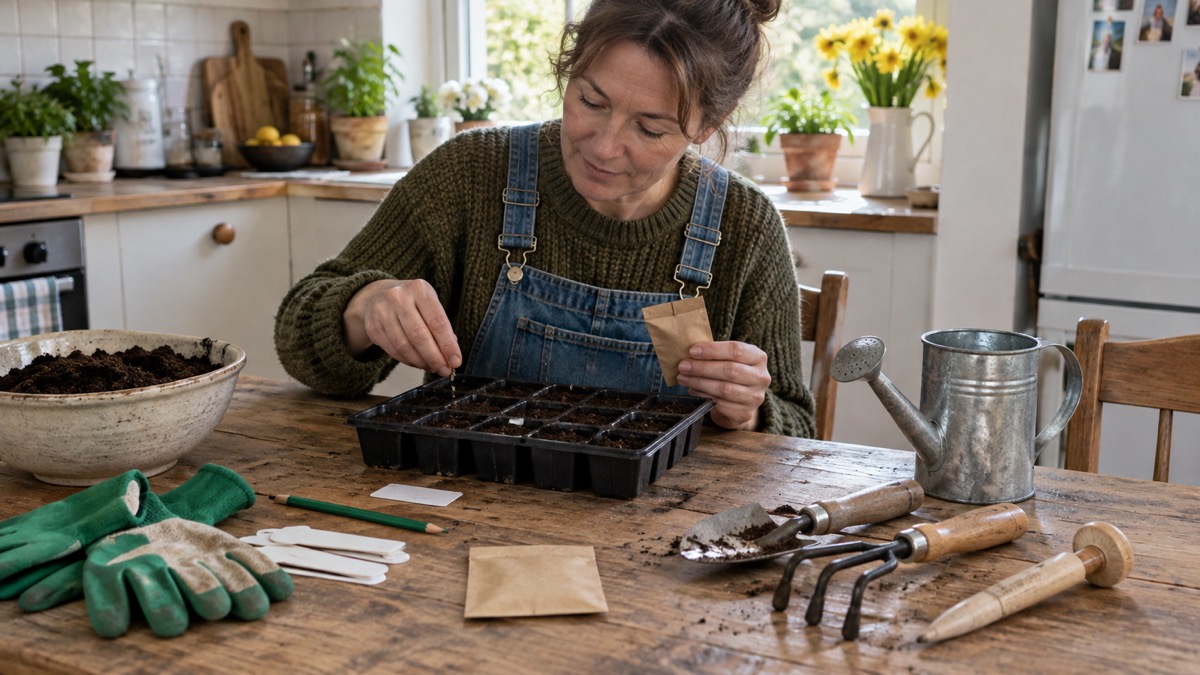
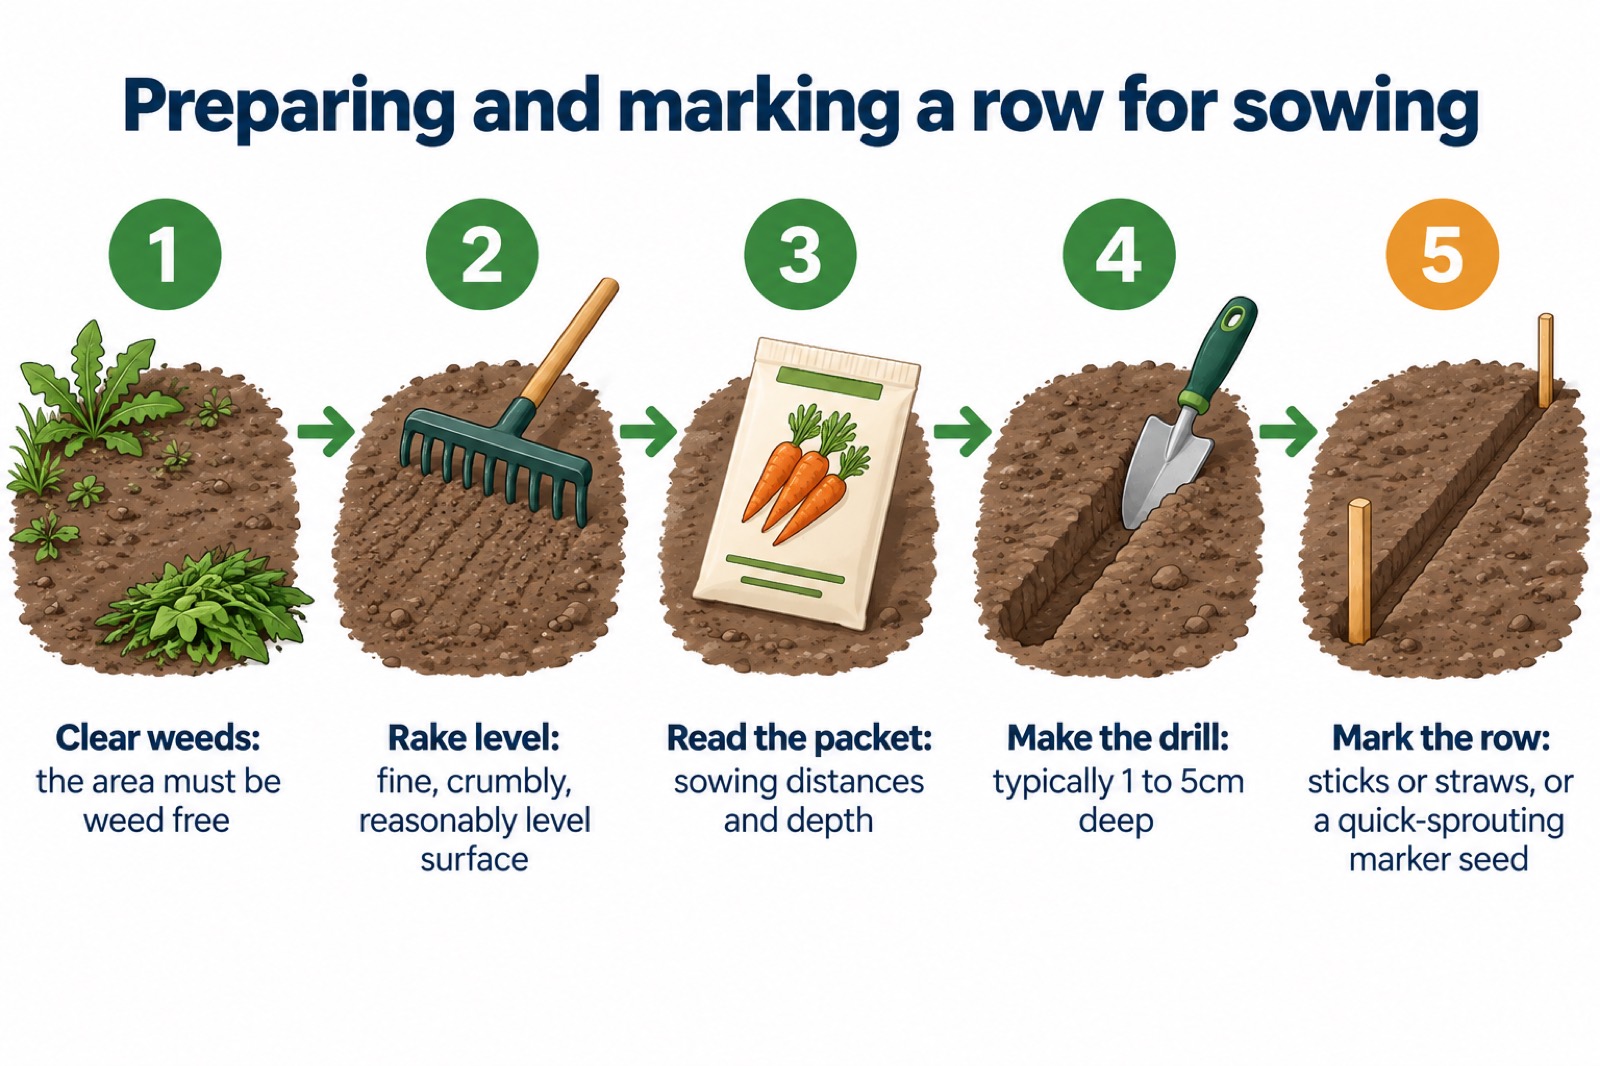
Open ground is prepared before any seed goes in. The Royal Horticultural Society's sequence is to make sure the area is weed free, then rake the soil gently so it is fine and crumbly and reasonably level, wearing gardening gloves, and then read the seed packet for the sowing distances1. Raking is the step that decides how well the row works: move the rake gently over the soil surface forwards and backwards in long strokes, tapping lumps with the teeth of the rake until the surface is level4.
Marking the row is where the measuring stick and dibber earn their keep. A drill, the shallow furrow the seed goes into, is typically 1 to 5cm deep and is made with a stick, hoe or rake1. The packet tells you the depth and the row spacing, and the measuring stick keeps you to it. Where the packet gives no clear guidance, the length of a trowel, dibber or plant label works as a guide for spacing3.
Two tricks save seed and confusion. For small seeds, empty the packet into a small pot and mix with sand so the seeds are visible in the drill1. And to mark a row of slow-germinating seed, sow a few quick-sprouting seeds alongside it: dashing a few radish seeds in with slow to germinate seeds such as carrots or parsnips will help to mark the rows so you do not weed out the crop by accident9. Parsley is another slow starter that can be sown in rows with quick-sprouting seeds like radishes, which mark the rows and are harvested before the parsley needs the space10.
Sowing and watering
Sowing itself is quick; the care is in the depth, the spacing and the first watering.
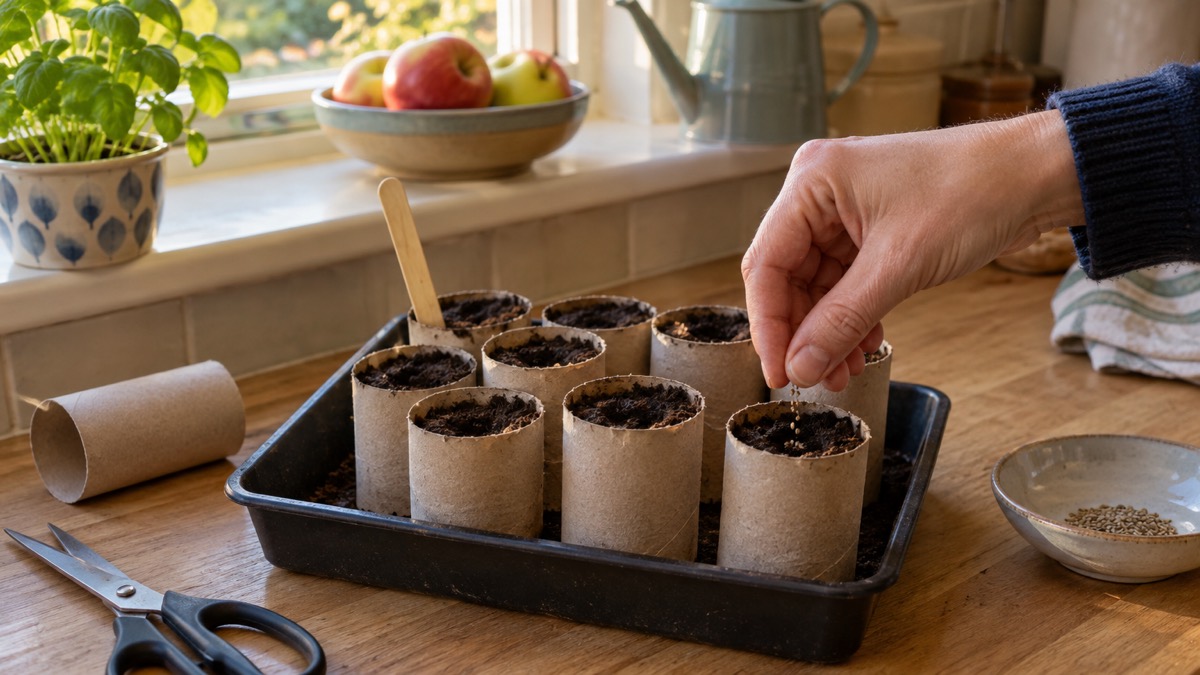
For pots and trays, the Royal Horticultural Society suggests 7 to 9cm pots as the best size for sowing seeds2. Fill with peat-free seed compost or sieved multi-purpose compost2. For small seeds, sprinkle them on top of the compost, allowing space between them, then sieve a thin layer of compost over them2. If seeds are very small, use a seed sower to help sow them2. If you have no sieve, another pot with holes in its base will do the same job2. For larger seeds, a dibber makes the hole and you sow one seed per station, which is known as station sowing1.
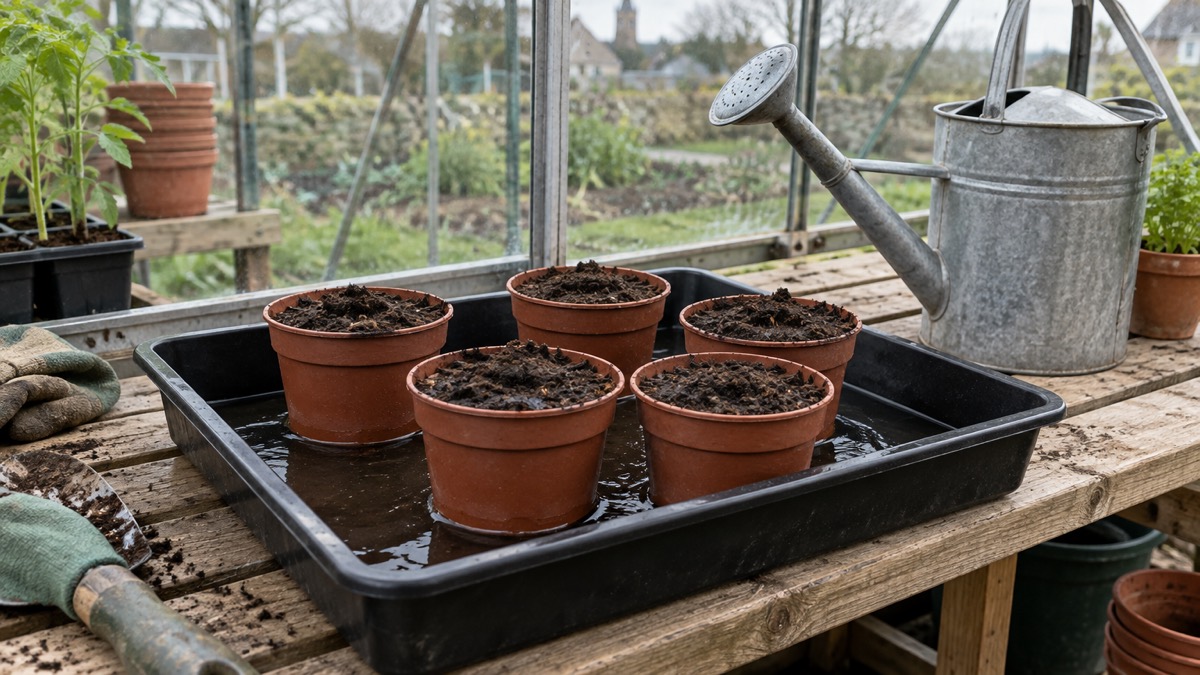
Watering is the step most often done too hard. Water carefully, either by placing the pots in a tray of water and allowing the soil to absorb it, or by carefully using a watering can with a rose head2. Newly sown or planted areas are vulnerable and their watering needs should be a high priority11. Use watering cans rather than hosepipes, and rainwater rather than tap water if you have a water butt7. For a fuller account of harvesting and storing water for the garden, see Rainwater Harvesting at Home: How a System Works.
Gloves matter here for a reason beyond comfort. NHS Inform advises wearing gloves while gardening, especially when handling compost, because Legionella bacteria can be found in compost, and suggests considering a mask for dusty work and washing hands afterwards6.
"Legionella bacteria can be found in compost."
Labels, records and keeping seed
A label written at sowing time costs nothing and saves confusion later. The Royal Horticultural Society's advice is to write labels first, including the date and name of the plant2. For microgreens, add a thin layer of compost over the seeds, just enough to cover them, then label with the seed variety and date of sowing8. The same principle applies to saved seed: label with name and date to avoid confusion later12.
A waterproof pen or pencil is on the standard equipment list for a reason1. Ink that is not waterproof fades in sunlight and runs in the rain, and a faded label is worse than none because it gives false confidence. Pencil on a plastic or wooden label lasts well and can be rewritten.
If you plan to save your own seed, the labelling habit pays off twice. Store seeds in labelled paper envelopes or bags, kept in a cool, dry place, within an airtight container if possible, and add sachets of silica to absorb excess moisture12. Before sowing old seed, put medium to large seeds in a jar of water: viable seeds will sink, whereas dead seeds will float to the surface12. Our guides on How to Store Saved Seed So It Lasts and How to Test Whether Old Seeds Will Still Grow go further.
Making do: substitutes that work
Most of the checklist can be improvised without harming the crop, as long as the job the tool does is still done.
| Item | What it does | Stand-in that works |
|---|---|---|
| Dibber | Makes holes in compost for seed or seedlings2 | Pencil, plant label or chop stick5 |
| Measuring stick | Keeps row and plant spacing to the packet1 | Length of a trowel, dibber or plant label3 |
| Compost sieve | Puts a fine layer over small seeds2 | Another pot with holes in its base2 |
| Seed trays | Hold compost and seed8 | Clean fruit punnets or juice cartons8 |
| Plant pots | Hold individual sowings2 | Newspaper pots made with a jar or can as a mould13 |
| Propagator lid | Keeps seed warm and moist8 | An upcycled clear food tray8 |
Two further stand-ins are worth knowing. A sheet of clear plastic laid over sown ground enables earlier germination, and should be removed as soon as the seedlings appear14. And bottomless plastic bottles sunk into the soil over the seeds can deter rodents and act as a mini cloche15.
Keeping the kit ready between sowings
Sowing kit lasts for years if it is put away clean and dry. The Royal Horticultural Society's advice after preparing soil is to return all tools to the tool stop or shed and clean off soil with a brush4. Do that and the trowel, rake and dibber will be ready when the next packet is opened.
Keep the small items together. Labels, pencil, dibber and a few sticks in one box means you are not hunting for them with muddy hands halfway through a row.
If you are sowing in pots on a windowsill, the same short list applies: a container with drainage, peat-free compost, a label and pencil, and a can with a fine rose2. For more on growing in containers and small spaces, see How to Start Growing Food in a Small Space and How to Grow Microgreens Indoors.
Sources (15)
- Direct seed sowing, RHS, 2026
- Sowing in pots, RHS, 2026
- Plant out young plants, RHS, 2026
- Get the soil ready for planting, RHS, 2026
- How to take semi-ripe cuttings, RHS, 2026
- Summer health, NHS Inform, 2026
- Wessex Water offers advice on saving every drop, Wiltshire and Swindon Prepared, 2026
- Growing microgreens, RHS, 2026
- Radish, First Tunnels, 2026
- Parsley, First Tunnels, 2026
- Conserving water, RHS, 2026
- Tips on saving your own seeds, RHS, 2026
- How to make newspaper pots, RHS, 2026
- Growing year-round, CAT, 2025
- Broad beans, First Tunnels, 2026
 Hydroponic System Parts List
 Year-Round Sowing Calendar
 Preserving Equipment Checklist