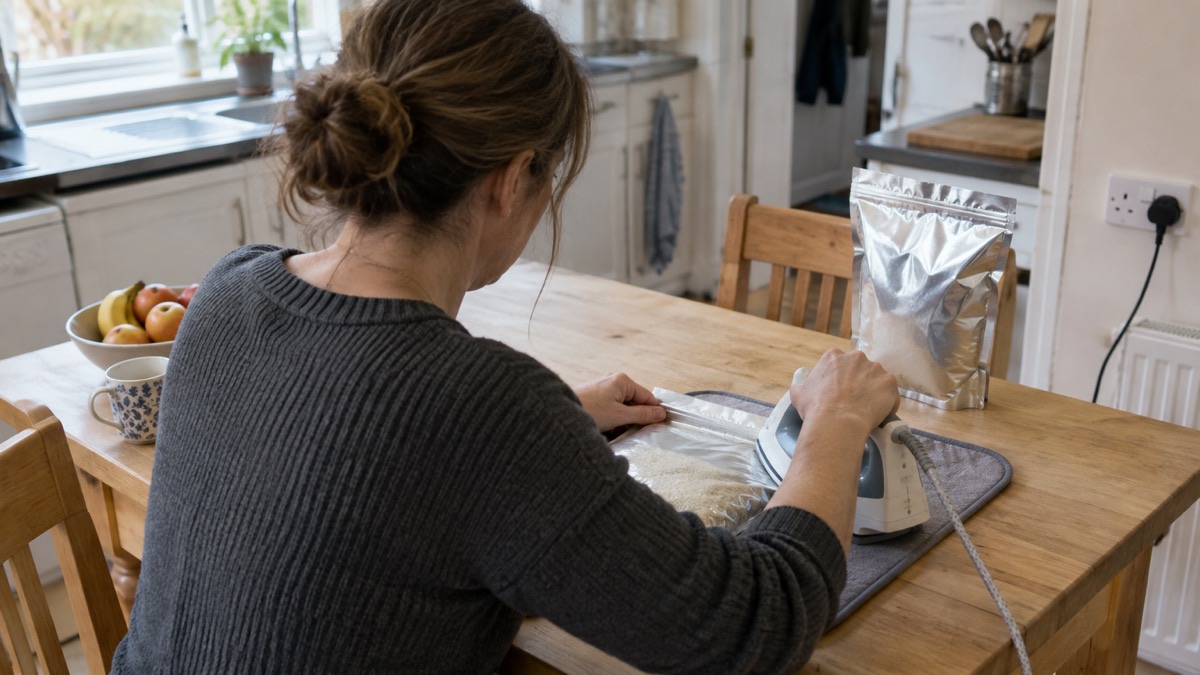
You do not need a heat sealer to close a mylar bag. A household clothes iron, or a pair of hair straighteners for a narrow bag, will fuse the layers of a heat-sealable bag well enough for storage, provided you test the setting first and check the seam afterwards. Mylar Shop bags protect against oxygen, heat, pests, light and moisture1.
The method is the same whichever tool you use: fold the top of the bag flat, press the hot surface along the fold for a few seconds, and let it cool before you handle it. Then check the seam by eye and by feel before the bag goes anywhere near your store. Mylar bags are sold as easily sealed with a normal clothes iron, ceramic hair-straighteners or a vacuum sealer or impulse sealer machine1, so practise on a spare bag before you commit a full one.
Two things decide whether a home seal lasts. The first is heat: too little and the layers do not fuse, too much and the bag puckers or scorches. The second is timing, because once an oxygen absorber is inside the bag you want it sealed promptly, not left open while you hunt for the iron. Get the tool hot and the bag ready before the absorber goes in.
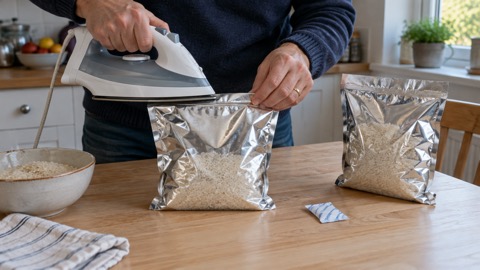
Sealing mylar bags with a household clothes iron
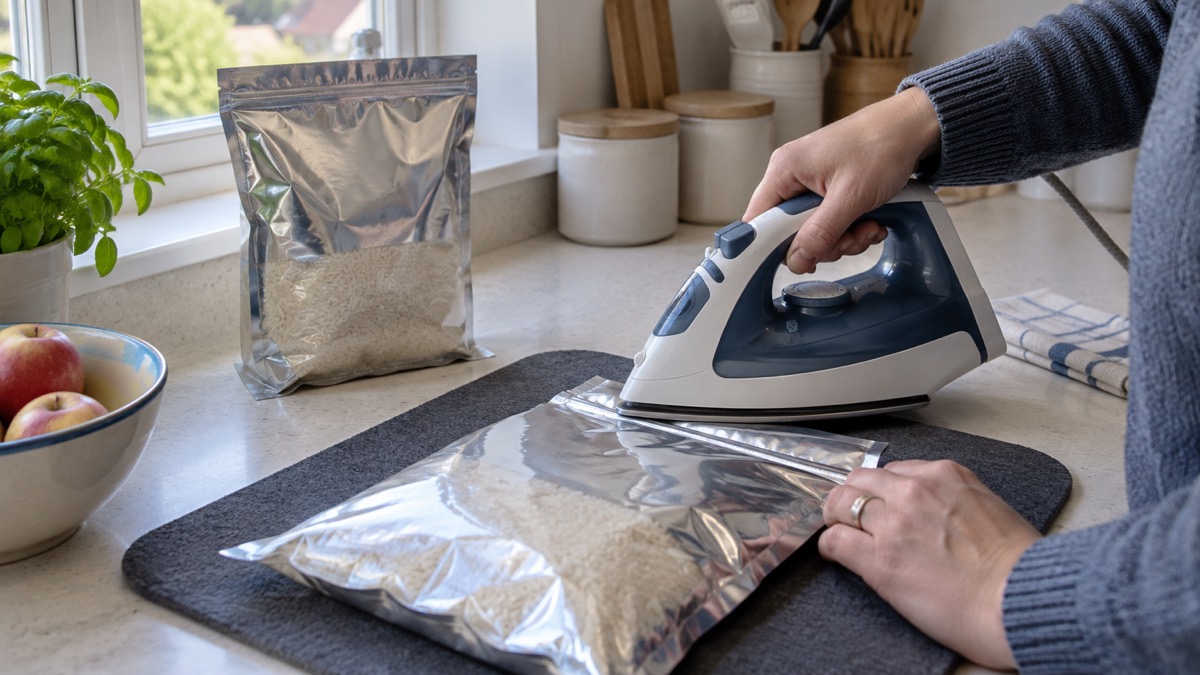
An ordinary clothes iron is the most useful tool for this job because its plate is wide enough to run along the whole top edge of a bag in one pass. Set the iron to a low to medium heat, let it come up to temperature, and clear a flat, heat-safe surface to work on. Fold the top of the bag over so the two inner faces meet, lay the fold flat, and press the iron along it for a few seconds. Lift the iron, let the seam cool for a moment, then look at it.
The aim is a continuous, even band where the inner coating has fused to itself. A good seam looks slightly glossy and shows no gaps. A poor one looks dull, patchy or wrinkled, and those are the seams that let air back in over the months. Before you seal a bag with food in it, make a test seal on a spare piece of the same bag, or on the offcut you trimmed from the top, and check how it behaves at that setting.
Mylar bags are sold as easily sealed with a normal clothes iron, ceramic hair-straighteners or a vacuum sealer or impulse sealer machine3. That is a useful guide to the sort of bag an iron will handle, but it is not a promise about your iron. Irons vary, bags vary in thickness, and the only reliable test is the one you make yourself.
Keep the iron moving and do not rest it in one spot. A stationary iron can scorch the outer layer or melt a hole straight through, and a hole is worse than an open bag because you may not notice it until the food has spoiled. If the bag puckers, the iron is too hot; if the seam peels apart when cool, it is too cool or you did not press for long enough.
Hair straighteners: a smaller seal for narrow bags
Hair straighteners do the same job on a smaller scale. Their plates are narrow, which makes them awkward for a wide bag but neat for a slim one, and they heat quickly and hold a steady temperature. Fold the top of the bag flat, clamp the plates along the fold, hold for a few seconds, then release and let the seam cool before you check it.
The safety side matters here more than with an iron, because straighteners are designed to be held in the hand and reach high temperatures close to skin. The Royal Society for the Prevention of Accidents advises switching them off and storing them away immediately in a heat-resistant pouch4. The Child Accident Prevention Trust notes that most hair straighteners do not come with a heat-resistant pouch, so you may need to provide one yourself2. Unplug the straighteners before you put them down, and never leave them where a child could reach them.
Work in a well-lit spot so you can see the seam as you make it. Straighteners give you less width than an iron, so on a wide bag you will need to work along the fold in overlapping passes, and overlapping passes are where gaps creep in. If your bags are wide, the iron is the better tool; if they are narrow, the straighteners are quicker and tidier.
Check every seal before the bag goes into storage
A seal you have not checked is a seal you are trusting blindly. The principle used by makers of waterproof cases is a good one to borrow: test the closure with something worthless inside before you trust it with something that matters. Aquapac advises sealing something worthless inside a case, then submerging it in a basin to check it is waterproof before every use5. You would not submerge a bag of rice, but the habit of testing before you commit is the same.
For a mylar bag, the check is simpler. Run your thumb and forefinger along the seam and feel for a continuous ridge. Hold the bag up to a light and look along the seam for thin spots, bubbles or wrinkles where the layers did not meet. Gently squeeze the bag and listen and feel for air escaping at the seam. If any part of the seam lifts or looks dull, reseal over it or make a fresh seam below it.
- Look: a continuous glossy band with no gaps or bubbles
- Feel: an even ridge along the whole seam, with no soft or wrinkled patches
- Squeeze: no air escaping when you press the bag gently
- Recheck: any bag that has been moved, stacked or handled since sealing
The same logic applies to any container you use for dry stores. A Kilner Universal Push Top Storage Jar, for example, uses a push top glass lid with a silicone gasket to provide a secure and airtight seal keeping dry food fresh6. The gasket is the part that does the work, and it is the part you check. A mylar seam is no different: it is only as good as the join you can see and feel.
Where a seal without a heat sealer can fail
Home sealing fails in a handful of predictable ways, and most of them are visible if you look. The commonest is an uneven seam, where the iron or straighteners were too hot in one place and too cool in another, so part of the join fused and part did not. The second is a wrinkle trapped in the seam, which leaves a channel for air. The third is a scorch or a hole, usually from resting the iron in one spot.
Thickness is the variable that catches people out. A thicker bag needs more heat and a longer press to fuse its layers, while a thin bag can pucker or melt before the seam forms. If your first attempt fails, change one thing at a time: adjust the heat, then the pressing time, then the pressure. Do not simply press harder, because pressure does not substitute for heat.
There is a wider point about heat and stored goods. Fire services are consistent that heat sources should never be left unattended or covered: the fire and rescue service advises never covering a portable heater7. The lesson for sealing is straightforward: let the tool and the seam cool before you put anything away.
Oxygen absorbers: seal the bag quickly once they are in
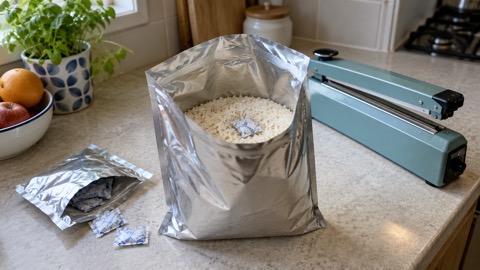
An oxygen absorber starts working the moment it meets air, so the gap between dropping one in and sealing the bag should be as short as you can make it. Have the iron hot, the bag open and ready, and the seam area clean and dry before the absorber goes in. Then seal immediately, check the seam, and seal again if you are in any doubt.
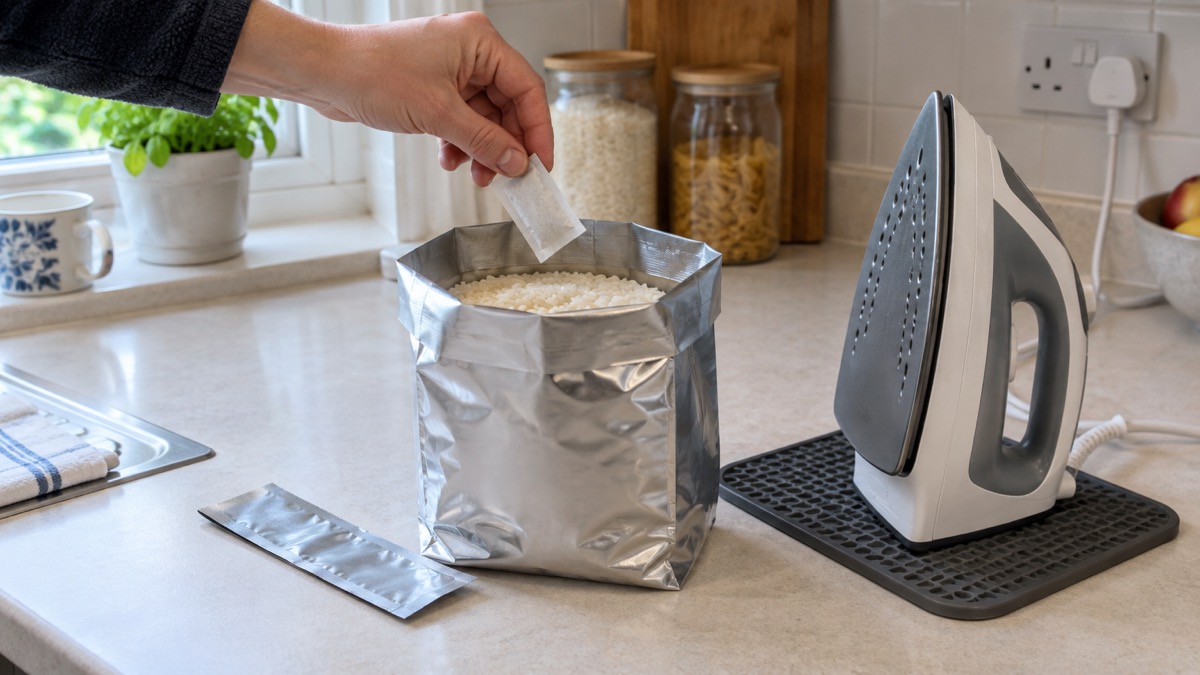
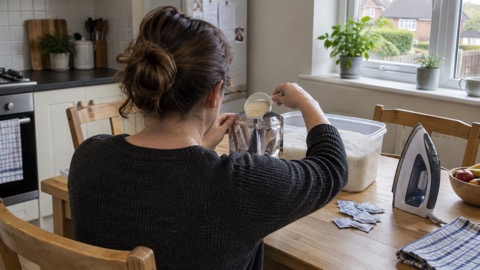
Absorbers are often supplied in bulk. A medium mylar bag and oxygen absorber bundle, for example, comes as one factory vacuum-sealed pack of 50 absorbers rather than individually wrapped ones8. That means the pack is the barrier: once you open it, the remaining absorbers begin to work on the air around them. Plan to use what you open, or reseal the pack tightly between sessions, and do not leave absorbers sitting out on the worktop while you seal bags one at a time.
The principle behind foil packaging is the same one that makes absorbers worth using. A foil-sealed cartridge is described by its maker as providing the lowest moisture transition rate available, 80% times slower than standard polyethylene packaging9, and individually foil-sealed wipes are sold as ensuring sterility and prolonged moisture retention10. Foil and a good heat seal are what hold the barrier. A seam with a gap in it undoes the work of the absorber inside.
Zip-lock bags, resealing and long storage
A zip-lock mylar bag gives you a closure you can open and close, and many are also heat-sealable. Mylar bags are sold as easily sealed with a normal clothes iron, ceramic hair-straighteners or a vacuum sealer or impulse sealer machine3. That combination suits a bag you dip into: use the zip for everyday access, and run a heat seam above it when the bag goes into long storage. The zip is convenience; the heat seam is the barrier.
Resealing an opened bag is straightforward. Trim the bag below the old seam if it is ragged, fold the new top flat, and seal again with the iron or straighteners. Check the new seam as carefully as the first. If the bag is a zip-lock type, close the zip and add a heat seam above it for storage.
For long storage, a second seam is a sensible precaution. Make the first seal, check it, then make a second seam a short distance away so that a failure in one does not open the bag. The point is that a closure with fewer moving parts and a sound join is easier to trust.
Store sealed bags cool, dark and dry, away from pests and damp. Mylar bags are sold as protecting against oxygen, heat, pests, light and moisture1, but that protection depends on the seal staying intact, so check bags periodically for punctures, splits or a seam that has lifted. Keep them off a floor that could get wet, and away from anything that could pierce them.
Sources (10)
- Mylar Standup Ziplock Bag 25cm x 35cm, Mylar Shop, 2026-09-14
- Preventing burns from hair straighteners, Child Accident Prevention Trust, 2022-05-12
- Mylar Bags - Mylar Shop UK, Mylar Shop UK
- Burns and scalds, RoSPA, 2026-10-26
- Instructions for Ziplock Cases, Aquapac, 2026-10-28
- Universal Push Top Storage Jar 2 Litre, Kilner, 2026-10-28
- Stay warm safely this winter, Devon and Somerset Fire and Rescue Service, 2026
- Medium Mylar Bag and Oxygen Absorber Bundle, Mylar Shop, 2026-10-13
- LifeSaver Replacement Cartridge Foil Sealed, Icon LifeSaver, 2026-10-28
- Sterowipe Alcohol Free Cleansing Wipes, Steroplast, 2026-10-28
 Long-Term Storage Kit Checklist
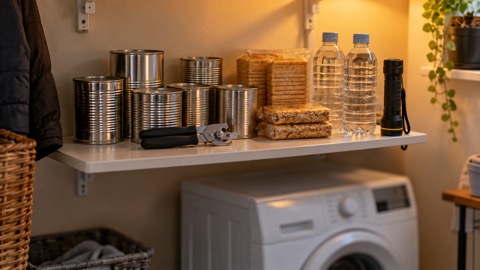 Store Cupboard Checklist
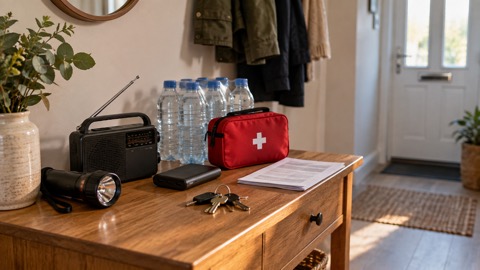 30-Day Household Checklist
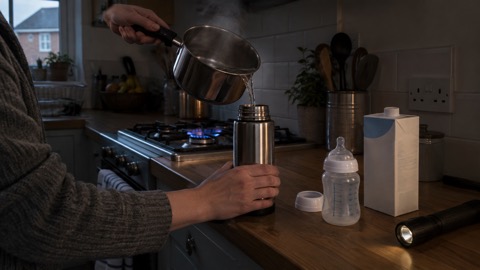 Baby Formula in a Power Cut
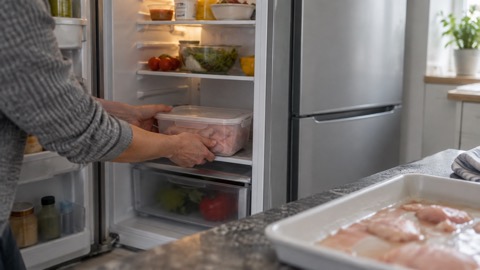 Refreezing Defrosted Meat
 Leftovers in the Fridge
 Reducing Botulism Risk
 Sterilising Jars
 Spotting Spoiled Preserved Food
 Boiling Water in Glass Jars
 Mylar Bag Food Shelf Life
 Mylar Bag Sizes
 Are Mylar Bags Food Safe
 Oxygen Absorber Activation
 Silica Gel With Stored Food