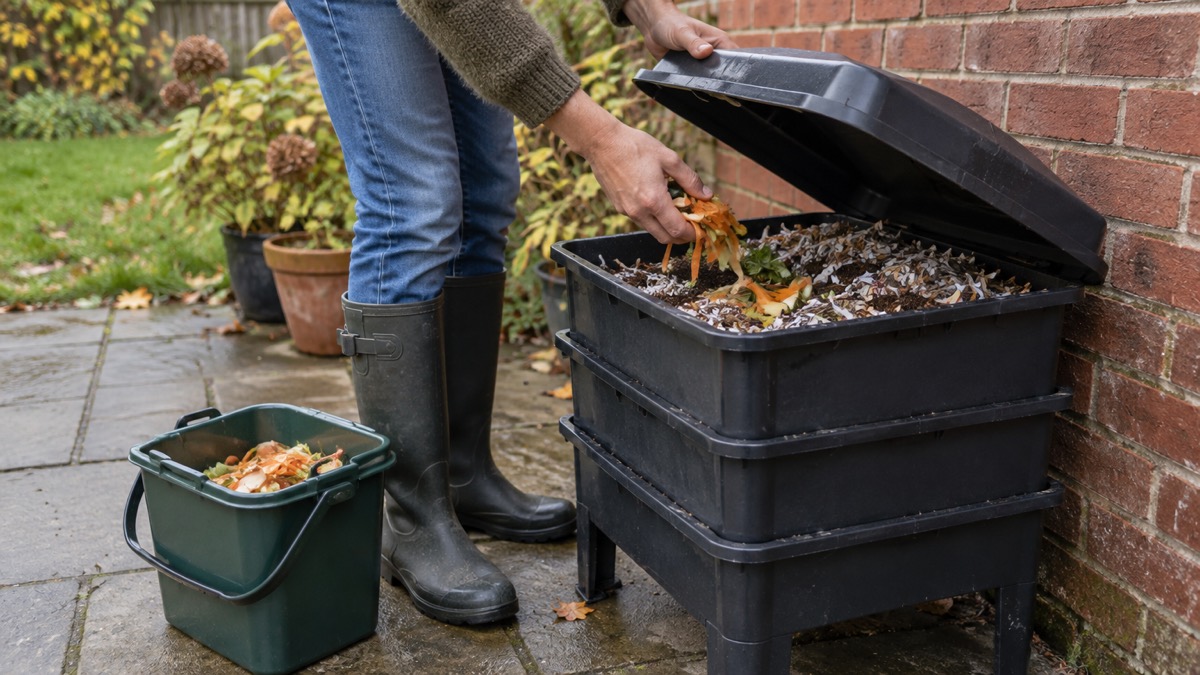
A wormery fails slowly and then all at once. The usual causes are not exotic: too much food at once, bedding that is too shallow or too wet, autumn leaves that will not break down, and a hot spell or a hard frost that the box was never moved out of. Get those four things right and a wormery quietly turns kitchen scraps into compost for years.
The rules are simple. Keep at least 30cm (12 inches) of bedding, moist but not dripping: squeeze a handful and it should release no more than a few drops of water1. Start with at least 500g of worms, which take about 8 months to build to the optimum population1. Keep autumn leaves out entirely, because they will not rot down for years2.
Everything else on this page follows from those numbers: what to feed and what to leave out, how to manage heat and frost, and what to do if you have no shed or garage to move the wormery into.
Autumn leaves stay out: they will not rot down for years
The single most common autumn mistake is treating the wormery as a leaf bin. Autumn leaves will not rot down for years in a wormery, so avoid the temptation of putting them in2. The reason is biological rather than a matter of patience: autumn leaves are rotted down mainly by the slow, cool action of fungi rather than the quicker acting bacteria that work in a compost heap4. A wormery is a fast, bacterial and worm-driven system, and leaves simply sit there in it.
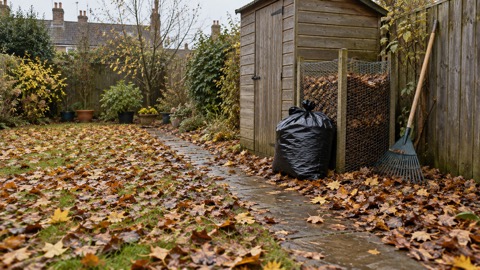
That does not mean leaves are waste. They have their own route, and it is a slow one. Collect fallen autumn leaves, pack them while damp into a reusable bin bag or a wire frame, and leave them for a year or two to make leafmould4. You can use all fallen leaves in the autumn, even the ones with black spots, and running the mower over the lawn with the blades high shreds them and collects them in a mix of grass trimmings, which speeds the process up4. There is a fuller method on our page on how to make leafmould.
Two cautions apply to the leaves you gather. Do not take leaves from woodlands, as they are an important part of the natural cycle and habitat, and leave them under hedges where hedgehogs may be hibernating4. And do not use evergreen leaves such as holly, laurel or conifers in any composting system, as they can take up to three years to rot down4.
Garden waste more generally is best kept out of the wormery, because you will most probably have a council collection for it5. The very brown, dry, twiggy stuff that makes up most garden waste is too hard for worms to chew on and will just stay there in its original form for aeons5. If you have a garden and a wormery, the split is clean: soft kitchen scraps to the worms, leaves to the leafmould bag, twiggy prunings to the council.
Feeding: no more than 2.5cm of scraps at a time
Overfeeding is the other great cause of trouble, and it looks like generosity. Giving your worms an abnormal amount of scraps could slow down the composting process, resulting in rather unpleasant looking contents and the possibility of fruit flies5. The fix is portion control, not more worms.
Add some food scraps to cover the worms, not more than 2.5cm deep1. That is the working rule for every feed, not just the first one. Empty the kitchen caddy into the wormery as often as possible, at least every other day3. Little and often suits a wormery far better than a weekly load, because the worms work through a thin layer quickly and the caddy does not ferment while it waits.
What goes in is broad. Fruit and vegetable peelings, waste fruit and veg, plate scrapings, mouldy stuff from the fridge, small amounts of bread, pasta, rice and chicken droppings, cake, cereals, and citrus or cooked egg in small quantities are all listed as suitable5. The pattern is soft kitchen waste in modest amounts. If you are weighing up whether a wormery is the right system for your kitchen at all, our comparison of a wormery or bokashi bin sets out which suits which household.
If the worms seem slow, do not add more food. Chop larger chunks of food into smaller pieces so there is more surface area for the worms to work on6. That single change often does more than anything else.
Bedding: at least 30cm, moist but not dripping
Bedding is the part new wormery owners skimp on, and it decides how well everything else works. Add at least 30cm (12 inches) of bedding material1. It is best to fill up to the top of the taper, as this gives your worms more surface area to feed from1.
Moisture matters as much as depth. The bedding should be moist but should not let out more than a few drops of water if you squeeze some in your hand1. Wetter than that and the bin goes sour and airless; drier and the worms struggle. The squeeze test is the whole of the method, and it is worth doing every time you add bedding or water.
You can put a damp layer of newspaper over the top of the food scraps to encourage the worms to stay near the top and start eating1. This is a cover over the food, not a replacement for the bedding beneath it, and it helps hold moisture in and keep flies down.
Hot weather: shade and damp bedding
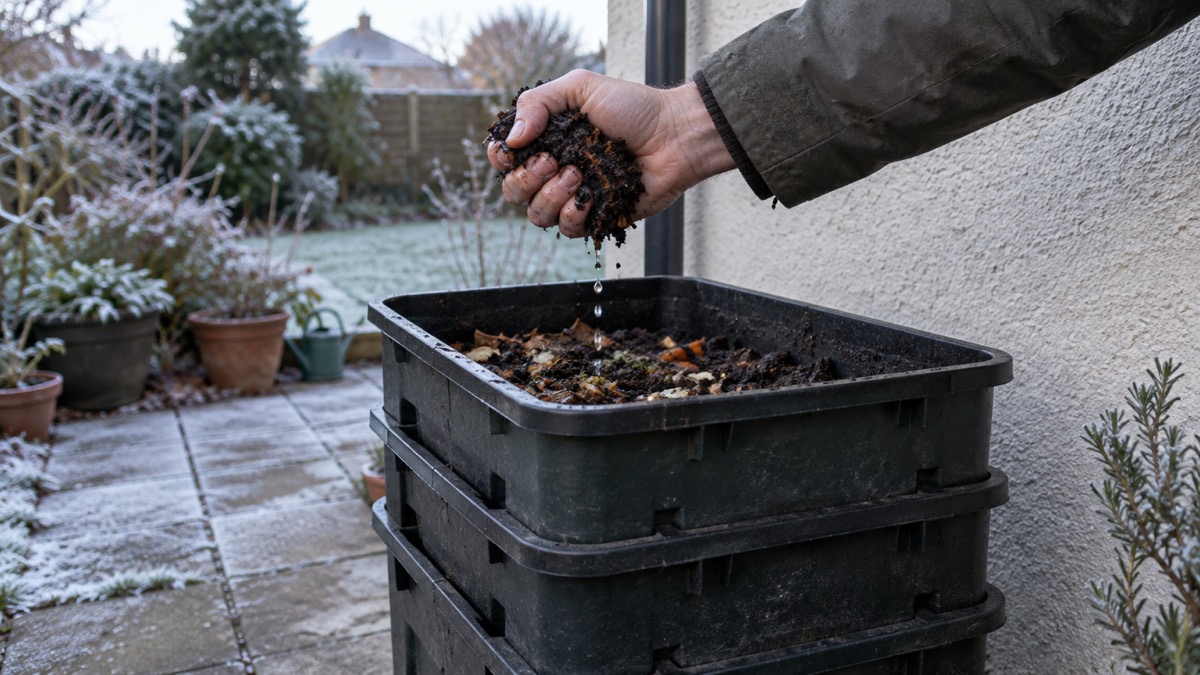
A wormery in full sun in July cooks. If it is really hot, move the wormery into a shady spot and check that the bedding is moist, adding water if needed3. Those two actions, shade and moisture, are the whole of hot weather care. Do them before a heatwave rather than after the worms have clustered and stopped feeding.
The same hot weather advice that applies to the household applies to the bin. Try not to go out during the hottest part of the day, and if you are working in the garden, plan to avoid the hottest part of the day and make sure you have sunscreen, water and a wide brimmed hat7. Move the wormery in the cool of the morning, not at noon.
If the wormery lives in a garage, shed or utility room, watch the temperature there too. A metal shed in direct sun can be hotter than the garden. Shade the building or move the bin to the coolest corner, and check the bedding more often than usual during a hot spell.
Keeping worms alive through frosts and winter
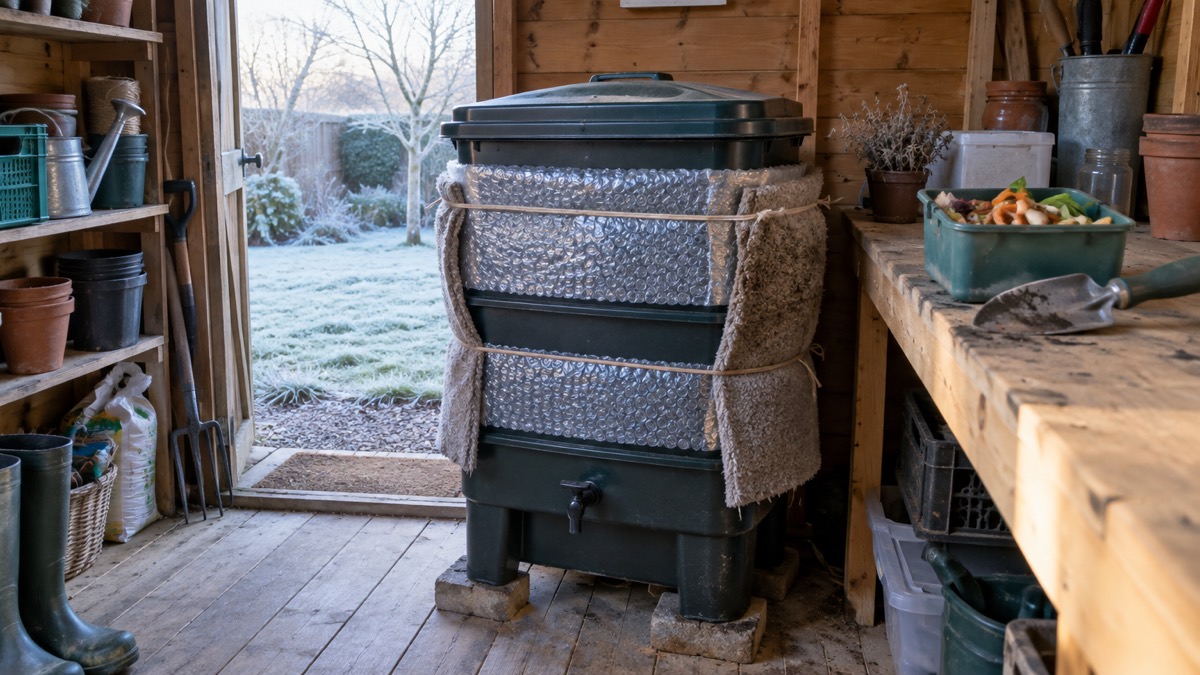
Cold is the slower killer but just as final. The first decision is whether the wormery can come indoors. If you have a shed, garage, cellar or utility room, move the wormery in and it will keep working right through winter2. That is the easy case, and it is worth planning for before the first frost.
If you cannot move it, you will need to insulate the wormery in order to keep it from freezing and the worms dying2. In really cold weather, insulate the wormery or bring it into a garage or garden shed3. Insulation around the sides and over the top, with the lid still able to close, is the aim; the worms generate their own heat as they work, and insulation keeps it in.
A wormery that keeps working through winter also keeps taking your kitchen scraps, which is the point of having one. A frozen bin stops processing, and a long cold snap can leave you with a caddy problem as well as a worm problem.
How full to fill the wormery, and how many worms to start with
Two numbers decide whether a new wormery keeps up. The first is the starting population: add at least 500g of worms to the wormery1. The second is patience. If you start with 500g it will take the worms about 8 months to increase their population to the optimum amount1. For most of the first year you are running a small colony, and the 2.5cm feeding rule matters most then.
Fill up to the top of the taper, as this gives your worms more surface area to feed from1. As the contents are harvested and the level drops, top the bedding back up rather than letting it fall below the 30cm minimum1.
| What you are deciding | The figure | Why it matters |
|---|---|---|
| Starting worms | At least 500g1 | A small start is normal; the colony builds from there |
| Time to optimum population | About 8 months1 | Feed to the colony you have, not the one you expect |
| Food per feed | No more than 2.5cm deep1 | Overfeeding slows the bin and brings fruit flies5 |
| Bedding depth | At least 30cm (12 inches)1 | Holds moisture and gives the worms room |
| Fill level | Up to the top of the taper1 | More surface area for feeding |
Wormery with no shed or garage
No outbuilding is not a reason to give up on a wormery, but it does change the winter plan. Without somewhere to move it, insulation becomes essential rather than optional: you will need to insulate the wormery in order to keep it from freezing and the worms dying2. In really cold weather, insulate it or bring it into a garage or garden shed if one becomes available3.
Site the bin with winter in mind from the start. A sheltered corner against a wall, out of the prevailing wind, is easier to insulate and holds more warmth than an exposed spot. Keep it out of full sun in summer for the same reason in reverse. If you have a balcony or a small yard, a wormery can sit there, but check the bedding moisture more often, as containers in exposed positions dry and freeze faster.
If the wormery is one part of a wider plan to deal with your own waste and grow your own, our guide to composting at home covers bins, wormeries and bokashi side by side, and the self-reliance section sets out the rest of the ground, from hens to rainwater.
Sources (8)
- Using your wormery, Omlet
- Autumn, Omlet
- Daily care, Omlet
- Leafmould, Garden Organic, 2026-10-29
- Feeding your worms, Omlet
- Speeding up the process, Omlet
- Weather safety, Oxford Health NHS Foundation Trust, 2026-09-18
- 10 things you should do now to prepare for summer, Met Office, 2026-10-25
 Hydroponic System Parts List
 Year-Round Sowing Calendar
 Preserving Equipment Checklist
 Blanching Vegetables
 Carrot Fly Protection
 Knowing When Chutney Is Ready
 Clubroot in Your Soil
 Drought-Resistant Vegetables
 Edible Flowers Safety
 Extending the Growing Season
 Freezing Fruit Without Sugar
 Garden Fleece Frost Protection
 Avoiding the Hungry Gap
 Keeping Varieties Pure for Seed
 Making Leafmould