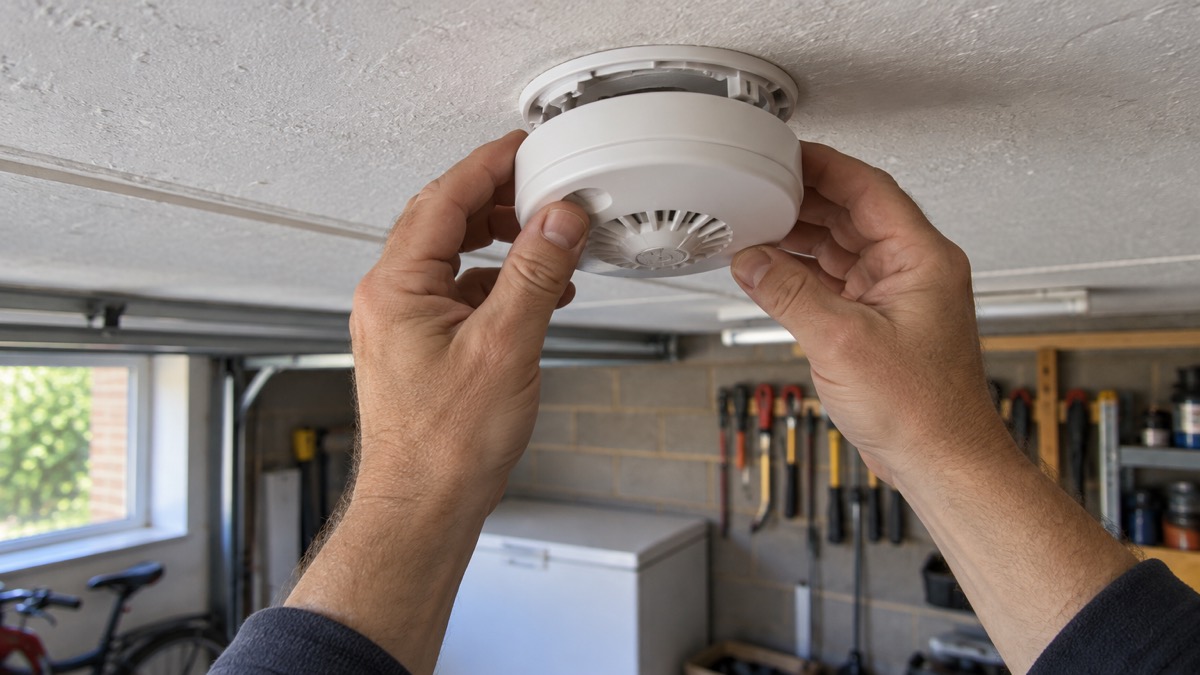
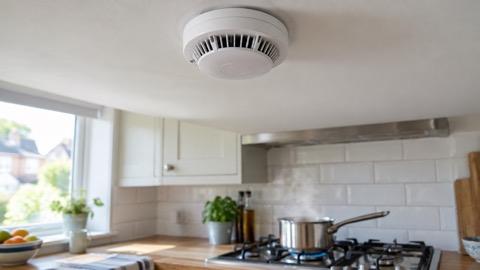
The FireAngel HW1 is a mains powered heat alarm with a 9V battery back-up, made for the places where a smoke alarm would keep going off: kitchens, garages and lofts1. It does not detect smoke. It watches for a fast rise in temperature, using Class A2 heat detection that responds between 54°C and 70°C, and sounds at 85dB at 3 metres1. That makes it the right alarm for a room where cooking, dust or fumes would trigger a smoke sensor, and the wrong one for a hallway or bedroom where smoke would be the first sign of trouble.
If you are fitting one, the essentials are these. It goes on the ceiling only, at least 300mm from light fittings and walls, and no more than 5.3m from the farthest wall, from a door to any room where a fire might start, and from the next heat or smoke alarm3. It must be wired to a 24 hour circuit that cannot be switched off, and it must not share a circuit with fluorescent light fittings or dimmer switches2. It can be linked to up to 12 FireAngel mains alarms so that when one sounds they all sound1.
This page sets out what the HW1 does, the specifications that decide where it suits, how to wire and link it, and how to test, maintain and dispose of it. It covers the HW1-R and HW1-PF versions, which share the same core specification; where the maker's documents differ, both figures are given.
What the FireAngel HW1 is and what it suits
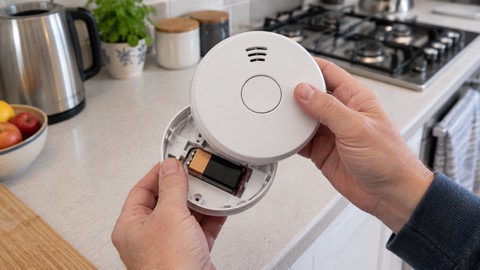
The HW1 is a mains powered heat alarm with a 9V battery back-up1. The HW1-R manual describes it as a 220-240 V AC 50-60 Hz mains powered heat alarm with a 9V battery back-up, and the product page calls it mains powered with a replaceable 9V battery back-up in case of power cuts2. The battery is there so the alarm keeps working when the mains fails, which matters most in a power cut, when people are most likely to be using candles or other alternatives.
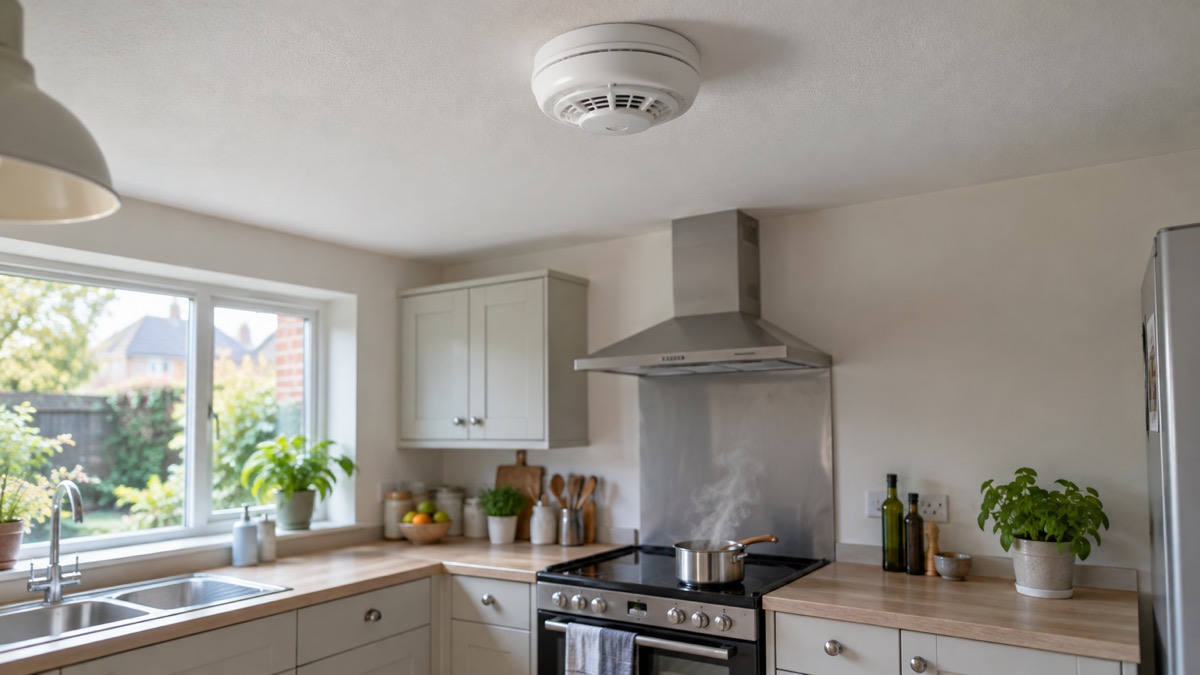
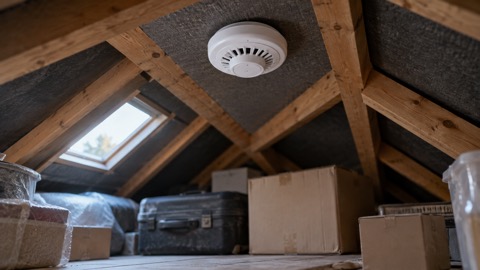
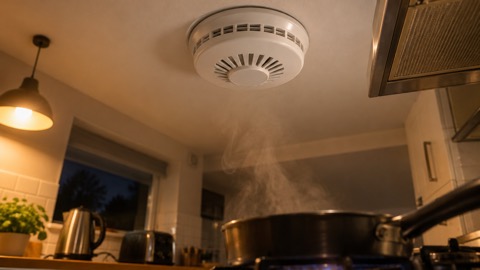
A heat alarm works differently from a smoke alarm. It uses a thermistor sensor to detect heat rather than smoke, and the maker rates it as Class A2, responding between 54°C and 70°C1. That is why it suits kitchens, attics and garages, the places the maker names as ideal1. In a kitchen, a smoke alarm near the hob will react to burnt toast or steam; a heat alarm waits for a real rise in temperature. In a garage or loft, dust and fumes can set off a smoke sensor, while a heat alarm is less troubled by them.
The trade-off is important. A heat alarm will not warn you of a slow, smouldering fire that produces smoke before it produces much heat. The maker is explicit that heat alarms should be installed as part of a complete fire protection system that includes smoke alarms, and that the unit is not intended for commercial or industrial use2. So the HW1 is a kitchen, garage or loft alarm that sits alongside smoke alarms elsewhere in the house, not a replacement for them. If you are deciding which type goes where, our guide to heat alarms and the comparison of heat alarm or smoke alarm set out the choices.
Specifications: what the numbers mean
The figures below come from the maker's datasheet and manuals. They decide where the alarm can go, how far its sound carries and what it needs from your wiring.
| Specification | Figure | What it means for you |
|---|---|---|
| Detection | Class A2 heat detection, 54°C to 70°C1 | Responds to a fast rise in heat, not smoke |
| Sound level | 85dB at 3 metres1 | Loud enough to wake most people in an adjacent room |
| Power | 230V mains, 9V PP3 battery back-up1 | Works in a power cut on the battery |
| Battery life | Approximately one year under normal use3 | Expect to change the battery about once a year |
| Dimensions | 126mm diameter x 49mm depth1 | A compact ceiling fitting |
| Operating humidity | 10% to 85% relative1 | Not for steamy or very damp rooms |
| Storage temperature | 5°C to 38°C1 | Matters if you store a spare before fitting |
| Standard | BS 5446-2: 20031 | The British standard for heat alarms |
| Warranty | 5 years1 | Covers manufacturing faults, with conditions |
Sound drops with distance, so an alarm in a garage will be heard clearly in the room next to it but may be muffled through a closed fire door. That is one reason the maker supports linking alarms together, covered below.
The operating humidity range of 10% to 85% relative is worth noting. A kitchen can get steamy, and a bathroom certainly will. The maker's manual states plainly that the device does not have protection against splashing water and must not be exposed to dripping or splashing3. Keep the alarm away from the immediate area above a kettle or shower.
Where to fit it: kitchen, garage and loft, ceiling only
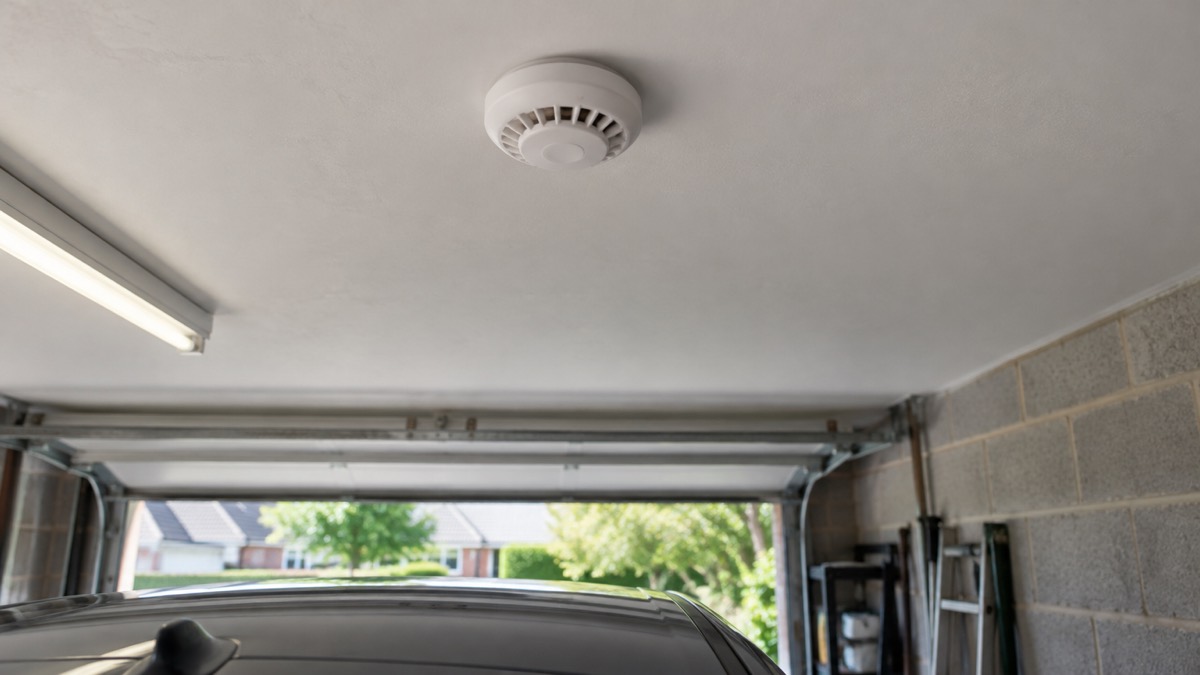
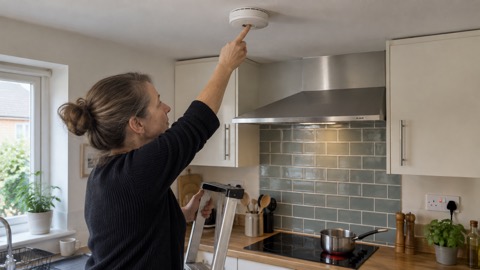
The maker says the HW1 is suitable for the kitchen, garage and loft, and the datasheet names kitchens, attics and garages as ideal1. The installation position is the ceiling, and the manual is direct: do not install heat alarms on a wall1.
The siting distances are the part most people get wrong. The HW1-PF manual gives these rules:
- At least 300mm from light fittings and walls3
- No more than 5.3m from the farthest wall3
- No more than 5.3m from a door to any room in which a fire might start3
- No more than 5.3m from the next heat or smoke alarm3
- If there is fluorescent lighting, at least 1500mm from the fittings and wiring, and keep any wiring at least 1000mm from fluorescent lighting3
Those distances are about giving the sensor a clear view of rising heat and keeping electrical interference away. A heat alarm tucked into a corner, close to a wall, will respond more slowly than one out in the open ceiling.
If you are working out how many alarms your home needs and where each type belongs, our guides to where to fit smoke alarms and how many smoke alarms a house or flat needs cover the wider layout. The HW1 slots into that plan as the kitchen, garage or loft unit.
Wiring it to a 24 hour circuit
The HW1 is a mains alarm, so it needs a fixed wiring connection. The maker's requirement is specific: the circuit used to power the alarm must be a 24 hour voltage circuit that cannot be turned off by a switch2. In practice that means a circuit that stays live all the time, not one controlled by a wall switch or a lighting circuit you might turn off at the door.
The manual adds two exclusions. Do not use circuits containing fluorescent light fittings or dimmer switches3. Those can introduce electrical noise or interruptions that affect the alarm.
The maker's manual sets out the installation steps in order3:
- Switch off the electricity at the consumer unit.
- Open the three clips on the base to remove the base plate.
- Fit the base to the ceiling with the screws provided.
- Connect the wiring to the connector terminals, with the Earth in the terminal marked Earth.
- Unwrap the battery and insert it matching plus to plus.
- Align the arrows and push the alarm onto the base.
- Remove the dust cover before operation.
The manual is clear that the house wiring Earth must only be terminated in the terminal marked Earth3. The HW1-R manual lists the wiring colours as brown for live, blue for neutral, and black or grey for the interlink, with the Earth terminated in a spare connector and no connection to the mains electricity supply earth terminal2. Wiring colours and terminal arrangements are exactly the kind of detail to follow from the manual that comes with your unit rather than from memory.
The HW1-PF-T datasheet lists a safety clip feature that prevents installation of the heat alarm without a battery installed1. That is a small but useful safeguard: the alarm will not go up on the ceiling without its back-up battery in place.
Interconnecting up to 12 FireAngel alarms
One of the HW1's main features is that it can be linked to other FireAngel mains alarms. The datasheet describes multi-alarm interconnect for up to 12 smoke (SW1), heat (HW1) and CO (CW1) units, and states that when one sounds they all sound1. The HW1-PF manual puts it the same way: up to 12 FireAngel mains smoke (SW1/SW10), heat (HW1/HW10) or carbon monoxide (CW1) alarms can be interconnected on a single network, and you should not connect more than 11 other devices3.
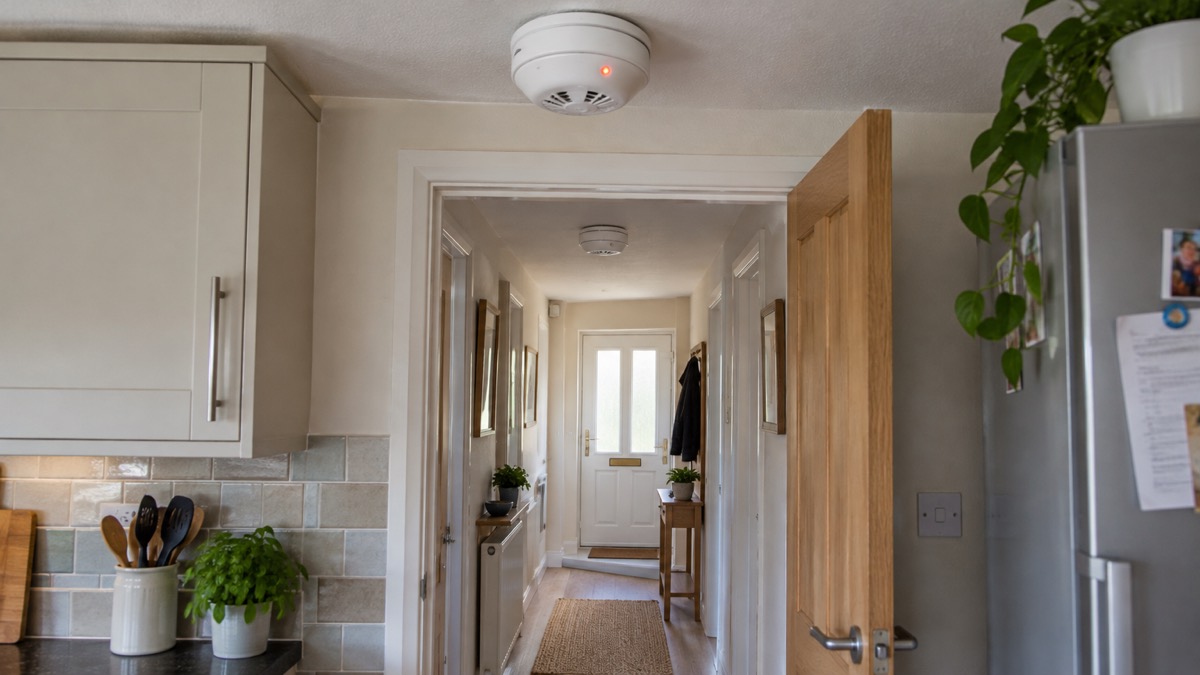
The HW1-R manual gives a slightly different wording, saying the alarm can be interconnected with up to 11 other smoke, heat or carbon monoxide alarms from the FireAngel range, on a network of up to 122. The two documents describe the same limit from different directions: 12 alarms in total, which means the HW1 plus up to 11 others. FireAngel's product FAQ also states that you can hardwire interlink this alarm with other HW1 and HW10-EUT heat alarms and SW1 and SW10-EUT smoke alarms7.
The wiring for a linked system uses a three core and earth style cable between all the alarms, with the interconnect wire at a minimum of 0.75 mm2, treated as live, insulated and sheathed2. After wiring, the maker says to test each alarm and ensure every connected alarm sounds within 10 seconds2.
There is a detail worth knowing about how linked alarms behave. On an interconnected network, only the alarm that senses the fire will sound and flash its LED; the other connected alarms will sound a warning but will not flash their LED2. So if an alarm goes off and you are checking which one triggered it, look for the flashing red LED.
If you are weighing up wired against wireless linking, our guide to wireless or wired interlinked alarms explains the difference. The HW1 is a wired interlink alarm; FireAngel's Spec+ range uses wireless Bluetooth linking for up to 50 alarms, which is a different system8.
Testing, silencing and looking after it
The maker's routine is simple and worth putting in the diary. Test the alarm every month by pressing and holding the test button for 5 seconds, at which point the alarm will sound2. Vacuum the alarm every 3 months to keep dust out of the sensor2. Do not use cleaners or solvents, do not paint the alarm, and do not use any test method other than the one in the manual2.
The indicator lights tell you what is happening:
- The red LED flashes about once every 32 seconds to show the sensor is active3.
- When the test button is pressed, the alarm flashes once every 8 seconds for 8 minutes3.
- When the alarm senses dangerous heat, it sounds continuously and the red LED flashes every second2.
- When the battery is low, the alarm chirps and the LED flashes once every 32 seconds2.
If an alarm goes off when there is no fire, press the test button to silence it. The maker's manual says the alarm will silence for 10 minutes, with the red LED flashing once every 8 seconds in silence mode, then automatically sound two chirps and return to full sensitivity2. If unwanted alarms keep happening, the maker advises checking the location of the heat alarm and cleaning it2.
If the alarm does not sound on test, the manual's troubleshooting steps are to check the power supply and battery, allow a few seconds for the alarm to settle, push and hold the centre of the test button firmly for 5 seconds, and check the mains connection2. If the green LED does not light, check the alarm is connected to the power supply and the battery is correctly installed2. When testing linked alarms, keep the test button pressed until all units emit a sound, as they may take a few seconds to respond3.
FireAngel's general guidance says that if an alarm does not sound or is beeping when it is not being tested, consult the manual, as the battery could be running low or the alarm could be coming to the end of its life and need replacing10. Greater Manchester Fire and Rescue Service, which fits FireAngel alarms, gives the same freephone support number for FireAngel: 0800 141 256111.
Battery, warranty, support and disposal
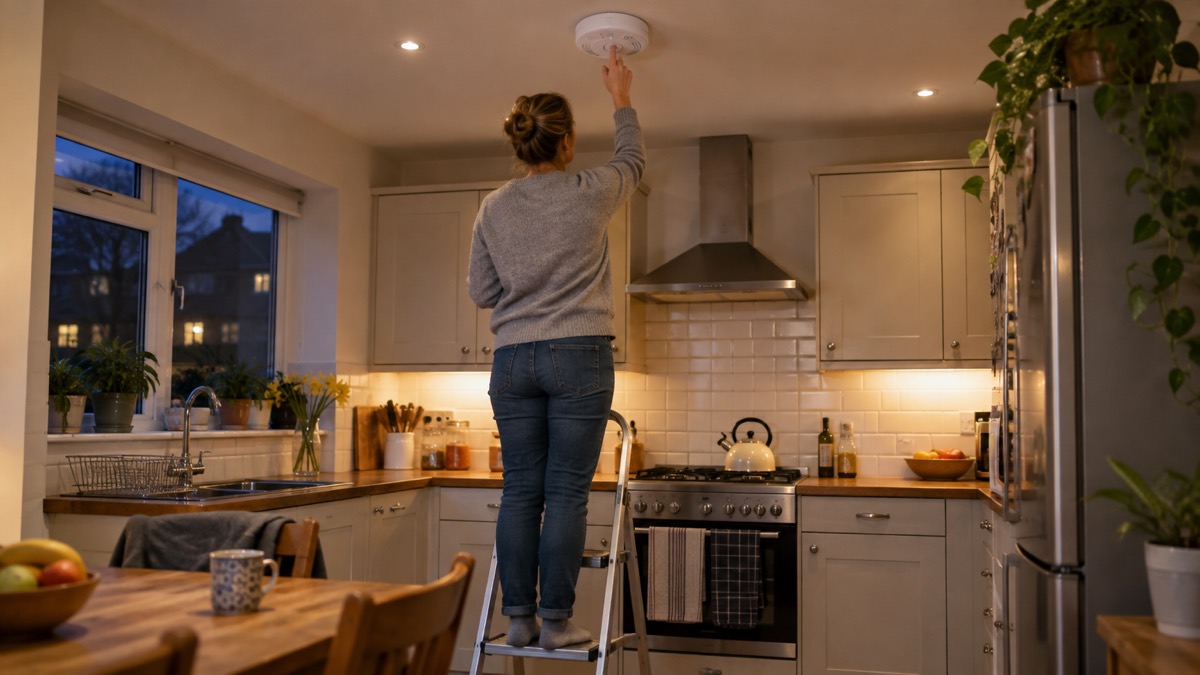
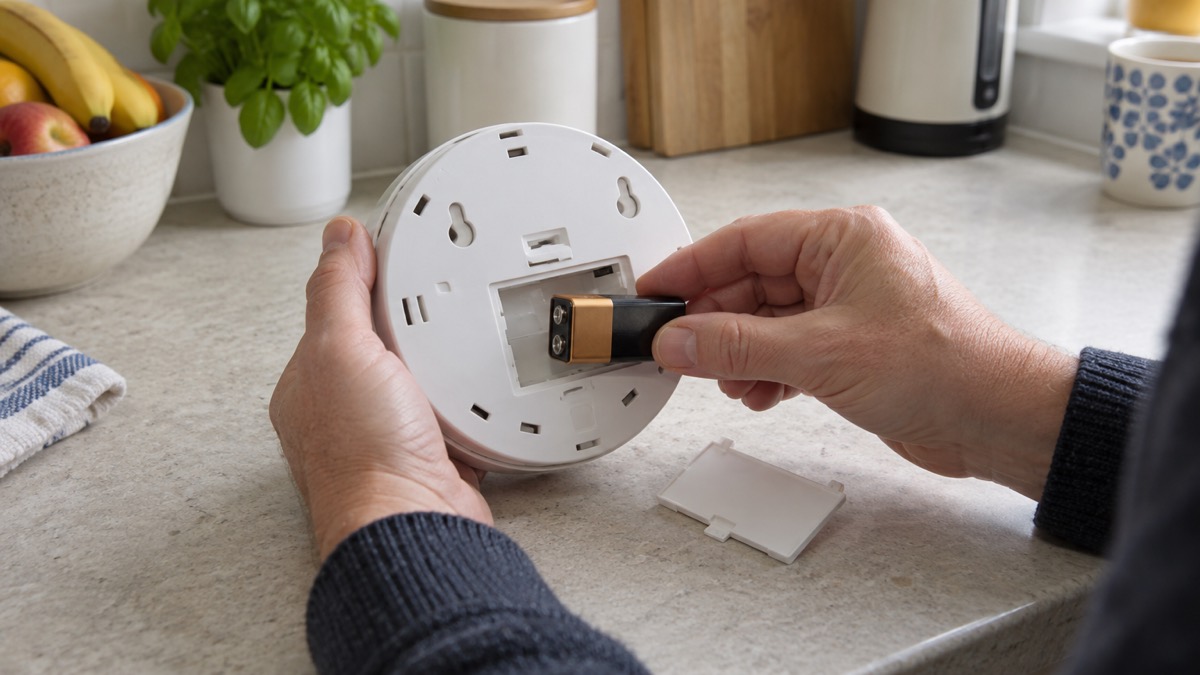
The HW1 takes one 9V (PP3) battery, and the maker says it should last approximately one year under normal use2. The recommended batteries are Duracell MN1604, Gold Peak GP1604S and Raymax 6F22, and the manual warns that using a battery other than those recommended may have a detrimental effect on the alarm performance2. The HW1-PF-T datasheet specifies a 9V PP3 zinc carbon battery12.
The alarm itself should be replaced every 10 years2. That is the working life of the sensor, not the battery.
The warranty is 5 years on the datasheet1. The HW1-PF manual sets out the terms: FireAngel will, at its discretion, replace the unit free of charge if it is sent back with proof and date of purchase; the warranty on a replacement lasts for the remainder of the original warranty period; it is not transferable and applies to the original retail purchaser; and proof of purchase is required2. It does not cover damage from accident, misuse, disassembly, abuse or lack of reasonable care, applications not in accordance with the user manual, or events outside FireAngel's control such as fire or severe weather3.
For support, FireAngel says its customer support specialists are based in the UK and can help with product advice, installation queries and troubleshooting by phone, email or live chat13. The company has been an established UK brand since 1998 and is Coventry based14.
When the alarm reaches the end of its life, dispose of it within the waste electronic and electrical equipment (WEEE) recycling scheme, remove the batteries before disposal, do not attempt to open it, and do not burn it2. Check with your local authority or retailer, as regional variations apply2.
Sources (14)
- HW1-R Data Sheet, FireAngel, 2024
- HW1-R Manual, FireAngel, 2024
- HW1-PF User Manual, FireAngel, 2026
- HW1-R Kitchen Heat Alarm, FireAngel, 2026
- Installing Your FireAngel Mains Powered Heat Alarm, FireAngel, 2024
- Installing Your Battery Powered Heat Alarm, FireAngel, 2024
- FireAngel Product FAQs, FireAngel
- Spec+ Heat Alarm, FireAngel, 2026
- Spec+ Multi-Sensor Heat and Carbon Monoxide Alarm, FireAngel, 2026
- Maintaining and Testing Your FireAngel Smoke Alarm, FireAngel, 2024
- Problem With Your Smoke or Heat Alarm, Greater Manchester Fire and Rescue Service, 2026
- HW1-PF-T-Data-Sheet.pdf, FireAngel Safety Technology
- Carbon Monoxide Safety, FireAngel, 2026
- Smoke Alarm Guide, FireAngel, 2026
 FireAngel FA6720-R Heat Alarm
 FireAngel HW10 Heat Alarm
 FireAngel HM-SN-1 Heat Alarm
 Kidde Firex KF30 Heat Alarm
 Firehawk FHH10 Heat Alarm
 Aico Ei144e Heat Alarm
 FireAngel FA8720BW Heat Alarm