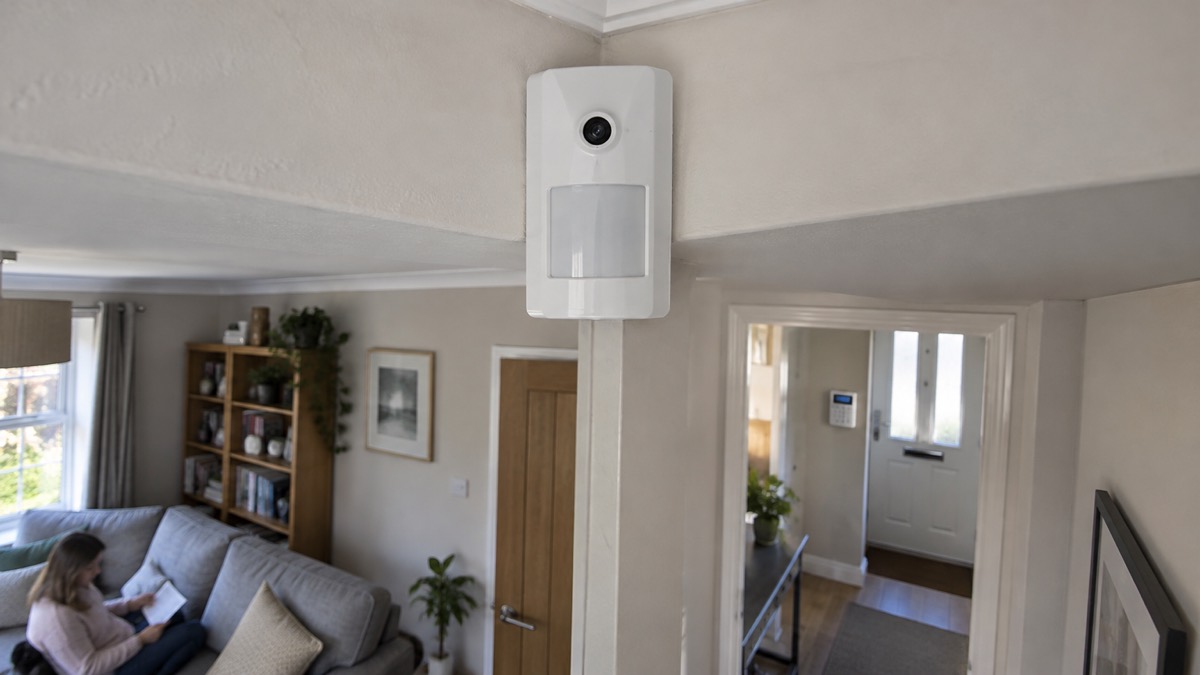
The Ajax MotionCam is a wireless motion detector with a built-in camera. When the system is armed and someone walks into its view, it raises an alarm and sends one or more photos to the Ajax app, so you can see what set it off rather than guessing. The maker describes it as a wireless PIR motion detector with extended photo verification possibilities1. It is part of the Ajax range, so it needs an Ajax hub to work, and it is designed for indoor use only1.
The headline numbers are these. It detects movement at up to 12 metres, and the maker recommends mounting it at a height of 2.4 metres2. Its horizontal field of view is 88.5°1. With the bundled batteries it runs for up to 4 years when the Photo on demand toggle is disabled, and up to 3 years when it is enabled3. It carries Security Grade 2 and a 2 year warranty1.
This page covers what the detector does, how far and how well it sees, how the photo verification works, how to look after the batteries, where it must not be fitted, how to set it up and test it, and where to get support. It is one product in a wider choice: if you are still deciding what kind of detection you need, the guide to burglar alarms and the comparison of alarms or cameras set the options out.
What the MotionCam does and who it suits
The MotionCam is a passive infrared (PIR) detector with a camera bolted on. In normal use it watches a room or a zone, and when it is armed and detects movement it triggers an alarm and takes pictures. The maker's description is simple: the built-in camera is activated if the detector is armed and motion is detected1. It takes a photo only when armed, so it is not photographing the room while the system is disarmed2.
The point of the camera is verification. A plain motion sensor tells you something moved; the MotionCam tells you what moved, by sending an image to your phone through the Ajax app. That helps you decide whether an alert is a genuine intruder, a pet, or a curtain moving in a draught, before you act on it. The same idea runs through the wider guide to home cameras and CCTV, which explains how photo and video verification fit into a home security setup.
There is a second use the maker builds in. On models with the feature, the camera can take pictures automatically when Ajax fire detectors are triggered, to help identify the cause of a fire alarm1. That feature is disabled by default1.
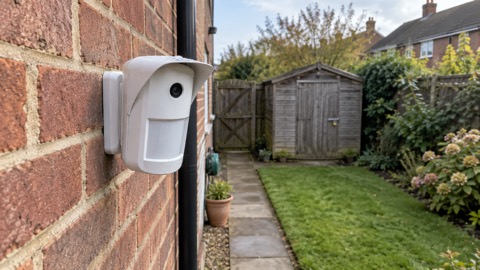
Who it suits: a household already running an Ajax system that wants to see, not just be told, what tripped a detector in a hallway, landing or living room. It is an indoor detector, so it is not the unit for a garden or a driveway; the maker makes a separate outdoor version, covered on the Ajax MotionCam Outdoor page. If you have no Ajax hub, this detector is not a standalone camera and will not work on its own.
Detection: how far it sees and how wide
The detection figures decide where the detector will and will not do its job, so they are worth getting right before you drill anything.
| Specification | Figure | Notes |
|---|---|---|
| Motion detection distance | up to 12 m | at the recommended mounting height2 |
| Recommended mounting height | 2.4 m | where nothing obstructs its view2 |
| Horizontal field of view | 88.5° | 1 |
| Motion detection speed | from 1 to 6.6 ft/s | 1 |
| Sensitive element | 1 PIR sensor | 1 |
| Temperature compensation | effective from 14°F to 104°F | 1 |
The detection distance is quoted for the detector installed at the recommended height, so a unit fitted lower or higher will not match it exactly. The maker's outdoor manual shows how much the pattern changes with height and sensitivity, quoting different distances at different settings, which is a reminder that these are working figures rather than guarantees4. The temperature compensation range matters in a British home because it means the detector is designed to keep working across ordinary indoor temperatures rather than drifting with the seasons1.
The maker also builds in SmartDetect, a software algorithm for false alarm prevention1. That is the maker's description of how it filters out the kind of movement that should not count as an intrusion.
Photo verification: resolution, number of shots and delivery time
The camera is the reason to choose this detector over a plain sensor, so the photo settings are the part to understand. You choose how many photos are taken per alarm: no photo, a single photo, or a series of 2, 3, 4 or 53. Series of 4 and 5 are only available at the lower resolutions of 320 × 240 or 160 × 120 pixels3. The default is that the first ten alarms are accompanied by an animated series of three images at 320 × 240 pixels3.
Resolution is a straight trade between detail and speed. The maker offers three settings, and the number of images you can take in a series depends on which you pick:
| Photo resolution | Series length available |
|---|---|
| 160 × 120 px | 1 to 5 images1 |
| 320 × 240 px (default) | 1 to 5 images1 |
| 640 × 480 px | 1 to 3 images1 |
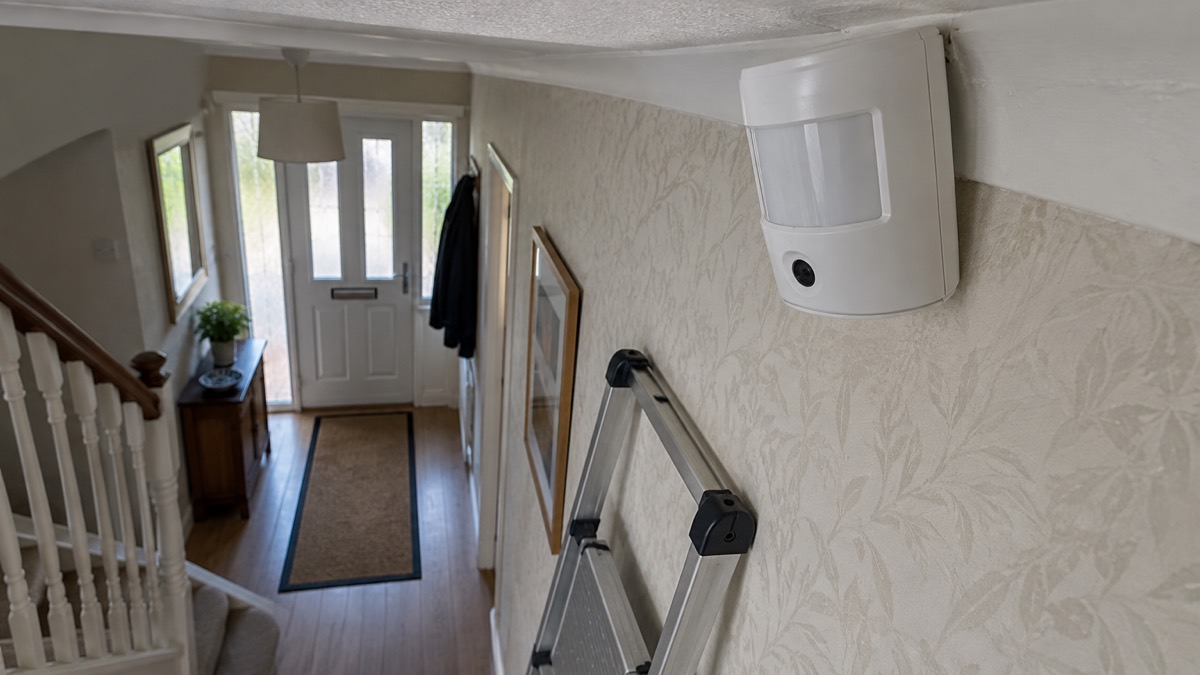
The maker's own advice is to use the maximum photo resolution only when the information content is insufficient, because the higher setting costs you time and battery5. For most households the default 320 × 240 is the sensible balance: detailed enough to tell a person from a shadow, without the extra cost of the top setting.
You can also limit how many alarms carry a photo. The maker lets you specify 1 to 10 alarms, or set it to send a photo each time the device is triggered2. That cap protects battery life and stops you being flooded with images.
Batteries: up to 4 years, or up to 3 with Photo on Demand on
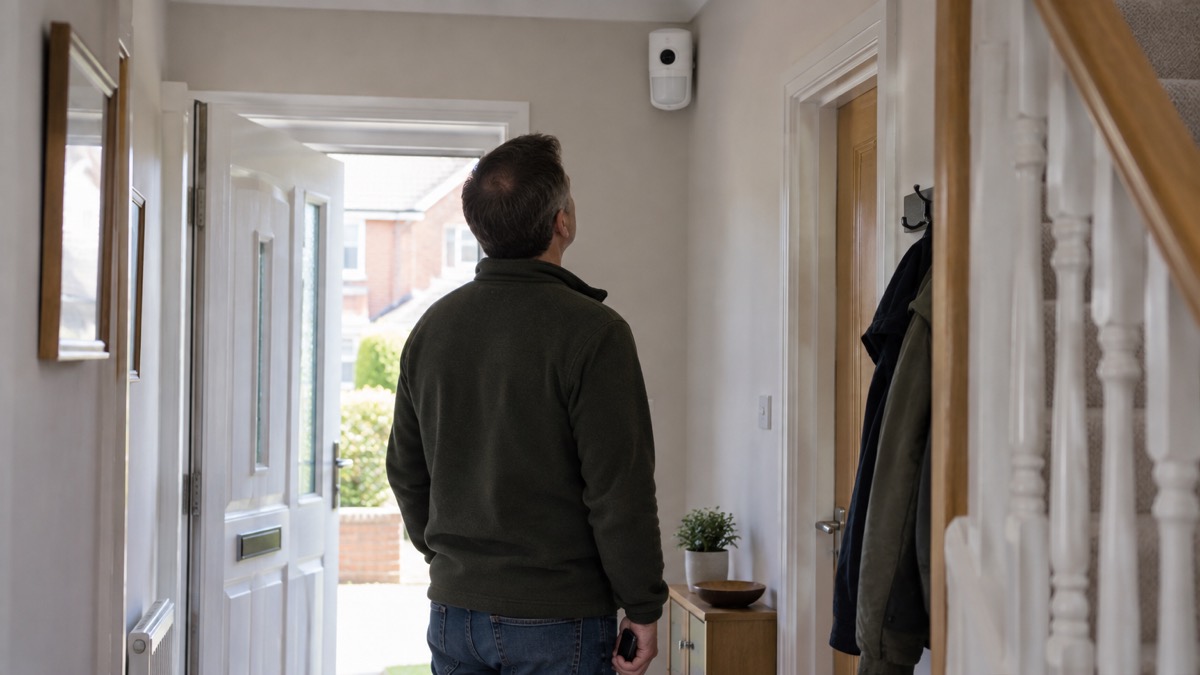
Battery life is the figure most people ask about, and it depends on one setting. With the bundled batteries and the Photo on demand toggle disabled, the detector runs for up to 4 years; with the toggle enabled, up to 3 years3. The maker's support article gives the same pair of figures and sets out the assumptions behind them: normal PIR sensitivity, the Delay When Entering setting disabled, a series of three photos at 320 × 240 per alarm, and a ping interval of 36 seconds5.
The detector uses 2 × CR123A batteries, pre-installed, each with a capacity of 1,550 mAh1. The maker lists Huiderui, Panasonic or Duracell as the battery manufacturers, UL listed1. When the batteries run down, the system sends a low battery notification, and after that the detector can keep working for up to 2 months3. The maker recommends replacing them as soon as you get the notification rather than using up that margin6.
To replace them, the maker's steps are: remove the detector from the SmartBracket mounting panel, turn the device off, unscrew the 3 screws and remove the back lid, replace the batteries observing polarity, then turn the detector on and check the battery status in the app7.
Pet immunity depends on the sensitivity level you choose
If you have a cat or a dog, the pet immunity figure is the one to check against your animal. When properly installed and configured, the maker says the detector does not react to animals up to 50 centimetres tall3. That covers most cats and small dogs, but not a large one.
Sensitivity is set in three levels, adjusted by a PRO installer or by a user with admin rights in the Ajax app8. At the Low setting the detector does not respond to animals up to 50 cm tall3. The maker also notes that a detector with a high sensitivity of the PIR sensor can be triggered by large and active pets or by other thermal interferences9.
The maker's testing rule is a useful check. If, during the detection zone test, the detector does not react to motion in 5 cases out of 5, the sensitivity can be increased4. In other words, test first, then adjust, rather than turning sensitivity up on a hunch.
Where the MotionCam must not be installed
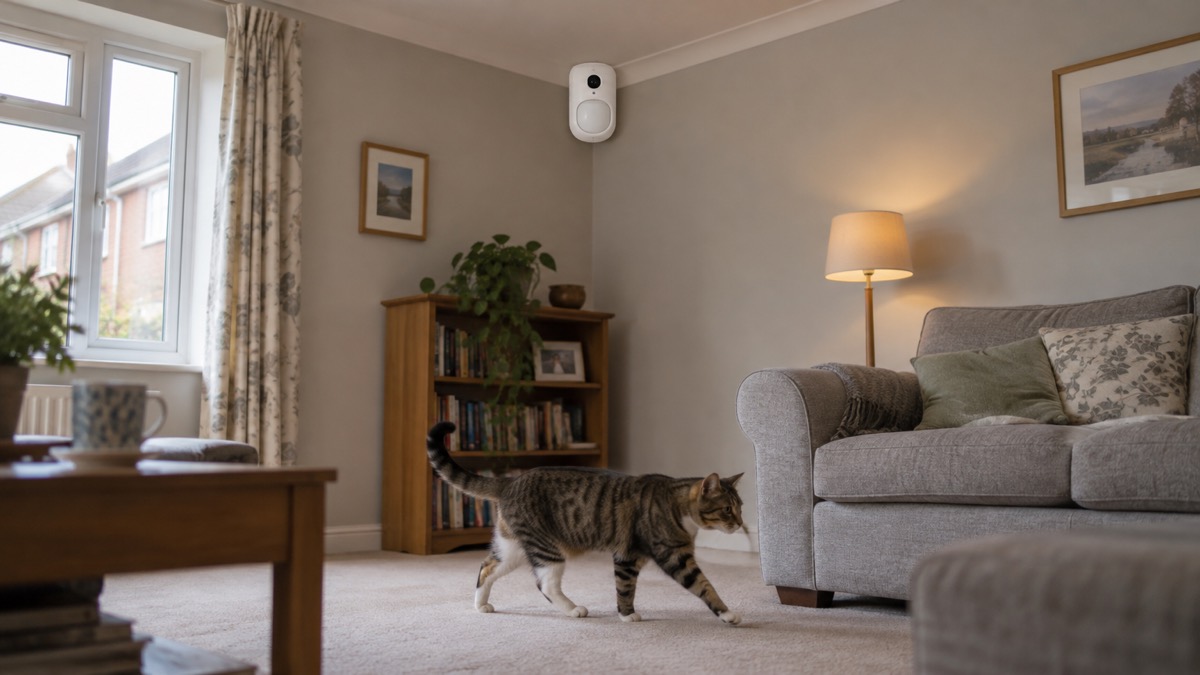
Getting the location wrong is the most common reason a detector misbehaves, and the maker is specific about the places to avoid. Do not install it outdoors, in direct sunlight, opposite objects whose temperature changes rapidly, opposite moving objects with a temperature close to that of the human body, in places with fast air circulation, where objects or glass structures may obstruct the view, or in premises with temperature and humidity outside the permissible limits3. The maker's warning is blunt: installing outdoors can lead to false alarms and detector failure3.
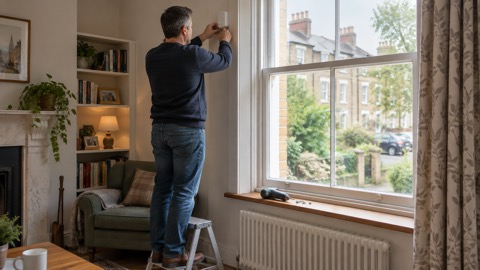
Two further rules matter. The detector does not detect movement behind glass, so do not fit it to look through a window or a glass partition2. And it should go on a flat, stable surface such as a wall of a house or a solid fence, because a shaky surface results in false alarms10.
The detector also has masking sensors that react to hindering, covering and painting the lens8. Painting over the lens with varnish or paint raises a masking alarm after 100 seconds10. That is a security feature: it tells you if someone has tried to blind the detector.
Setting up, testing and checking the signal
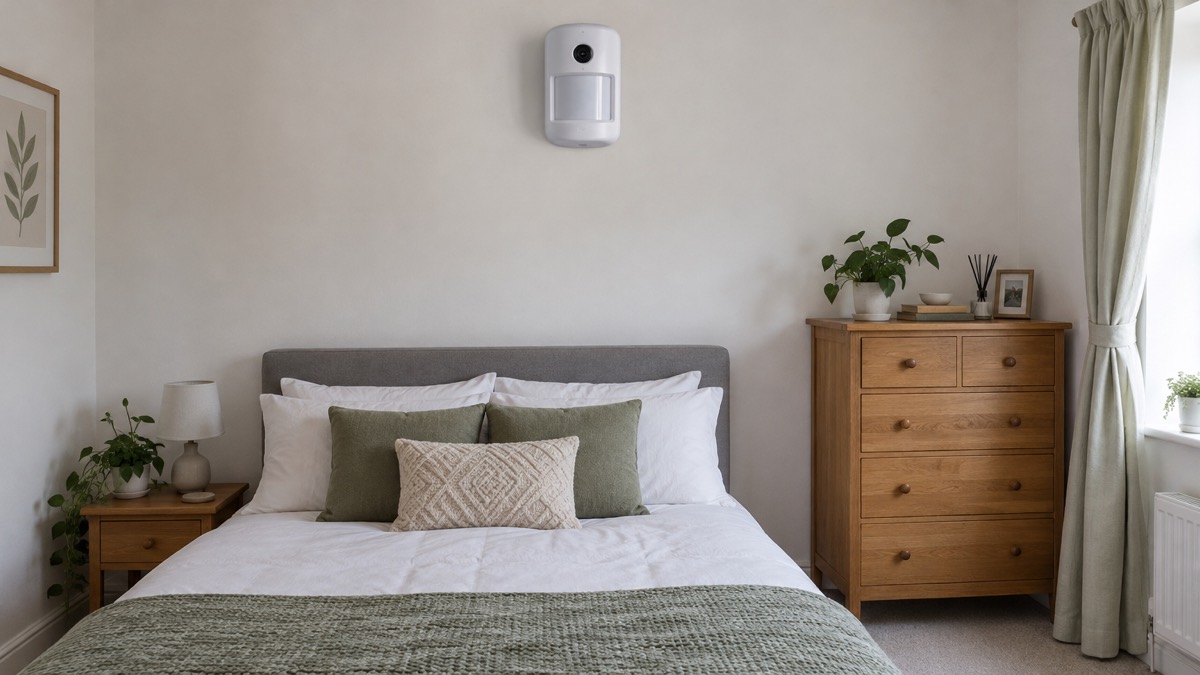
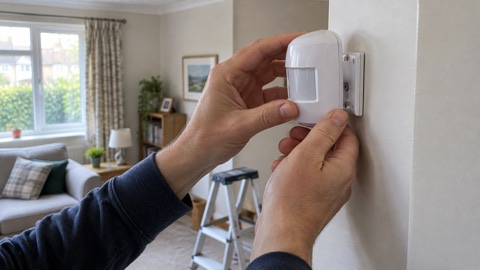
Set-up is done through the Ajax app and the hub, and the maker's guidance is to place the detector where the radio signal is strong. Aim for 2 to 3 bars of Jeweller and Wings signal strength in the app; if you see a single bar, move the device, because repositioning it even by 20 cm can significantly improve reception4.
The detection zone test is the step that confirms the installation is right. It tests the motion and masking sensors and checks whether the device is installed correctly to detect all alarms6. Run it after mounting, walk the zone, and adjust height or sensitivity if it does not respond as it should.
The detector connects to one Ajax hub, and the maker says connection to other hubs, radio signal range extenders, ocBridge Plus and uartBridge is not provided3. The outdoor version is specifically incompatible with the Hub and Hub Plus, the ReX Jeweller range extender and third-party central units4. Check your hub against the maker's list before you buy. If you are building the system around a hub, the Ajax Hub (2 Plus, 2, Plus) page covers the control unit itself.
Firmware matters for some features. Photo by schedule needs hubs with firmware OS Malevich 2.19 or later, and HDR needs device firmware 16.59.36.5 or later1. Updates are done in the app: go to the Devices tab, select the camera, open Settings with the gear icon, check the version and release notes, then tap Next to download and Install to confirm9.
Standards, security grade, warranty and support
The MotionCam U Jeweller carries Security Grade 2 and is certified to the EN 50131 series of alarm standards, with a certificate issued by TREZOR TEST s.r.o.11. Grade 2 is the grade most often specified for domestic intruder alarms, and it is the figure an insurer or installer will look for. If you are checking whether a product meets the standard your insurer expects, the guide to police-approved products explains what the markings mean.
The warranty is 2 years after purchase, and it does not extend to the bundled batteries2. The MotionCam U Jeweller is listed with a 24 month warranty11.
For help, Ajax Technical Support can be reached at support@ajax.systems, and the maker says its chatbot and technical support team are available 24/72. The maker also notes that in half of cases technical issues can be solved remotely, so it is worth contacting support before returning a unit4.
"If the device does not function correctly, please contact the Support Service first."
If you are weighing this detector against a camera or a simpler sensor, the comparison of burglar alarm or CCTV camera and the guide to monitored alarms will help you decide what level of response you want. And if you are fitting detection as part of a wider plan, the home security guide is the place to start.
Sources (11)
- MotionCam (PhOD) Jeweller specifications, Ajax Systems, 2026-11-02
- MotionCam Jeweller user manual, Ajax Systems, 2026-09-23
- MotionCam (PhOD) Jeweller user manual, Ajax Systems, 2026-09-28
- MotionCam Outdoor user manual, Ajax Systems, 2026-09-28
- MotionCam battery life, Ajax Systems, 2024-04-30
- MotionCam Outdoor HighMount (PhOD) Jeweller user manual, Ajax Systems, 2026-08-04
- How to replace batteries in MotionCam, Ajax Systems, 2024-04-30
- MotionCam Outdoor (PhOD) Jeweller specifications, Ajax Systems, 2026-11-02
- How to update the firmware on Ajax cameras and NVRs, Ajax Systems, 2024-10-16
- MotionCam Outdoor (PhOD) Jeweller user manual, Ajax Systems, 2026-09-23
- MotionCam U Jeweller specifications, Ajax Systems, 2026-11-02

 Ajax CombiProtect
 Ajax DoorProtect Plus
 Ajax GlassProtect
 Ajax MotionCam Outdoor
 Ajax MotionProtect