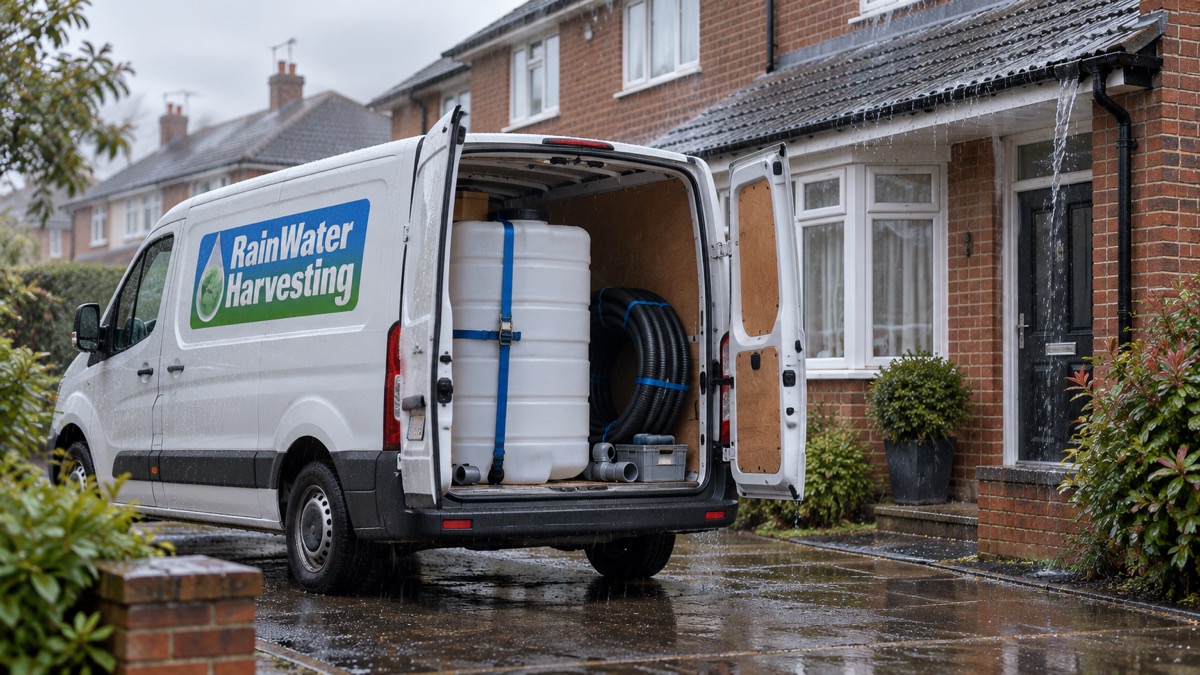
The Smart Header Tank is the loft tank in a gravity feed rainwater harvesting system. Rain is collected from the roof, filtered and stored in an underground tank; a control unit pumps it up into this 100 litre tank in the roof space, and gravity then feeds your toilets and washing machine from there1. It is made by Rainwater Harvesting Ltd, and it is the part of the system a household is most likely to have to reach, check and keep clear.
If you are fitting one, three things decide whether it works: the height, the pipe sizes and the cable. The maker's manual says the tank must sit at least 1.2 metres above the control panel and the highest toilet, and a minimum of 5 metres above a washing machine to give sufficient pressure2. It takes a 15mm mains inlet, a 22mm rainwater inlet and a 22mm services outlet, with a 40mm overflow that must run directly outside2. The Cat5 data cable must be installed as provided and must not be cut4.
This page sets out what the tank does in an emergency, its specifications, where to put it in the loft, how to fit it safely and what to check. It is written for an ordinary household with no background in plumbing, and it follows the maker's own instructions for this product throughout.
What the Smart Header Tank does in a rainwater harvesting system
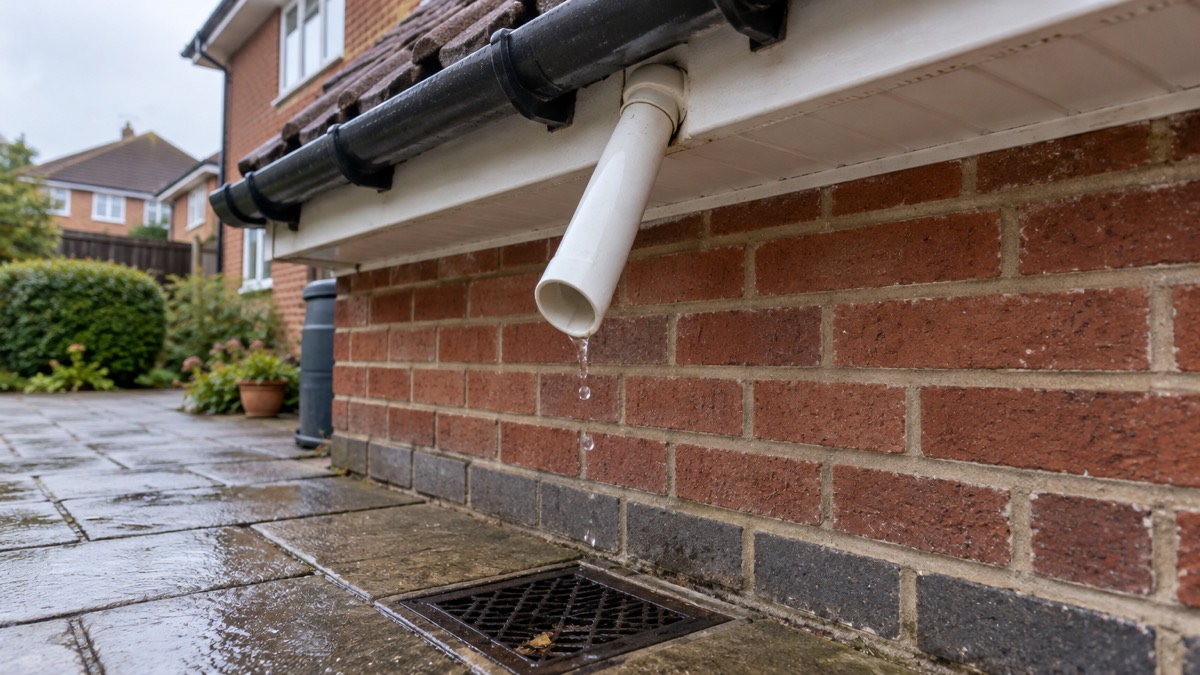
A rainwater system starts on the roof. Rain falls, runs into the gutters, passes through a filter and is stored in a tank for later use5. In a gravity feed system, the underground tank pumps that water through a control unit and up into the Smart Header Tank in the loft, and from there it is fed by gravity to the appliances1. The maker describes the tank as providing a steady supply of water for a water recycling system6.
The difference from a direct feed system matters when you are choosing. In a direct feed system, water is fed from the submersible pump in the underground tank directly into each appliance, with no loft tank in between7. A gravity feed system adds the header tank, and that tank is what gives the household its buffer. If you are still deciding between the two arrangements, the comparison of direct feed and gravity feed systems sets out the trade-offs.
The buffer is the point for a household preparing for disruption. The maker says that if the underground tank runs low, the control unit switches to mains water and feeds the Smart Header Tank directly, so your toilets and washing machine keep working even during low rainfall, pump failure or a power cut1. In ordinary times that is convenience. In a burst main, a drought or an outage, it means the one room in the house that depends on a steady water supply keeps working.
Capacity and size: 100 litres in a 600mm by 490mm by 500mm tank
The tank holds 100 litres and measures 600mm wide, 490mm high and 500mm deep2. That is small enough to fit between loft timbers in many roofs, but it is not a tank you can tuck into a corner and forget. The maker's manual asks you to select an accessible part of the roof space, because you might need access to the header tank4.
| Specification | Figure | Source |
|---|---|---|
| Capacity | 100 litres | 2 |
| Width | 600mm | 2 |
| Height | 490mm | 2 |
| Depth | 500mm | 2 |
| Mains water inlet | 15mm | 2 |
| Rainwater inlet | 22mm | 2 |
| Services outlet | 22mm | 2 |
| Overflow | 40mm | 2 |
| Level sensing | ceramic level sensor tube, Cat5 connection | 6 |
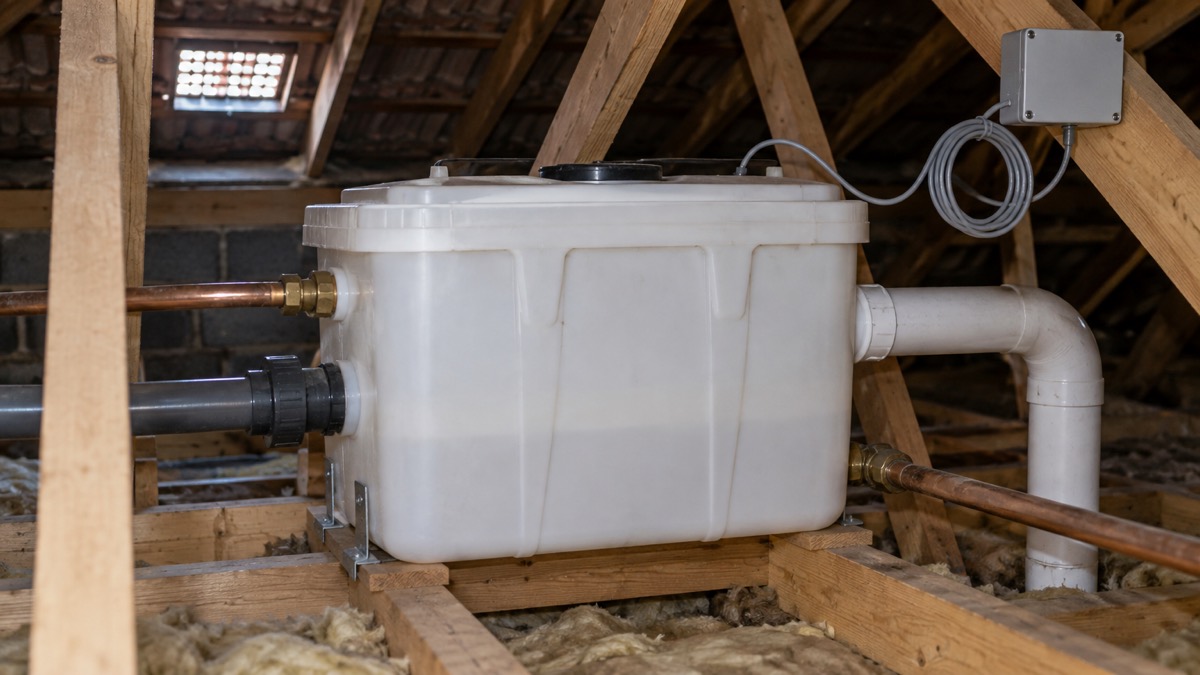
The tank is supplied as part of the roof space kit, including the level sensor bar, the Cat5 connection box and the overflow tower3. Inside it there is a ceramic level sensor tube6, and the manual lists a level sensor with Cat5 connection, a mains water float valve and an overflow weir among its features2.
Size has a practical consequence. A 100 litre tank refills quickly from the underground store, so it does not need to be large; what it needs is to be high enough and reachable. If you are working out how big the underground tank should be to keep it supplied, the guide to sizing a rainwater tank takes you through roof area, rainfall and demand.
Pipe connections: 15mm mains, 22mm rainwater and services, 40mm overflow
Four connections do the work, and getting each one right is what keeps the system behaving. The maker's manual numbers them: a 15mm mains water inlet from the control panel, a 22mm rainwater inlet from the control panel, a 22mm services outlet, and a 40mm overflow2.
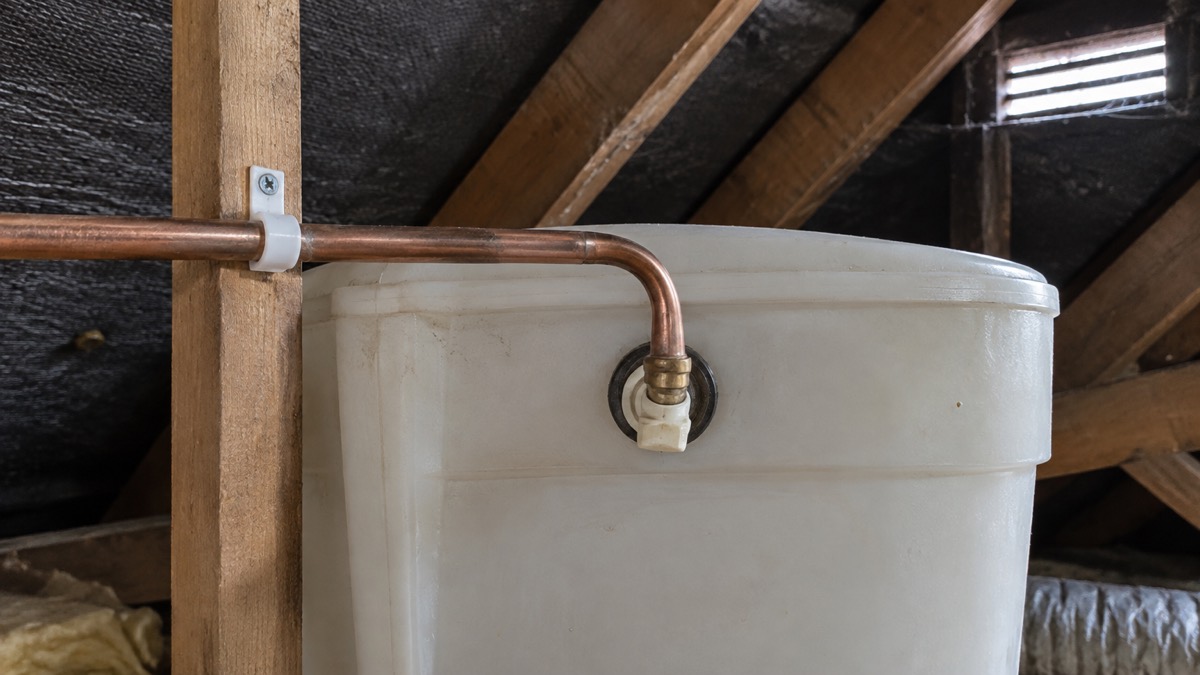
- 15mm mains inlet. This is the top-up supply from the control unit, feeding the float valve. The manual asks for a 90 degree bend where the pipe enters the back of the Torbeck valve, properly supported, because excess weight can distort the tank and affect operation4.
- 22mm rainwater inlet. This carries harvested water up from the control unit into the tank2.
- 22mm services outlet. This is the gravity feed pipework running from the Smart Header Tank to the appliances4.
- 40mm overflow. The overflow weir takes excess water straight out of the house, and the manual says the 40mm overflow pipe must flow directly to the outside of the property4.
The pipework between the control unit and the tank has two named runs in the manual: the mains water supply running from the control unit to the Smart Header Tank, and the gravity feed pipework running from the tank to the appliances4. Keep those two runs separate and labelled so that anyone working on the system later can tell which is which. The guide to pipe labelling for rainwater systems explains the marking conventions.
How high does a header tank need to be?
Height is the specification most installations get wrong, because a loft rarely offers much of it. The maker's manual gives two figures. The tank must be fitted at least 1.2 metres above the control panel and the highest toilet, and a minimum of 5 metres above a washing machine to provide sufficient pressure2. An earlier edition of the manual gives the same two figures, adding that the higher the tank, the better the pressure4.
The 1.2 metre rule is achievable in most two storey houses: the tank sits in the loft, the control panel and the highest toilet are below it. The 5 metre rule is the hard one. Five metres is roughly the height of a house and a half, so a washing machine on the ground floor of a two storey home may not be reachable from a loft tank at all. Check the drop before you plan the position, and if the washing machine cannot be served, plan for the toilets to be fed from the tank and take advice on the machine.
For comparison, height rules appear elsewhere in the trades for the same reason: a higher head gives more pressure. You usually need a drop of over 10 metres for a higher head turbine to be viable8. That is a different application, but it shows the same principle: the fall of water is what drives the flow.
Choosing a place in the loft you can get back to
The best position is the one you can reach without moving boxes, squeezing past a water cylinder or crawling to the far end of the roof. The maker's manual says to select an accessible part of the roof space, as you might need access to the header tank4. That is the whole rule, and it is worth more thought than it sounds.
Three things shape the choice. First, the tank needs a firm, level base. Guidance on plastic tank support platforms says the platform should extend a minimum of 150mm in all directions beyond the edge of the maximum dimensions of the tank9. Second, the tank needs to stay warm enough not to freeze. Water companies advise fitting a cold water tank in the loft with an insulation jacket, or wrapping the top and sides with suitable insulation, and warn not to place loft insulation directly under the tank10. Anglian Water puts it plainly: tanks in your loft need the heat from below to keep them warm, so do not insulate the base12.
Third, the space around the tank has to stay clear. The same principle applies to any tank a household has to check: UKIFDA advises leaving enough space to get around a heating oil tank for regular checks and for the tanker to fill it [not cited here], and the general point holds for a loft tank too. Keep the route to the tank open.
Fitting it safely: clean tank, uncut data cable, overflow to outside
Fitting is straightforward if you follow the maker's instructions in order. The manual's own sequence covers the position, the pipework, the cable and the overflow, and each step has a reason behind it.
- Keep the tank clean. The manual says that when installing you should keep the header tank clean and clear of debris4. Grit and swarf left inside can foul the float valve and the level sensor.
- Do not cut the Cat5 cable. The manual states that the Cat5 data cable must be installed as provided and not be cut, and that if you require a longer cable you should inform Rainwater Harvesting Ltd, who can provide one4. A cut and rejoined cable is outside the maker's instructions.
- Support the mains pipe at the valve. Ensure the mains water pipe into the back of the Torbeck valve has a 90 degree bend and is properly supported, because excess weight can distort the tank and affect operation4.
- Take the overflow outside. The 40mm overflow pipe must flow directly to the outside of the property4. Check the discharge point is clear and that water will run away from the wall.
- Check the level sensor. The tank contains a ceramic level sensor tube6 and is supplied with a level sensor bar and Cat5 connection box3. Make sure the sensor sits as the manual shows before the lid goes on.

There is a wider safety point about stored water. The Drinking Water Inspectorate advises designing tanks, storage chambers and borehole head works to prevent access from all animals, including rodents and invertebrates14. A loft tank with a close fitting lid does that job; check the lid is seated after every visit.
Keeping it ready, and what it does in a power cut
A header tank needs very little attention, but the little it needs matters. Check it at the same time each year, ideally before winter. Look at the lid, the float valve, the pipe supports and the overflow outlet, and clear anything stored against the tank. The maker's instruction that the cat 5 data cable must be installed as provided and not be cut4 is worth remembering whenever anyone works near the tank.
The tank's behaviour in an outage is its strongest feature for a household. The maker says the control unit switches to mains water and feeds the Smart Header Tank directly if the underground tank runs low, so toilets and the washing machine keep working during low rainfall, pump failure or a power cut1. That is worth knowing before an outage rather than during one. The guide to whether a rainwater system keeps working in a power cut covers the wider system.
For the seasonal checks, the rainwater system winter checklist and the guide to keeping a rainwater system clean set out what to look at and when.
Support, spares and where to get help
The Smart Header Tank is made and supplied by Rainwater Harvesting Ltd, and the maker's manuals are the authority for its installation and use. If you need a longer Cat5 cable, the manual says to inform the maker, who can provide one4. That is the route for any part that is specific to the system: go back to the supplier rather than improvising.
For the system as a whole, the Rain Director page covers the control unit that serves the tank, and the guide to rainwater harvesting at home explains how the parts fit together. If you are still at the planning stage, the guide to what harvested rainwater can be used for and the rainwater regulations page cover the rules on mains top-up and labelling.
If a leak appears below the tank, treat it as a home emergency: turn off the mains supply to the float valve if you can reach it safely, and get the ceiling below checked. The guide to home emergencies covers burst pipes and water damage.
Sources (15)
- Direct Feed or Gravity Feed?, Rainwater Harvesting Ltd, 2026
- Rain Director Installation Manual (RD-150126), Rainwater Harvesting Ltd, 2026
- Rain Director Installation Manual, Rainwater Harvesting Ltd, 2019
- Rain Director Carat Quick Install, Rainwater Harvesting Ltd, 2021
- How to Collect Rainwater, Rainwater Harvesting Ltd, 2024
- Rain Director, Rainwater Harvesting Ltd, 2025
- Rainwater Harvesting Direct Feed Systems, Rainwater Harvesting Ltd, 2025
- Micro-Hydro Power - cat.org.uk, Centre for Alternative Technology (cat.org.uk)
- Water in the Home, SES Water, 2015
- Protect Your Pipes, Scottish Water, 2026
- Winter Proof Your Home, NI Water, 2026
- Wrap Up for Winter Leaflet, Anglian Water, 2018
- Solar Panels, Electrical Safety First, 2026
- Protecting Your Private Water Supply, Drinking Water Inspectorate, 2026
- Failure of Water Infrastructure or Loss of Drinking Water, Wiltshire and Swindon Prepared, 2026