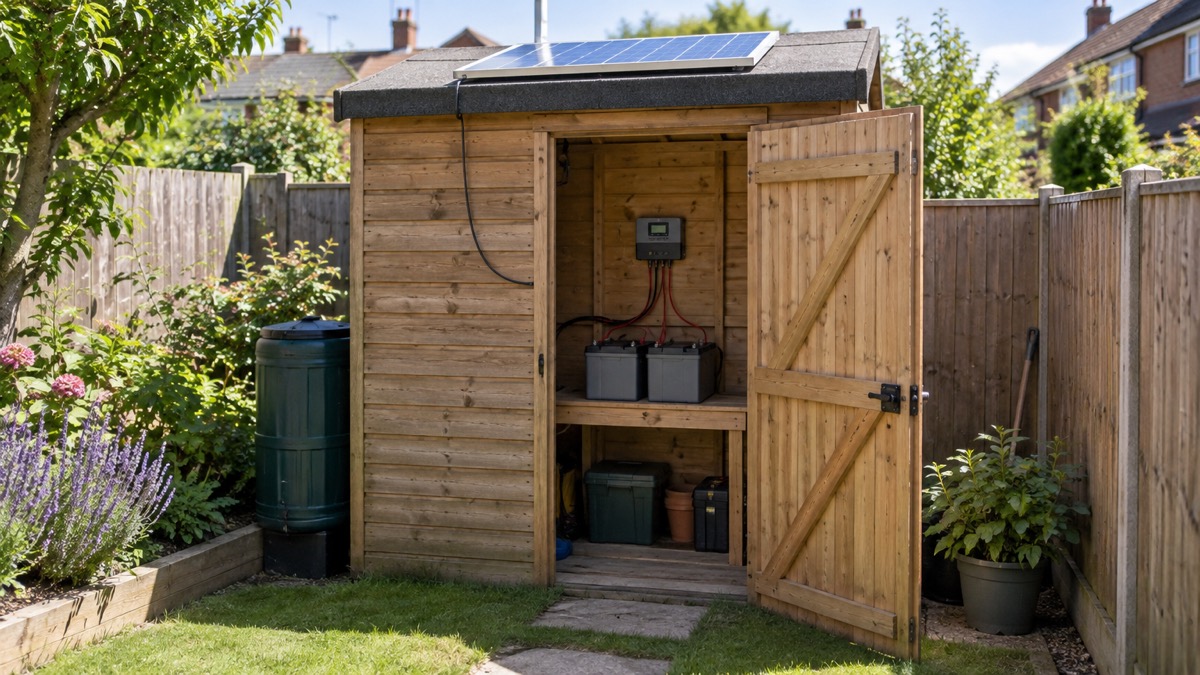
The Morningstar SunSaver Duo is a solar charge controller built to keep two 12V lead-acid batteries topped up from one solar panel. It takes up to 25 amps of solar current at a maximum solar voltage of 30V, and it shares that charge between the two batteries on a priority you choose: 90% to one and 10% to the other, or an even 50/50 split1. For a household preparing for power cuts, it is the piece of kit that turns a panel on a shed roof into a maintained battery bank, so that a light, a radio or a small pump still works when the mains does not.
It is not a plug-in power station and it does not make mains electricity. It is a controller: it sits between the panel and the batteries, manages the charging so the batteries are not damaged, and reports what it is doing through a status light. The batteries and the panel do the work; the SunSaver Duo decides how the charging is done.
This page covers what it does, the limits that decide whether it suits your set-up, how to set it for your batteries, how to install it safely, how to read its light when something is wrong, and how to keep it ready between emergencies. It is written around the maker's own manual and datasheet, with the safety points named to the body giving them.
What the SunSaver Duo does for a household
The maker describes it as an advanced PWM dual-battery charge controller for motorhomes, caravans, boats and other installations where two batteries need charging from one panel1. In a domestic emergency plan that translates into a simple arrangement: a panel outside, the controller inside a shed or garage, and two batteries kept charged. One battery might run a small 12V lighting circuit and a radio; the other might be held in reserve, or run a pump or a small inverter. The controller keeps both topped up without you swapping leads.
The charging is a four-stage algorithm: bulk, absorption, float and boost1. In plain terms it pushes current in while the battery is low, holds the voltage steady while the battery fills, then drops to a gentler float voltage to keep it there without overcharging. The boost, or equalise, stage runs only on flooded batteries, every 28 days1. The datasheet describes the same sequence as series PWM, four stage, with equalise used on flooded batteries only2.
Two details matter for a household that leaves the system alone for weeks. First, the controller's own appetite is small: the manual gives self-consumption of 5.5 mA at night and 10.0 mA while charging1. Second, it is designed to survive the mistakes people make when wiring in a hurry. The maker states that the controller will not be damaged by wiring mistakes during installation, that there are no fuses to replace, and that it automatically re-sets after a wiring mistake3.
It is a modest, unglamorous device, and that is the point. It is the part of an off-grid set-up that keeps working quietly in the background. If you are building that set-up from scratch, the wider picture is set out in Off-Grid Solar Systems: How They Work and What They Can Power and in Solar Charge Controllers: PWM, MPPT and Shunt Regulators.
Specifications: 25A solar current, 30V maximum solar input
The two figures that decide whether this controller suits your panel are the current rating and the voltage limit. The rated solar current is 25 amps and the maximum solar voltage is 30V1. The product page gives the same charge rating of 25 amps and a maximum PV open circuit voltage of 30 volts3. Those are the numbers to check against the label on the back of your panel before you buy: a panel whose open circuit voltage exceeds 30V is outside the controller's rating, whatever its wattage.
| Specification | Figure | Source |
|---|---|---|
| Nominal battery voltage | 12V | 3 |
| Battery voltage range | 1V to 15V | 1 |
| Rated solar current | 25 amps | 1 |
| Maximum solar voltage | 30V | 1 |
| Charge rating | 25 amps | 3 |
| Voltage accuracy | 1.0% | 3 |
| Regulation method | 300 Hz PWM or slow switching (10 Hz max) | 1 |
| Operating temperature | -40°C to +45°C | 1 |
| Storage temperature | -40°C to +85°C | 1 |
| Humidity | 100% N.C. | 1 |
| Self-consumption | 5.5 mA night, 10.0 mA charging | 1 |
| Meterbus connection | 6-pin RJ-11 | 1 |
| Temperature compensation | -30 mV per °C (25°C reference) | 1 |
The controller is designed in the U.S.A. and assembled in Taiwan1. The manual carries the revision number MS-001164 v2.11, and the datasheet is control MS-002653 Rev 05/2020 EN2. The maker's product page gives an estimated 15 year life alongside the five year warranty3.
The voltage accuracy of 1.0%3 is a reminder that this is a measuring and switching device, not a precision instrument. It is accurate enough to charge a lead-acid battery properly, which is all it is asked to do. The temperature compensation of -30 mV per °C1 matters in an unheated shed: a lead-acid battery needs a slightly higher charge voltage when cold and a lower one when warm, and the controller adjusts for that automatically.
Lead-acid batteries only: setting the type and charging voltages
The instruction is unambiguous. The maker's manual says: "Only charge lead-acid batteries."1 The unit is set for a nominal 12V battery3. This is the single most important limit on the page. It is not a controller you can point at a lithium battery by changing a menu.
"Only charge lead-acid batteries."
Morningstar's controllers as a range can regulate charging in lead acid, lithium ion, nickel-cadmium and many other battery types4, but that is a statement about the range, not about this model. The SunSaver Duo's own manual restricts it to lead-acid, sealed and flooded1. If your plan involves a lithium battery bank, the right move is a controller specified for lithium, not a workaround here. The differences between chemistries are set out in Off-Grid Battery Banks: Lead-Acid, AGM, Gel and Lithium.
Having established that, you must tell the controller which flavour of lead-acid you have, because the charging voltages differ. DIP switch 2 does this: off for sealed (the factory setting), on for flooded1.
| Setting | Sealed | Flooded | Source |
|---|---|---|---|
| Absorption voltage | 14.1V | 14.4V | 1 |
| Float voltage | 13.7V | 13.7V | 1 |
| Time until float | 1 hr | 1 hr | 1 |
| Boost time | not used | 2 hrs | 1 |
| Boost interval | not used | 28 days | 1 |
| Equalise calendar | not used | 28 days | 1 |
| High voltage disconnect | 15.5V | 15.5V | 1 |
| High voltage reconnect | 14.0V | 14.0V | 1 |
Set the switch before you connect the batteries, and check it against the label on the battery. A sealed battery charged on the flooded setting will see a higher absorption voltage than it wants; a flooded battery on the sealed setting will be undercharged over time. If you are unsure which type you have, the safe default is sealed, which is how the unit leaves the factory1. Equalisation is a deliberate overcharge that flooded batteries sometimes need and sealed batteries must not have; it is covered in Equalisation Charging: Which Batteries Need It and Which Must Not Have It.
Sharing charge between two batteries: 90/10 or 50/50
The dual-battery design is the reason to choose this controller over a single-battery one. Solar current is shared between the two batteries on a priority you select, and when one battery is full all the charge flows to the other3. That is what makes it useful in an emergency set-up: the battery that runs your essential load can be given the lion's share, and the spare still gets topped up.
DIP switch 3 sets the split. Off gives 90% to Battery 1 and 10% to Battery 2, which is the factory setting. On gives an even 50/501.
| DIP switch 3 | Split | Typical use |
|---|---|---|
| Off (factory) | 90% / 10% | One working battery, one kept as reserve1 |
| On | 50% / 50% | Two batteries doing similar work1 |
The controller's DIP switch 3 sets the charging priority: OFF gives 90% / 10%, the factory pre-set, and ON gives 50% / 50%1. For most households the 90/10 default is right: it keeps the battery that does the daily work in good condition and trickles the spare. Choose 50/50 when both batteries carry comparable loads, for example two separate 12V circuits.
If you only have one battery, connect it to either the Battery 1 or Battery 2 terminals. The manual states that the remaining connection is then charged with 100% of available power regardless of the priority setting1. That means you can buy the dual controller now, run one battery, and add a second later without changing anything.
The Caravan Club's technical advice, written for caravan owners charging two batteries, recommends a twin bank charger with two separate outputs for continuous charging of two batteries5. The SunSaver Duo is exactly that arrangement in solar form: two separate battery outputs, charged from one source.
Installing it safely: fuses, wire sizes and mounting clearance
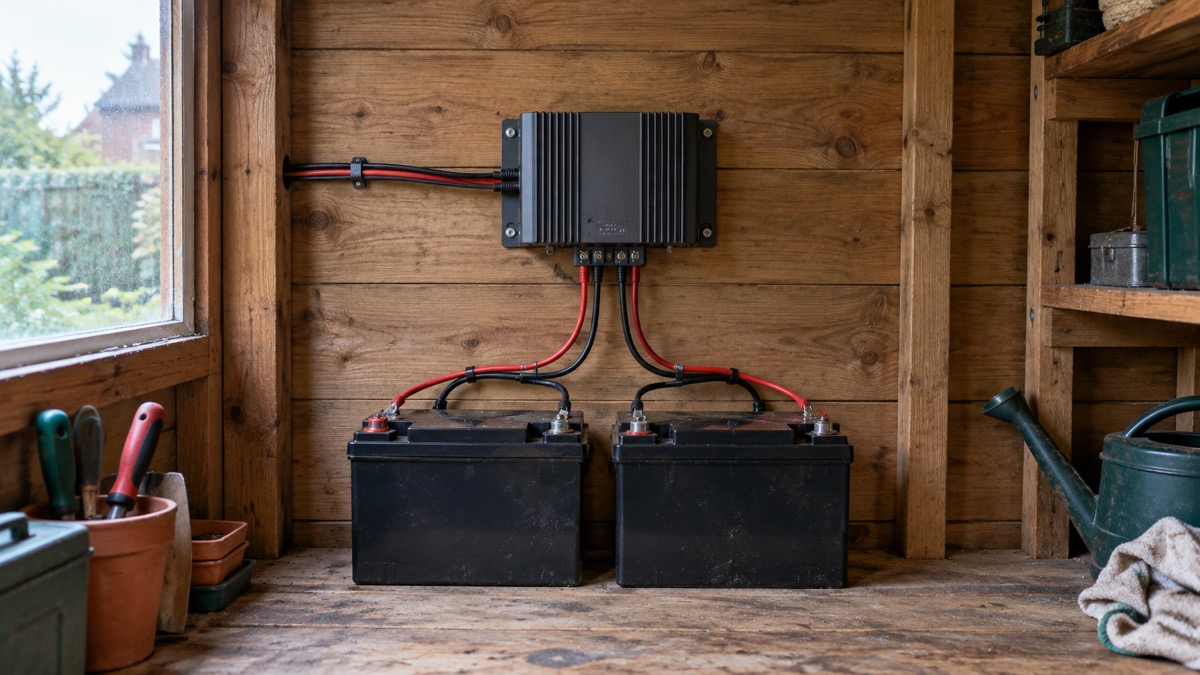
The installation instructions below are the maker's, for its own product. Follow them as written; where they touch on mains wiring or the fabric of a building, the relevant safety body's advice applies as well.
Fusing. The manual instructs you to insert a 30A dc-rated fuse into the fuse holder in each of the battery positive wires1. The in-line fuse holder should be wired in the positive line no further than 12 inches (305 mm) from the battery post1. That short distance is what protects the cable run if it is damaged: the fuse is close to the source of the energy, so a short circuit blows it before the cable overheats.
Wire sizes. The power terminals accept a maximum of solid #6 AWG (16 mm2), multistrand #6 AWG (16 mm2), or fine strand #8 AWG (10 mm2)1. The manual gives maximum one-way cable lengths for a 3% voltage drop at the full 25 amps: 6 AWG at 36 feet, 8 AWG at 23 feet, 10 AWG at 14 feet, 12 AWG at 9 feet and 14 AWG at 6 feet1. In metric terms, at 25 amps, 2.0 mm2 cable runs 1.8 m, 3.0 mm2 runs 2.7 m, 5.0 mm2 runs 4.3 m, 8.0 mm2 runs 7.0 m and 13.0 mm2 runs 11.0 m1. Keep the runs short and the cable thick; a long thin run wastes power as heat and drops the voltage the battery actually sees.
Mounting. Allow at least 3 inches (75 mm) of clearance above and below the controller for cooling1. The unit has four mounting holes6; mark them, remove the controller, and drill 3/32 inch (2.5 mm) holes at the marked locations1. Mount it where it will not sit in water and where air can move around it.
Start-up check. When you connect the solar positive wire, the controller should begin its start-up sequence and flash the status LED three times1. If it does not, stop and check the connections before going further.
If your installation involves any work near mains wiring, the electricity network operator can check the height of your service wires, temporarily disconnect the supply for safety and in some cases fit protective shrouding while work is carried out7. For anything involving a plug and fuse, the electrical safety charity's guidance is to replace the cover securely once you have finished8. The wider safety picture for a battery and panel set-up is in Charging and Looking After an Off-Grid Battery Bank Safely.
Reading the status LED and clearing faults
The status LED is the controller's only voice, and learning its language is the difference between a system you trust and one you abandon. The maker's manual sets out the meanings1, and Morningstar's support pages describe the same self-diagnostic approach across its controllers: lights that display or flash different colours to alert you to an installation error, short circuit, high temperature or high voltage input4.
| LED | Meaning | What to do |
|---|---|---|
| Green, solid (5 second heartbeat) | Bulk charging | Normal; the battery is taking current1 |
| Green, flashing | Absorption, float or equalise; both batteries must be in regulation | Normal; the battery is nearly or fully charged1 |
| Off, 5 second heartbeat | Night | Normal; no solar input1 |
| Red, flashing | Error: reverse polarity, solar over-current, high temperature, damaged or disconnected sensor, high voltage disconnect | Work through the causes below1 |
| Red, solid (5 second heartbeat) | Critical error: damaged local or heatsink temperature sensor | The unit needs support1 |
A flashing red light covers several faults, so work through them in order. Reverse polarity means a battery connection is backwards; the manual says the error clears when the mis-wire is corrected1. Solar over-current means the panel is delivering more than the controller's rating; check that the array's output is below 25A1. High temperature means the heatsink is above safe limits, and the controller reconnects automatically when it cools1. High voltage disconnect means a battery has exceeded 15.5V1.
One fault is common enough to deserve its own note. Morningstar's support pages say that if the SunSaver Duo LED is flashing red and it has stopped charging, the cause may be a remote temperature sensor fault, because the sensor terminals can accumulate dust, moisture or debris and form a resistive connection4. If you have not fitted a sensor, the factory jumper should still be in place; check it has not worked loose.
Built-in protections and their limits
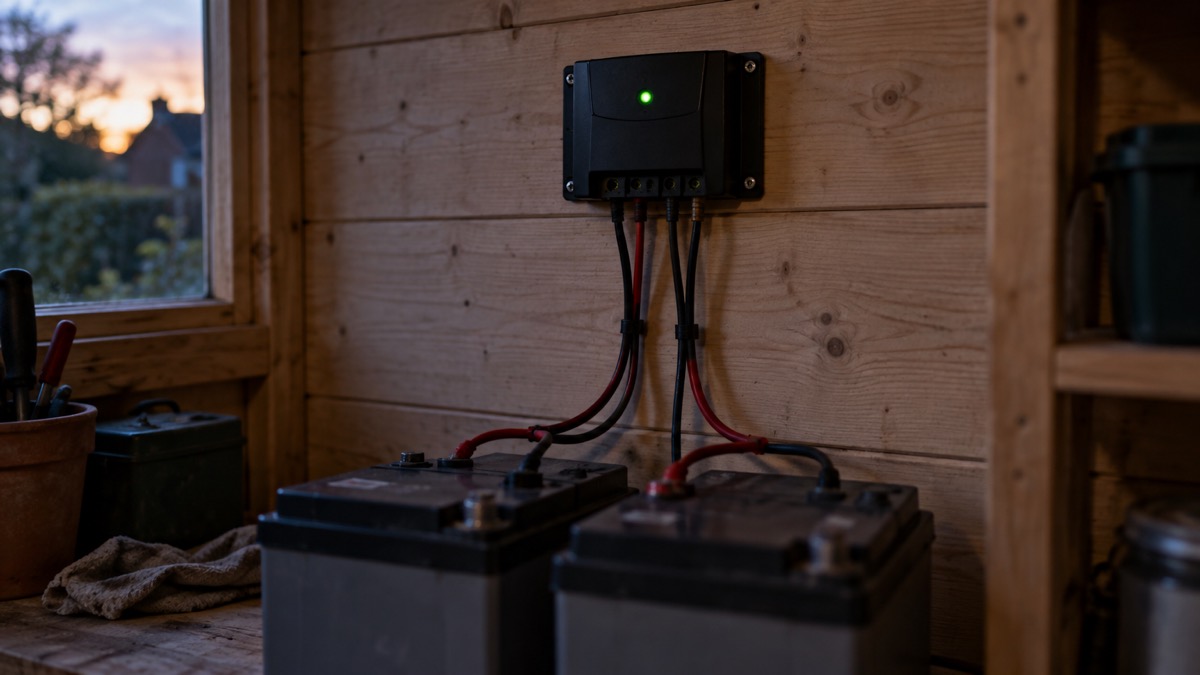
The controller is well protected, and it is worth knowing what those protections cover so you do not rely on them for something they were never meant to do. The datasheet lists solar short circuit, solar over current, reverse polarity, reverse current at night, high temperature and lightning protection2. The manual describes the battery reverse polarity protection in detail: if either battery connection is backwards, the error clears when the mis-wire is corrected1. The French edition of the manual gives transient surge protection of 1500W on all electrical connections9.
The physical protection is equally relevant to a shed or garage installation. Epoxy encapsulation protects the controller against dust and high humidity3, and the humidity rating is 100% non-condensing1. That is what makes it plausible in a damp outbuilding, though it is not a licence to mount it where water pools or drips onto it.
The limits are as important as the protections. The 25A current rating and 30V voltage limit are hard ceilings, not targets1. The high temperature protection will cut charging on a hot day, which is a protection working correctly, not a fault, but it does mean a controller in a hot conservatory will spend part of the summer doing nothing. And the protections do not extend to the batteries themselves: a lead-acid battery that is overcharged, shorted or physically damaged is a hazard in its own right, and the controller cannot see that.
Maintenance twice a year, warranty and support
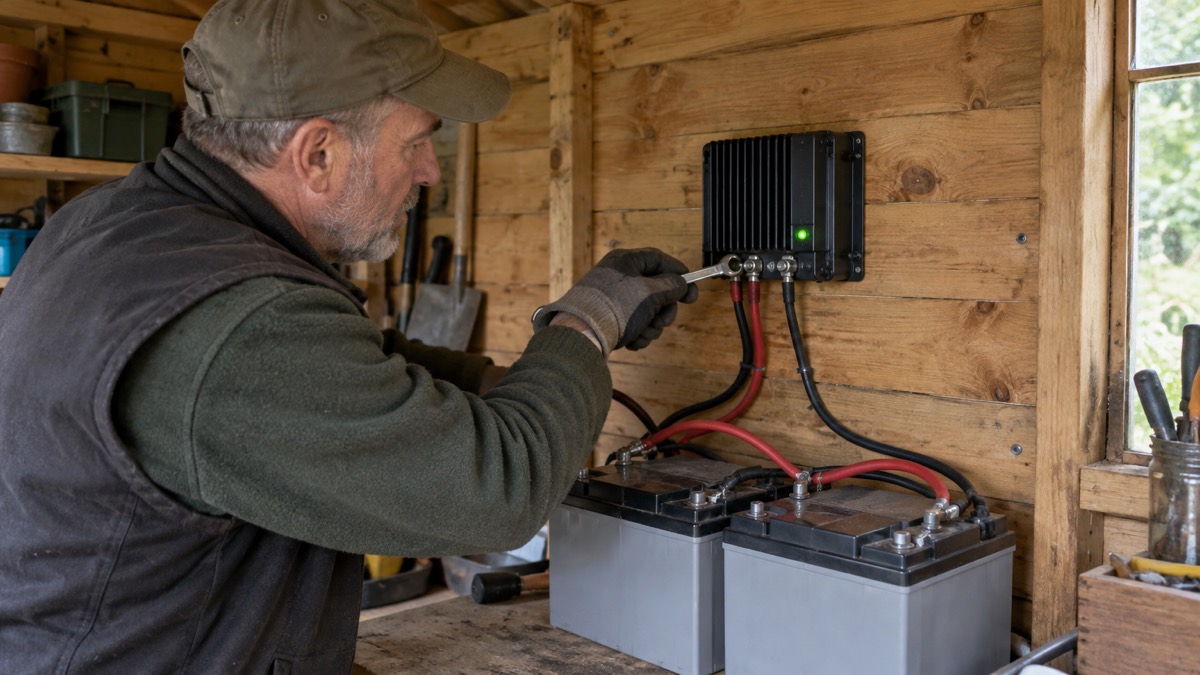
The maker recommends the inspections and maintenance tasks in its manual at least two times per year for best controller performance1. Twice a year is a sensible rhythm for an emergency set-up anyway: check it before winter and again in spring. In practice that means looking at the mounting and clearance, checking the terminals are tight, confirming the LED behaves as expected in daylight and at night, and checking the batteries themselves.
The warranty runs for five years from the date of shipment to the original end user1. The maker's product page pairs that with an estimated 15 year life3. The warranty excludes damage by accident, negligence, abuse or improper use; PV or load currents exceeding the product's ratings; unauthorised modification or attempted repair; and damage occurring during shipment1. In other words, the two limits on this page, the 25A current and the lead-acid-only rule, are also the two things most likely to void your cover if ignored.
For comparison within the maker's range, the Essentials Series and SureSine inverter carry a two year warranty10, so the five years on the SunSaver Duo is the longer cover. The catalogue also lists a five year warranty for the SunSaver Duo Controller11.
Support is through Morningstar, whose support pages carry the fault-finding guidance quoted above4. The controller is also listed by UK distributor Marlec, which notes that parameters may be adjusted using the DIP switches and further customised by connecting to a personal computer and using Morningstar's PC software12. The maker's own page is at Morningstar.
Where it fits in a household plan
The SunSaver Duo is one component, and it only makes sense as part of a system. It suits a household that already has, or intends to have, a small 12V solar set-up with one or two lead-acid batteries: a shed light, a radio, a phone charger, a small pump. It does not suit a household wanting mains power at the flick of a switch, and it does not suit anyone running lithium batteries.
If you are at the planning stage, work out what you want to keep running and for how long before choosing a controller. Sizing an Off-Grid Solar System From Your Daily Watt-Hours takes you through the arithmetic, and the Off-Grid Solar Kit Checklist lists what a working set-up needs. For the wider context of keeping some power at home through an outage, see Backup Power at Home: A Household Guide and Power Cuts: A Household Guide.
Sources (12)
- SunSaver Duo Operation Manual, Morningstar, 2025
- SunSaver Duo Datasheet, Morningstar, 2020
- SunSaver Duo product page, Morningstar, 2026
- Morningstar Support FAQs, Morningstar
- Caravan Batteries technical advice, The Caravan Club, 2026
- SunSaver Duo Operation Manual (German), Morningstar, 2025
- Safety at Home, SSEN Distribution, 2026
- Plugs and Fuses, Electrical Safety First, 2026
- SunSaver Duo Operation Manual (French), Morningstar, 2025
- SunSaver Operation Manual, Morningstar, 2026
- Morningstar Catalogue US/Canada, Morningstar, 2019
- Morningstar PV Controllers, Marlec, 2026

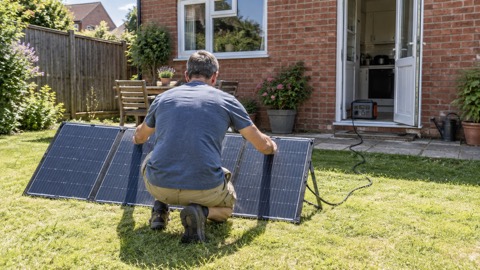 Anker SOLIX PS200 Solar Panel
 EcoFlow STREAM Home Battery
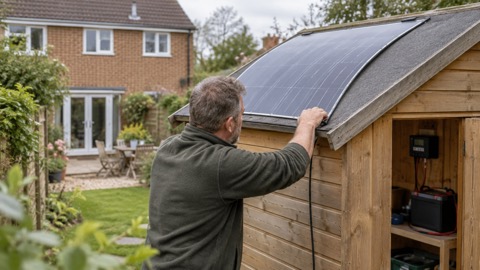 Sterling Power ETFE Solar Panel
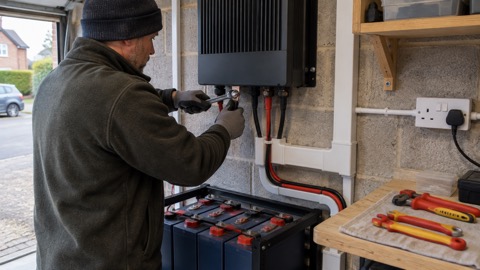 Victron SmartSolar MPPT RS